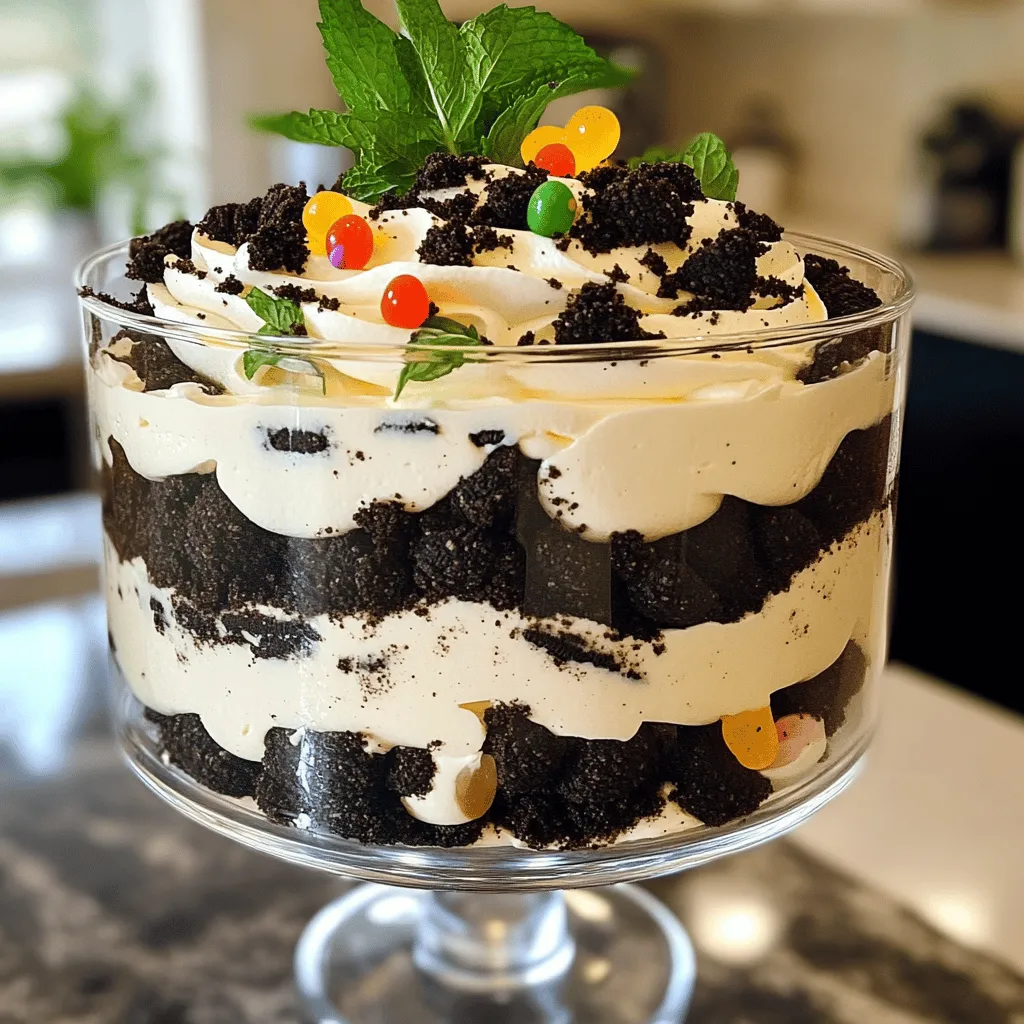
Are you ready to indulge in a dessert that delights every crowd? Oreo Dirt Cake combines rich cream cheese, whipped topping, and crushed Oreo cookies for an irresistible treat. Perfect for parties, picnics, or just because, this layered dessert is fun to make and customize. In this guide, I’ll share the simple steps and tips to create the perfect Oreo Dirt Cake that will satisfy your sweet tooth and impress your guests. Let’s dig in!
Ingredients
Complete List of Ingredients
– 1 package (15.25 oz) Oreo cookies
– 1 (8 oz) package cream cheese, softened
– 1 cup powdered sugar
– 1 (12 oz) container whipped topping (such as Cool Whip)
– 2 cups milk
– 1 (3.9 oz) package instant chocolate pudding mix
– 1 cup gummy worms (optional)
– Fresh mint leaves for garnish (optional)
To make Oreo Dirt Cake, start with the key ingredient: Oreo cookies. These cookies add chocolate flavor and crunch. Next, cream cheese gives it a rich, smooth layer. Powdered sugar sweetens the mix and adds a nice texture. Whipped topping, like Cool Whip, helps make the cake light and fluffy. Milk is essential for the pudding mix, creating a creamy base. Instant chocolate pudding mix is the last main item, providing a rich chocolate flavor.
If you want to make it fun, add gummy worms on top. Fresh mint leaves can also add a nice touch.Each ingredient plays a role in making this dessert special and delicious.
Step-by-Step Instructions
How to Prepare the Oreos
To start, take a large plastic bag and add the Oreo cookies. Use a rolling pin to crush the cookies into fine crumbs. This should take just a few minutes. Once they’re crushed, set aside half of the crumbs for the topping later.
Making the Cream Cheese Mixture
Next, grab a mixing bowl and add the softened cream cheese. Using an electric mixer, beat the cream cheese until it’s smooth. Then, slowly mix in the powdered sugar. Keep mixing until the two are well combined. This step is key for a rich flavor.
Adding Whipped Topping
Now, take your container of whipped topping, like Cool Whip. Gently fold it into the cream cheese mixture. Make sure everything blends smoothly. The mixture should be creamy and light. This makes the dessert fluffy and fun.
Preparing the Pudding
In another bowl, add the instant chocolate pudding mix and milk. Whisk them together for about 2-3 minutes until the mixture thickens. This part is simple but crucial. The pudding adds that rich chocolate taste we all love.
Combining the Mixtures
Once the pudding is ready, it’s time to combine it. Fold the pudding mixture into the cream cheese and whipped topping mixture. Be gentle so you don’t deflate the fluffiness. Mix until everything is fully incorporated. This step creates a delicious, creamy filling.
Layering the Cake
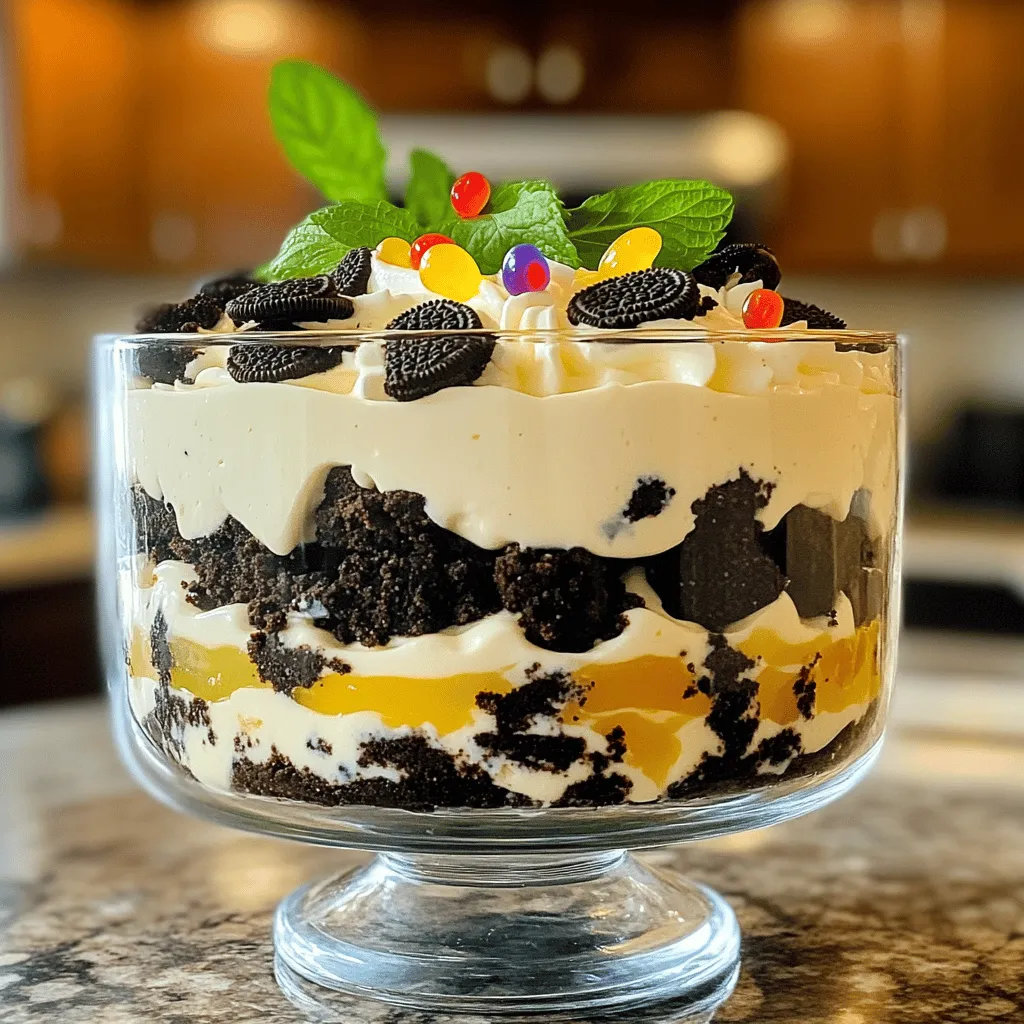
Get a large trifle dish or a rectangular baking dish. Start by layering one-third of the Oreo crumbs at the bottom. Spoon half of the cream cheese mixture over the crumbs and spread it evenly. Repeat this process: add another layer of Oreo crumbs, then the rest of the cream cheese mixture. Finish with the last layer of Oreo crumbs on top.
Chilling and Serving
Cover your dish with plastic wrap and refrigerate it for at least 4 hours. For the best results, let it chill overnight. This helps the layers set properly. Before serving, garnish the top with any leftover Oreo crumbs. You can also add gummy worms for a fun look or fresh mint leaves for color.Enjoy your Oreo Dirt Cake!
Tips & Tricks
Best Practices for a Perfect Oreo Dirt Cake
– Ensure the cream cheese is at room temperature: This step is key. Soft cream cheese mixes better. It helps create a smooth and fluffy texture. Take it out of the fridge at least 30 minutes before using it.
– How to crush Oreos effectively: Use a large plastic bag to avoid mess. Place the cookies inside and seal the bag. Use a rolling pin to crush them into fine crumbs. You can also use a food processor if you want it quicker.
Presentation Suggestions
– Creative serving ideas: Serve the cake in clear cups for individual portions. This makes it easy for guests to enjoy. You can also use a trifle dish to show off those beautiful layers.
– Use of garnishes for a visual appeal: Top your dirt cake with extra Oreo crumbs. Add gummy worms for a fun touch. Fresh mint leaves can give color and freshness. These small details make your dessert pop.
Troubleshooting Common Issues
– What to do if the mixture is too runny: If your mixture is runny, try adding more crushed Oreos. This will help thicken it up. You can also chill it longer to allow it to set.
– How to fix grainy cream cheese mixture: If the cream cheese is grainy, it may not be soft enough. Beat it longer until smooth. If needed, add a little milk to loosen it, then mix again. This should help create a creamy texture.
Variations
Flavor Variants of Oreo Dirt Cake
You can have fun by changing the flavor of your Oreo Dirt Cake. Try using different flavored Oreos. For example, vanilla Oreos bring a light taste. Mint Oreos add a cool twist. You can even mix in peanut butter or pumpkin spice Oreos for a seasonal touch.
Also, you can switch up the pudding flavors. While chocolate is classic, vanilla or even banana pudding can create a new experience. Each choice gives your cake a unique taste. You can surprise your friends with a new flavor every time you make it!
Ingredient Substitutions
If you want to make this dessert dairy-free, you have options. Use dairy-free cream cheese and whipped topping. Almond or coconut milk works well instead of regular milk.
For gluten-free needs, look for gluten-free Oreo cookies. They taste just as good! Many brands offer gluten-free cookies, so check your local store. This way, everyone can enjoy the cake without worry.
Themed Decorations
You can make Oreo Dirt Cake fit any celebration. For holidays, add fun toppings. Use candy pumpkins for Halloween or mini candy canes for Christmas.
If you’re throwing a birthday party, personalize it. Decorate it with edible glitter or sprinkles in the birthday person’s favorite colors. You can even add themed cake toppers. These small touches can make your dessert stand out and bring smiles to everyone!
Storage Info
Best Storage Practices
To keep your Oreo Dirt Cake fresh, store it in the refrigerator. Place it in an airtight container. If you don’t have one, cover it tightly with plastic wrap. This method helps prevent the cake from absorbing other smells in your fridge. You will love how easy it is to enjoy later!
Shelf Life
Your Oreo Dirt Cake can last about 3 to 5 days in the fridge. Make sure it stays covered. If you want to keep it longer, you can freeze it. Wrap it well in plastic wrap and then in aluminum foil. It can stay in the freezer for up to 2 months. Just remember, the longer it sits, the more the texture may change.
Reheating or Serving Cold
You don’t need to reheat your Oreo Dirt Cake. It tastes great cold! When you’re ready to serve, take it out of the fridge. If you like, you can add a few fresh gummy worms on top for fun. This keeps it looking fresh and tasty. Enjoy your dessert just as it is to ensure the creamy layers and crunchy crumbs stay perfect!
FAQs
What can I use instead of whipped topping?
If you want to skip whipped topping, you have options. You can use real whipped cream instead. Just whip heavy cream with a bit of sugar until soft peaks form. It adds a rich taste. Greek yogurt is another choice. It’s thick and gives a tangy flavor. Try cream cheese mixed with milk for a denser texture. Each choice will change the taste a bit, but all will be tasty!
Can I make Oreo Dirt Cake ahead of time?
Yes, you can totally make Oreo Dirt Cake ahead. It tastes better if you let it chill overnight. This allows the flavors to blend. If you need to, you can prepare it up to two days before serving. Just keep it covered in the fridge. This makes it perfect for parties or family gatherings!
How can I make this recipe kid-friendly?
To make this dessert kid-friendly, get creative! Kids love to help in the kitchen. You can let them crush the Oreos with a rolling pin. They will enjoy layering the cake too. Add fun toppings like gummy worms or candy eyes for a spooky look. You can also use bright sprinkles. Get them involved in decorating for extra fun!
Is there a way to make this healthier?
Yes, there are ways to make Oreo Dirt Cake a bit healthier. You can use low-fat cream cheese to cut some calories. Swap out regular Oreos for reduced-sugar versions. You can also use a sugar substitute in the cream cheese mixture. Adding fresh fruit, like berries, can give a boost in vitamins while adding flavor.
Where did Oreo Dirt Cake originate?
Oreo Dirt Cake has a fun history. It started becoming popular in the 1980s. It’s a favorite at kids’ parties and family gatherings. The dish plays on the idea of dirt, making it fun and playful. Its layers look like soil, and adding gummy worms makes it more exciting. It has become a staple dessert for many celebrations since then!
You now have a complete guide to making Oreo Dirt Cake. We covered the key ingredients, preparation steps, and tips for the best results. Remember to store your cake properly to keep it fresh and tasty. Feel free to try different flavors and toppings for fun. This dessert is not only easy to make, but it also lets you be creative. You can wow friends or family with your tasty creations. Enjoy every bite of your delicious Oreo Dirt Cake!