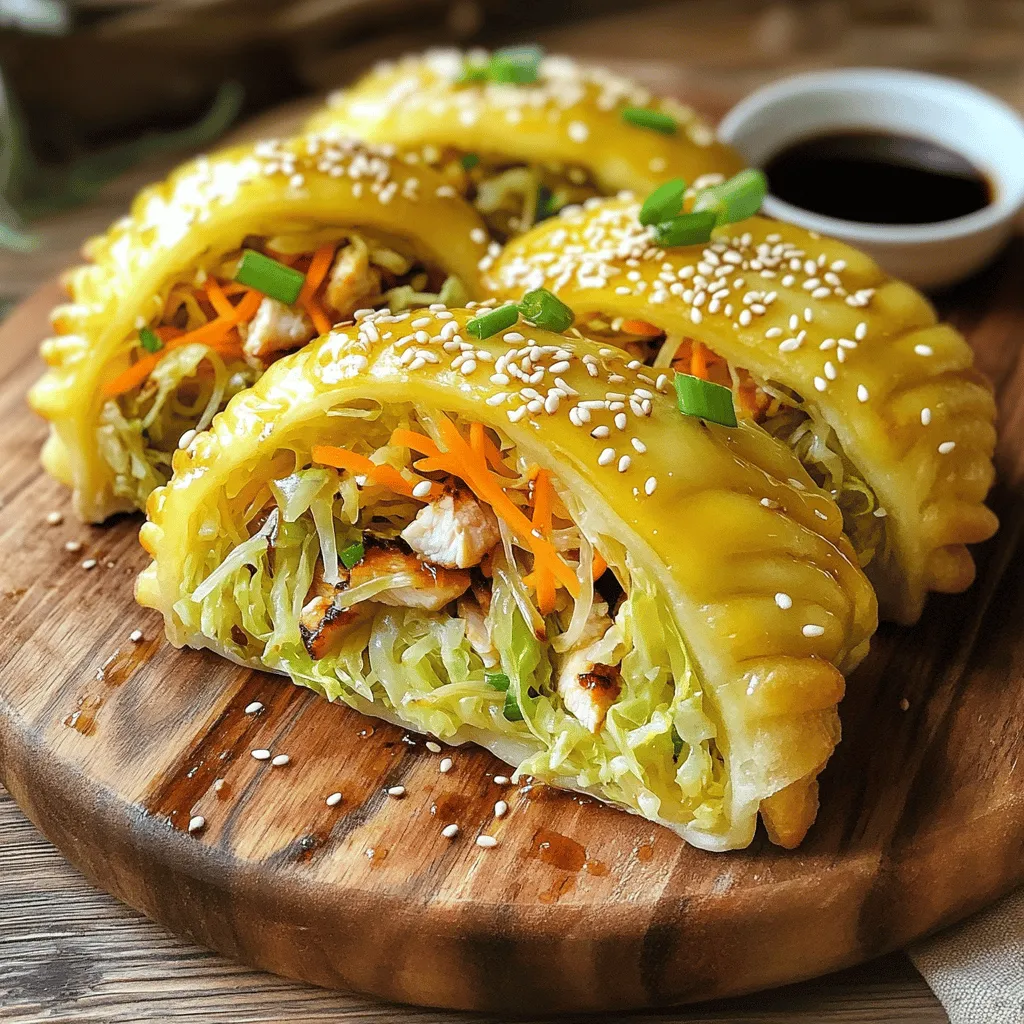
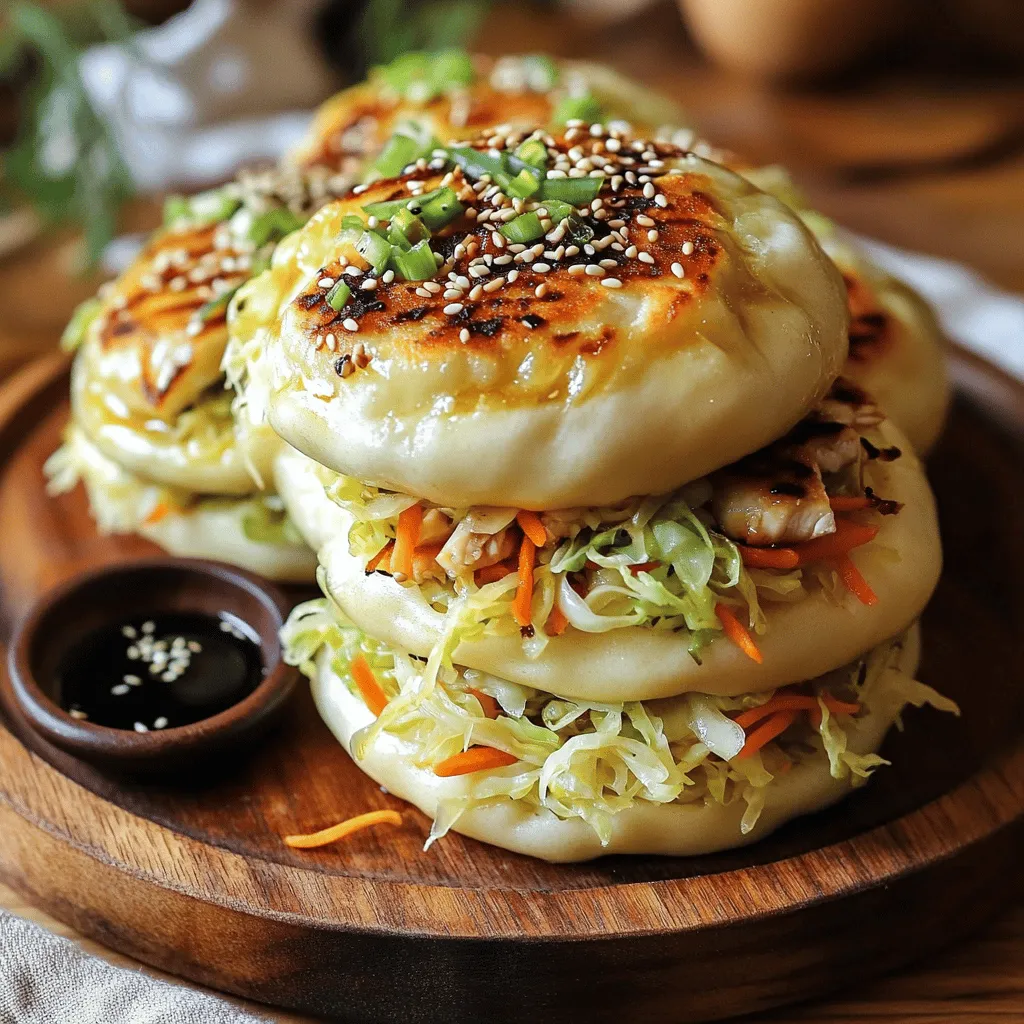
Craving a tasty and fun snack? This pan-fried cabbage noodle bun recipe is just for you! With its crispy outer layer and flavorful filling, these buns are easy to make and perfect for any meal. Whether you are a kitchen novice or a seasoned pro, my step-by-step guide will help you create a dish that impresses. Let’s dive in and start cooking something delicious!
Ingredients
List of Required Ingredients
To make Pan-Fried Cabbage Noodle Buns, you need the following ingredients:
– 1 small head of green cabbage, finely shredded
– 1 cup of grilled chicken, shredded (or tofu for a vegetarian option)
– 1 cup of carrots, grated
– 2 green onions, finely chopped
– 2 cloves garlic, minced
– 1 tablespoon ginger, grated
– 1 tablespoon soy sauce (or tamari for gluten-free)
– 1 teaspoon sesame oil
– 1/2 teaspoon black pepper
– 1 cup all-purpose flour (or gluten-free flour blend)
– Water, as needed for dough
– 2 tablespoons vegetable oil for frying
– Sesame seeds (optional, for garnish)
Substitutions for Key Ingredients
I understand that you may have some dietary needs or preferences. Here are some easy swaps:
– Use tofu instead of chicken for a plant-based meal.
– You can replace soy sauce with coconut aminos for a soy-free option.
– Swap all-purpose flour with a gluten-free blend if you need it gluten-free.
– If you don’t have green onions, chives or shallots work great too.
Cooking Equipment Needed
Having the right tools makes cooking easier. For this recipe, gather:
– A large mixing bowl
– A separate bowl for the dough
– A non-stick skillet for frying
– A rolling pin to flatten the dough
– A lid to cover the skillet while steaming
– Parchment paper or paper towels for draining excess oil
With these ingredients and tools, you’re ready to create delicious Pan-Fried Cabbage Noodle Buns. Enjoy the cooking process and savor the flavors!
Step-by-Step Instructions
Preparing the Filling
To make the filling, grab a large bowl. First, shred one small head of green cabbage and add it to the bowl. Next, include one cup of grilled chicken or tofu if you want a vegetarian option. Then, grate one cup of carrots and chop two green onions. Don’t forget to mince two cloves of garlic and grate one tablespoon of ginger. These flavors mix well together.
Now, pour in one tablespoon of soy sauce and one teaspoon of sesame oil. Add half a teaspoon of black pepper for a little kick. Mix everything together until it’s well combined. Set this bowl aside while you prepare the dough.
Making the Dough
For the dough, take another bowl. Add one cup of all-purpose flour or gluten-free flour if needed. Gradually add water until the mixture forms a smooth and soft dough. Knead the dough for about five minutes. It should feel elastic and not sticky. Once you have your dough, divide it into small balls, about the size of a golf ball. Then, roll each ball out into a thin circle.
Assembling the Buns
Now, it’s time to shape the buns. Take one dough circle and place about one tablespoon of the filling in the center. Carefully fold the dough over the filling. Pinch the edges to seal the bun. Make sure there are no gaps. Repeat this process until all the dough and filling are used.
Cooking Directions
Heat two tablespoons of vegetable oil in a non-stick skillet over medium heat. Once the oil is hot, add a few buns to the pan, but do not overcrowd them. Fry the buns for about 2-3 minutes, or until their bottoms are golden brown.
Next, flip the buns carefully. Add a few tablespoons of water to the pan and cover it with a lid. This step helps to steam the tops. Cook for another 2-3 minutes until the buns are cooked through. Once done, remove them from the skillet and place them on a paper towel to absorb extra oil.
Repeat this process for the remaining buns. Enjoy your delicious pan-fried cabbage noodle buns!
Tips & Tricks
Common Mistakes to Avoid
When making Pan-Fried Cabbage Noodle Buns, small errors can lead to big issues. Here are some common mistakes to watch for:
– Overfilling the buns: If you add too much filling, the buns may burst. Use only one tablespoon of filling.
– Not sealing the buns well: A tight seal keeps the filling from leaking out. Pinch the edges firmly.
– Skipping the resting time for dough: Let the dough rest for about 10 minutes after kneading. This makes it easier to roll out.
How to Achieve Perfectly Crispy Buns
Everyone loves a crispy bun! Follow these tips for the best texture:
– Use enough oil: Make sure to heat enough vegetable oil in the pan. This helps create a nice golden crust.
– Don’t overcrowd the pan: Fry in batches. Give each bun space to fry evenly.
– Steam wisely: After flipping, add water and cover the pan. This steams the tops while keeping the bottoms crispy.
Recommended Cooking Techniques
Using the right cooking techniques can transform your buns. Here’s what I recommend:
– Non-stick skillet: A non-stick skillet works best to prevent sticking. It also helps in achieving that golden color.
– Medium heat: Cook on medium heat. If it’s too high, the buns may burn before cooking through.
– Flip gently: Use a spatula to flip the buns carefully. This keeps them intact while cooking.
By following these tips and tricks, you can create Pan-Fried Cabbage Noodle Buns that are both delicious and visually appealing. Enjoy the process, and don’t forget to have fun in the kitchen!
Variations
Vegetarian/Vegan Alternatives
You can easily make these buns vegetarian or vegan. Just swap the grilled chicken for tofu. Use firm tofu for the best texture. Press the tofu to remove extra water before shredding it. This helps it absorb flavors better. If you want a more hearty filling, add mushrooms or bell peppers. These add great taste and texture too.
Flavoring Options (spices, sauces)
Add extra flavor to your buns with spices or sauces. Try mixing in some chili flakes for a kick. You can also add a bit of cumin or coriander for warmth. For a tangy taste, mix in a dash of rice vinegar. If you love sauces, serve with hoisin or sweet chili sauce. These sauces elevate the dish and make each bite special.
Serving Suggestions and Pairings
These buns pair well with many sides and dips. Serve them with a fresh salad to balance the meal. A side of pickled vegetables adds a nice crunch. You can also try a simple soy sauce dip. For a fun twist, serve with a spicy peanut sauce. These pairings enhance the flavors and make your meal even more enjoyable.
Storage Info
How to Store Leftovers
To store leftovers, let the buns cool first. Place them in an airtight container. Keep them in the fridge for up to 3 days. If you want to keep them longer, freeze them instead.
Reheating Instructions
To reheat the buns, use a skillet. Heat the skillet on medium. Add a splash of water and cover it with a lid. This helps steam the buns. In about 3-4 minutes, they should be hot. You can also use a microwave for quick reheating. Just cover them with a damp paper towel to keep them moist. Heat for about 30 seconds or until warm.
Freezing Tips
If you want to freeze the buns, do it before cooking. Place uncooked buns on a baking sheet. Make sure they don’t touch each other. Freeze them for 1-2 hours, then transfer to a freezer bag. They can last for up to 2 months. To cook, just add a few minutes to the frying time.
FAQs
Can I make Pan-Fried Cabbage Noodle Buns ahead of time?
Yes, you can make these buns ahead of time. Prepare the filling and dough. Store them separately in the fridge. You can assemble the buns when you are ready to cook. This keeps the dough fresh and easy to work with.
What can I serve with these buns?
These buns are great on their own. You can serve them with dipping sauces like soy sauce or sweet chili sauce. They pair well with a fresh salad or stir-fried veggies. Try adding a side of pickled vegetables for a crunchy contrast.
How do I make the buns gluten-free?
To make gluten-free buns, use a gluten-free flour blend. Look for blends that include xanthan gum for better texture. All other ingredients are already gluten-free. Just ensure the soy sauce is gluten-free or use tamari. Enjoy the same great taste without gluten!
We covered all the key steps for making Pan-Fried Cabbage Noodle Buns. You learned about the ingredients and their substitutes. I shared tips to avoid common mistakes and enhance your buns. We also explored fun variations and smart storage methods. Finally, I answered common questions to help you succeed. Now, you have the tools to make delicious buns that everyone will love. Enjoy cooking and sharing your tasty creations!