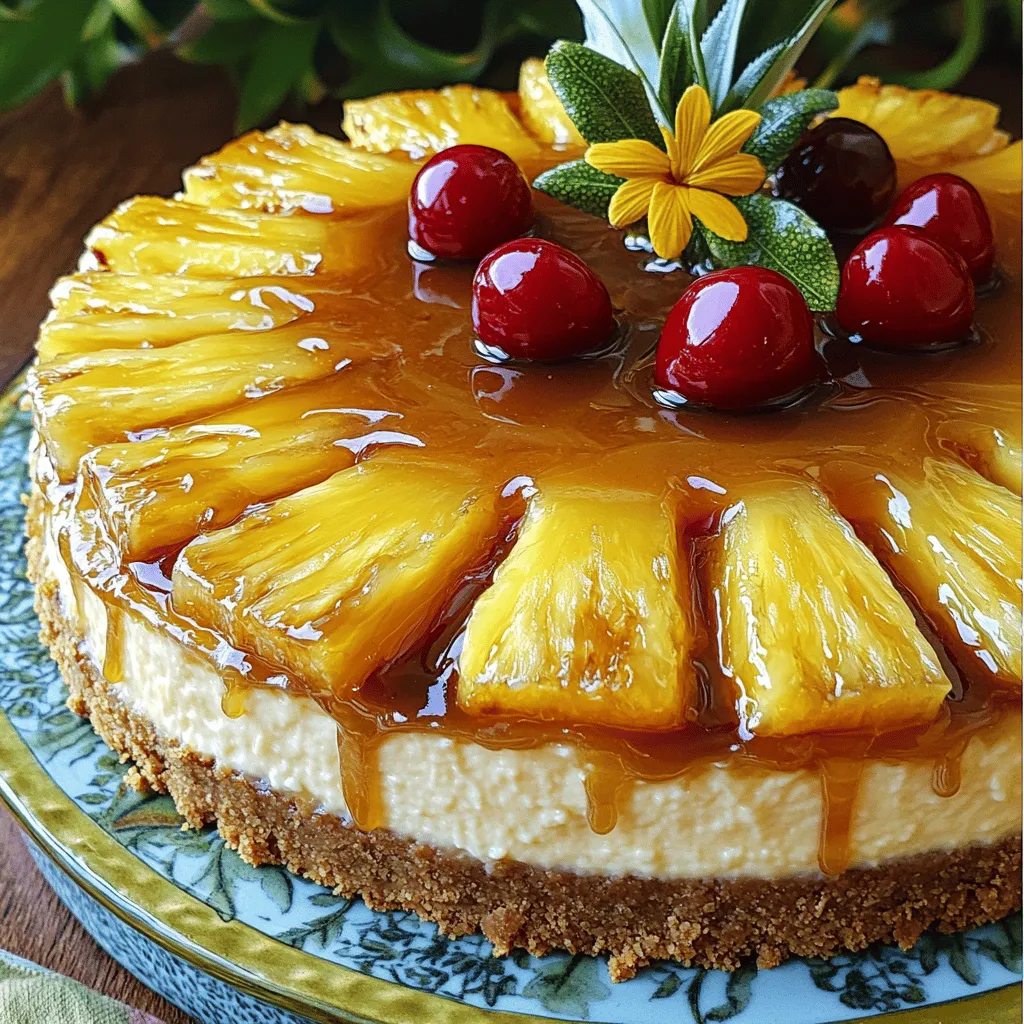
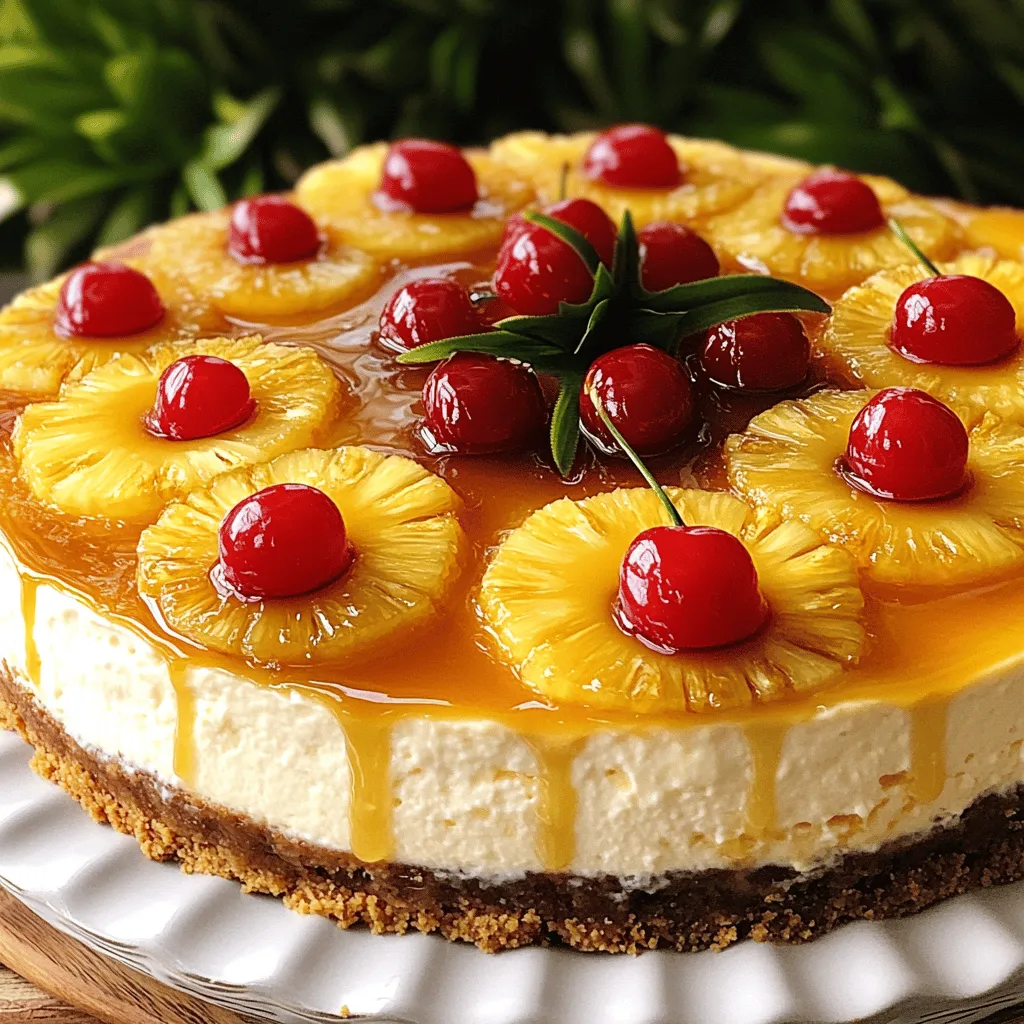
Craving a dessert that’s both sweet and crunchy? Let me introduce you to my Pineapple Upside-Down Cheesecake! This delightful recipe combines creamy goodness with caramelized pineapple, creating a treat that will wow your family and friends. With easy steps and simple ingredients, you’ll learn how to make this show-stopping dessert in no time. Ready to dive in? Let’s get started on this tasty journey!
Ingredients
Main Ingredients
To make Pineapple Upside-Down Cheesecake, gather these key ingredients:
– 1 cup graham cracker crumbs
– 1/4 cup unsalted butter, melted
– 2 cups cream cheese, softened
– 3/4 cup granulated sugar
– 1 teaspoon vanilla extract
– 2 large eggs
– 2 cups crushed pineapple, drained (reserve juice)
– 1/4 cup brown sugar
– 2 tablespoons unsalted butter
– Maraschino cherries for garnish (optional)
These ingredients create a rich and creamy cheesecake with a sweet, caramelized pineapple topping. The graham cracker crust adds a nice crunch. The cream cheese gives it a smooth texture.Enjoy the fun of baking!
Step-by-Step Instructions
Preparing the Crust
First, preheat your oven to 325°F (163°C). In a medium bowl, mix 1 cup of graham cracker crumbs with 1/4 cup of melted unsalted butter. Stir until it looks crumbly. Press this mix firmly into the bottom of a 9-inch springform pan. You want an even layer. Bake it for 8-10 minutes until slightly golden. Once done, take it out and let it cool.
Caramelizing the Pineapple
Next, we need to caramelize the pineapple. In a skillet, melt 2 tablespoons of unsalted butter over medium heat. Add 1/4 cup of brown sugar and stir until it dissolves. Now, add 2 cups of drained crushed pineapple to the pan. Cook for about 5 minutes. This lets the pineapple soak up the butter and sugar goodness. After this, remove the pan from heat and let the pineapple cool slightly.
Assembling the Cheesecake
Now, we layer the cheesecake. Once your crust has cooled, spread the caramelized pineapple evenly over it. This makes a pretty base. Next, in a large bowl, beat 2 cups of softened cream cheese until smooth. Add 3/4 cup of granulated sugar, mixing well. Add 1 teaspoon of vanilla extract and mix again. Now, add 2 large eggs one at a time, beating well after each addition until creamy. Pour this cheesecake filling over the pineapple layer. Use a spatula to smooth the top evenly.
Baking and Cooling
It’s baking time! Place your cheesecake in the preheated oven. Bake for 50-60 minutes. It should be set at the edges and slightly jiggly in the center. It will firm up as it cools. After baking, take it out and let it cool at room temperature for 1 hour. Then, refrigerate for at least 4 hours or overnight to set completely.
Tips & Tricks
Perfecting the Cheesecake
To make a great cheesecake, avoid cracks during baking. The key is slow baking. Set your oven temperature low and use a water bath. This helps keep moisture in, making your cheesecake smooth and creamy.
A smooth filling texture is also important. Beat the cream cheese well before adding other ingredients. This makes it light and fluffy. Add eggs slowly, mixing gently. Overmixing can add air, which may cause cracks.
Serving Suggestions
Garnish your cheesecake for a stunning look. Top it with maraschino cherries and a sprinkle of toasted coconut. You can also add whipped cream for a rich touch.
For drinks, pair your cheesecake with iced tea, coffee, or a fruity cocktail. The sweetness of the cheesecake blends well with these options. Serve it as a dessert or a special treat at gatherings.
Common Mistakes to Avoid
A soggy crust can ruin your cheesecake. Make sure to bake the crust until golden. Let it cool completely before adding the filling.
Using ingredients at the right temperature is crucial. Bring cream cheese and eggs to room temperature before mixing. This helps them blend smoothly. Cold ingredients can lead to lumps in your filling.
Variations
Ingredient Swaps
You can change the crust to make it your own. Try cookie crusts like Oreos for a rich taste. Nut crusts, like pecans or almonds, add great flavor too. You can also play with flavors. Coconut adds a tropical twist. Chocolate gives a rich depth. Both options will surprise your taste buds.
Dietary Adjustments
If you need a gluten-free crust, use gluten-free graham crackers or almond flour. This keeps the cheesecake just as tasty. For a vegan version, swap cream cheese for a dairy-free option. Silken tofu or cashew cream works well. Use flax eggs instead of regular eggs for binding. These swaps make the recipe friendly for all diets.
Themed Flavor Twists
Seasonal fruits can add fun to your cheesecake. Try peaches in summer or strawberries in spring. These fruits keep it fresh and exciting. For a spiced twist, add cinnamon or nutmeg to the filling. These spices warm up the flavors and add depth. Each variation invites new tastes and experiences.
Storage Info
How to Store
To keep your Pineapple Upside-Down Cheesecake fresh, refrigerate it right after serving. Place it in an airtight container. This will help keep the flavors intact and prevent it from drying out. If you have leftovers, it is best to consume them within four days.
If you want to save it for a longer time, freezing is a great option. Wrap the cheesecake tightly in plastic wrap, then in aluminum foil. This keeps the air out and prevents freezer burn. You can freeze it for up to three months. Just remember to label it, so you know when you made it!
Shelf Life
In the fridge, your cheesecake will stay fresh for about four to five days. After this, it may start to lose flavor and texture. Always check for signs of spoilage. If you see any mold or notice a strange smell, it’s time to throw it away.
A fresh cheesecake should feel firm but slightly soft when you press it. If it feels too mushy or has an off odor, it may have gone bad. Always trust your senses!
Reheating Tips
To enjoy your cheesecake cold, simply take it out of the fridge and slice it. If you froze it, let it thaw in the fridge overnight. This keeps it from getting too warm too fast.
You can also serve it slightly warmed. To do this, place a slice on a microwave-safe plate. Heat it in the microwave for about 10-15 seconds. This will enhance the flavors without melting it too much. Enjoy your delicious dessert!
FAQs
How do I know when the cheesecake is done?
You can tell the cheesecake is done when the edges look set. The center should jiggle just a bit. A good tip is to insert a toothpick in the middle. If it comes out clean, your cheesecake is ready. This means the filling has cooked through. Keep in mind, it will firm up more as it cools.
Can I make this cheesecake ahead of time?
Yes, you can make this cheesecake ahead of time! It tastes even better after a day in the fridge. To prepare in advance, bake your cheesecake and let it cool. Cover it well with plastic wrap or foil. Store it in the fridge until you are ready to serve.
What can I substitute for cream cheese?
If you want a lighter or dairy-free version, you have options. You can use Greek yogurt, ricotta cheese, or a vegan cream cheese. Silken tofu is also a great substitute. These alternatives can change the taste, so choose one that fits your needs.
Is it necessary to chill the cheesecake overnight?
Chilling the cheesecake overnight is very important. This time helps it set well and improves the flavors. If you rush this step, you may end up with a soft cheesecake. For the best texture and taste, I recommend waiting at least four hours.
Can I use fresh pineapple instead of canned?
You can use fresh pineapple! However, you need to prepare it well. First, peel and core the pineapple. Then, chop it into small pieces. Canned pineapple is drained and sweetened, so you might need to adjust sugar. Fresh pineapple gives a bright flavor, but it can be less sweet.
This blog post guides you in making a delicious cheesecake. We covered ingredients and step-by-step instructions, from the crust to baking. You learned tips to avoid common mistakes and variations to try. Storing your cheesecake properly is key to keeping it fresh.
Embrace these ideas to create your own version. Enjoy the process and share your tasty results!