Craving a cool treat that’s both simple and healthy? Let me introduce you to protein cottage cheese ice cream! This easy recipe packs a punch of flavor and nutrition. With just a few key ingredients, you can whip up a creamy dessert that satisfies your sweet tooth—and boosts your protein intake. Ready to dive in? Let’s make this tasty treat together!
Ingredients
Main Ingredients
– 2 cups low-fat cottage cheese
– 1 cup vanilla protein powder
– 1/2 cup unsweetened almond milk
These main ingredients form the base of your ice cream. Low-fat cottage cheese gives it a creamy texture. The vanilla protein powder adds sweetness and boosts protein. Almond milk keeps it light and smooth.
Sweeteners and Flavor Enhancers
– 1/4 cup honey or maple syrup
– 1 teaspoon vanilla extract
– 1/4 teaspoon salt
Adding sweeteners is key for flavor. Honey or maple syrup brings a nice touch of sweetness. The vanilla extract adds depth, while the salt balances everything out.
Optional Mix-Ins
– Dark chocolate chips
– Nuts
– Fresh fruit
Mix-ins can make this ice cream even better. Dark chocolate chips add richness. Nuts give a nice crunch, and fresh fruit adds a burst of flavor. Choose what you love!
Step-by-Step Instructions
Preparation Steps
To start, gather all your ingredients. You will need 2 cups of low-fat cottage cheese, 1 cup of vanilla protein powder, 1/2 cup of almond milk, 1/4 cup of honey or maple syrup, 1 teaspoon of vanilla extract, and a pinch of salt.
1. In a blender or food processor, combine the cottage cheese, protein powder, almond milk, honey, vanilla extract, and salt.
2. Blend the mixture on high. Stop to scrape down the sides. You want it smooth and creamy.
Adjusting Sweetness
After blending, taste the mixture. If you want it sweeter, add more honey or maple syrup. Blend again to mix in the sweetness. You can keep tasting until it is just right for you.
Freezing the Mixture
Once the mixture tastes great, it is time to freeze it.
1. Transfer the blended mixture into an airtight container. Spread it evenly in the container.
2. Freeze it for 2-4 hours. Check it after 2 hours to see if it is your desired texture. If you like it firmer, leave it in the freezer longer.
Before you serve, let it sit out for a few minutes. This makes scooping easier. Enjoy your tasty protein cottage cheese ice cream!
Tips & Tricks
Achieving the Perfect Texture
To get the best texture, let your ice cream sit at room temperature for about 5 minutes before serving. This makes scooping easier. The right freezing time is also key. For a soft-serve texture, freeze for about 2 hours. For a firmer ice cream, aim for 4 hours or longer.
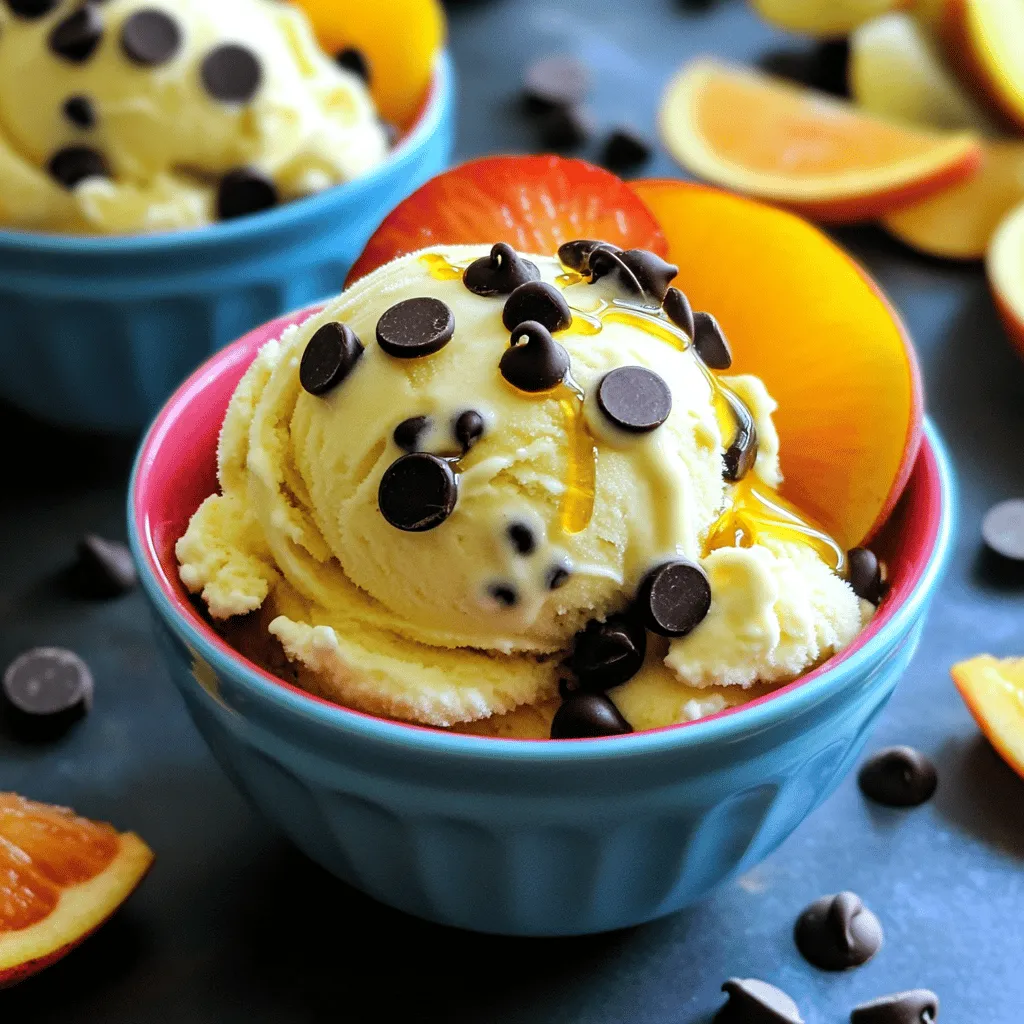
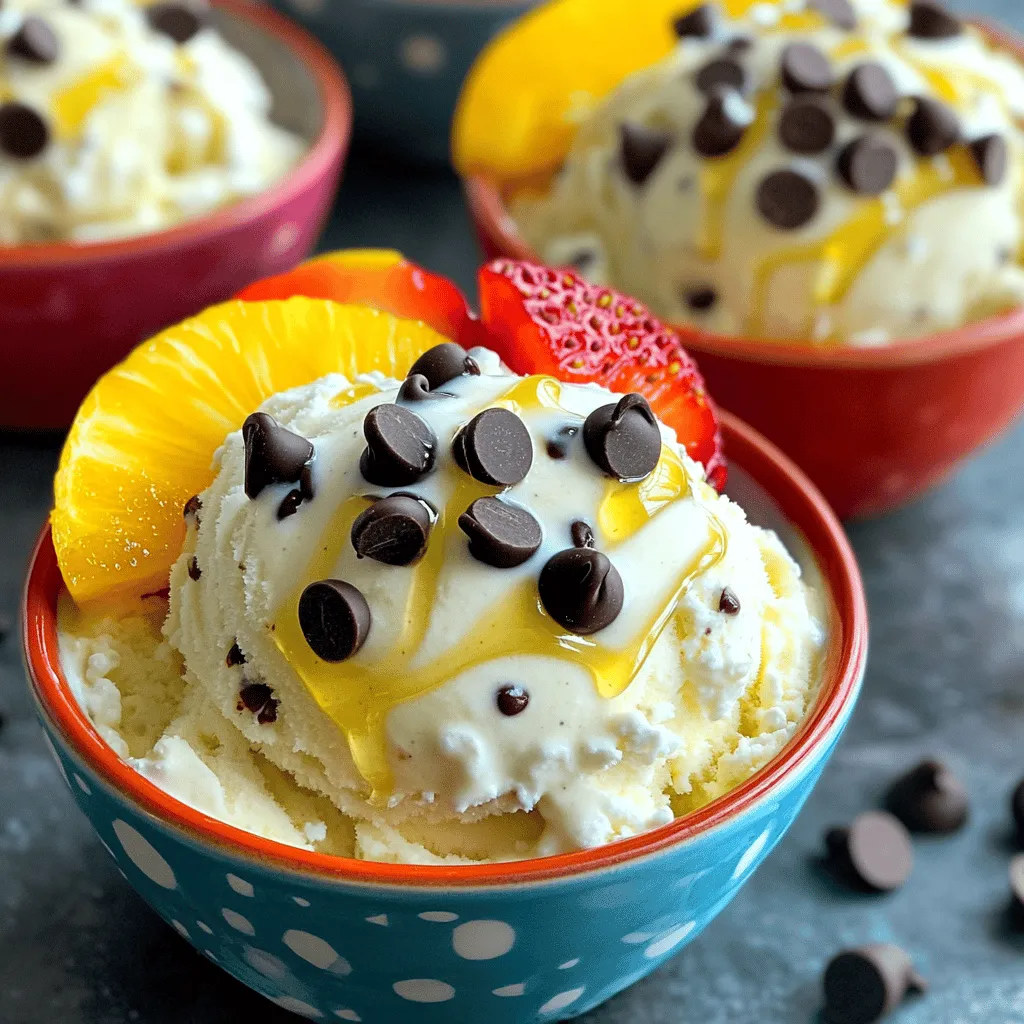
Presentation Ideas
When serving, scoop the ice cream into colorful bowls. Top it with dark chocolate chips, sliced fruits, or a drizzle of honey. These toppings not only taste great but also make your dessert look stunning. Use fresh mint leaves for an extra touch of color and freshness.
Common Mistakes to Avoid
One common mistake is not blending the ingredients well. Ensure everything is smooth and creamy; this is key for a tasty ice cream. Watch the freezing time too. Over-freezing makes it hard, while under-freezing can lead to a mushy texture. Adjust your freezing time based on your preferred firmness.
Variations
Flavor Combinations
You can make many flavors of Protein Cottage Cheese Ice Cream. One popular choice is chocolate. For chocolate flavor, add 1/2 cup of unsweetened cocoa powder to the main mix. Blend it well to get a rich, creamy treat. You can also try strawberry or other fruits. Just blend in 1 cup of fresh or frozen fruit. This will give your ice cream a fruity kick.
Dietary Modifications
If you want a vegan option, use plant-based protein powder instead of vanilla protein powder. Almond milk works great here, too. For sweetness, try low-calorie sweeteners like stevia or erythritol. These options keep the treat light while still tasting great.
Unique Mix-Ins
Get creative with your mix-ins! You can add dark chocolate chips, nuts, or fresh fruit pieces. Seasonal fruits like peaches or berries work well too. They add color and flavor to your ice cream. Just pulse them into the blended mixture for a fun texture. Enjoy experimenting to find your favorite combos!
Storage Info
Best Practices for Storing
To keep your Protein Cottage Cheese Ice Cream fresh, use an airtight container. This type of container helps prevent ice crystals from forming. You can also use a freezer-safe glass jar or a plastic tub. Before freezing, make sure to spread the mixture evenly in the container. This helps it freeze evenly.
Shelf Life
Your ice cream will stay fresh for about 2 to 3 months in the freezer. It may still be safe to eat after that, but the taste and texture might change. Look for signs of spoilage, like ice crystals or a strange smell. If you see these signs, it’s best to toss it.
Re-Freezing Tips
If you have leftovers, you can refreeze them safely. Just scoop out what you want and put the rest back in the freezer right away. To make it creamy again after refreezing, let it sit out for a few minutes before serving. This will help it soften and make scooping easier.
FAQs
What are the health benefits of cottage cheese in ice cream?
Cottage cheese is a great choice for ice cream. It is high in protein, which helps keep you full. It also has a lower fat content than regular ice cream. This means you can enjoy a treat without too many calories. Plus, cottage cheese is rich in calcium, which is good for your bones. Using it in ice cream gives you a nutritious dessert that tastes good.
Can this ice cream be made ahead of time?
Yes, you can make this ice cream ahead of time. After blending, put it in an airtight container. Store it in the freezer for up to a week. It will stay fresh and tasty. Just remember to let it sit at room temperature a few minutes before scooping. This makes it easier to serve.
How can I make this recipe dairy-free?
To make this ice cream dairy-free, swap the cottage cheese with a dairy-free alternative. You can use cashew cream or silken tofu instead. Choose a plant-based protein powder that fits your needs. Use almond milk as you would in the original recipe. This way, you can still enjoy a creamy treat without dairy.
Can I make this without a blender?
Yes, you can make this ice cream without a blender. Use a large bowl and a whisk instead. Start by mixing the cottage cheese and protein powder together. Then add the almond milk, sweetener, vanilla, and salt. Stir until everything is smooth. If you prefer a chunkier texture, mix in any optional add-ins by hand.
This blog post covers making healthy cottage cheese ice cream. You learned about the main ingredients, sweeteners, and optional mix-ins. The step-by-step guide helps you blend, freeze, and serve this tasty treat. I shared tips for texture, presentation, and avoiding common mistakes. You can explore fun flavor combinations and dietary modifications too.
Enjoy creating your own version of this ice cream. It’s a fun and nutritious way to indulge!