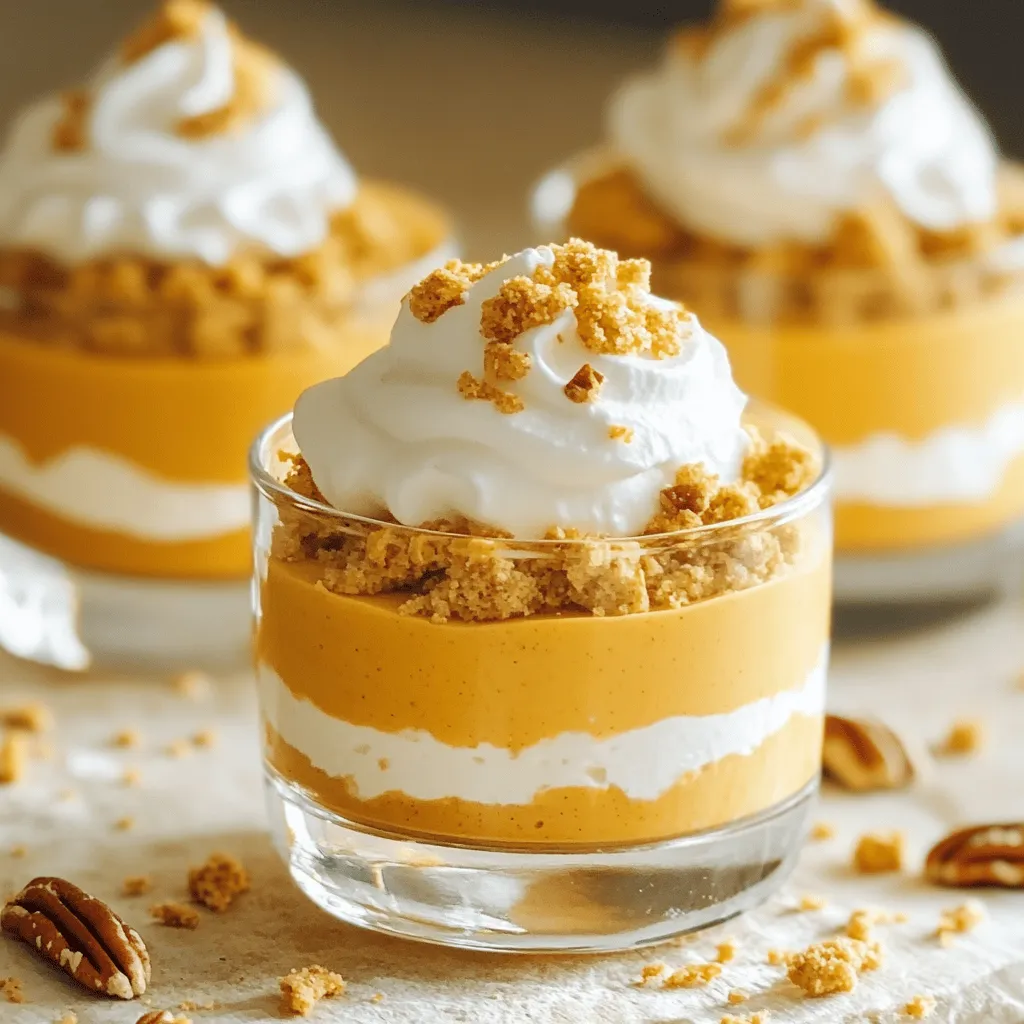
Are you ready to whip up a dessert that impresses? Pumpkin Cheesecake Mousse Cups combine rich flavors and a light texture for an ideal treat. Perfect for fall or any special occasion, these cups are simple to make and delightfully creamy. In this guide, I’ll share easy steps, helpful tips, and even tasty variations to satisfy your cravings. Let’s dive into the delicious world of pumpkin desserts!
Ingredients
List of Ingredients
– 1 cup pumpkin puree
– 8 oz cream cheese, softened
– 1/2 cup powdered sugar
– 1 teaspoon vanilla extract
– 1 teaspoon pumpkin pie spice
– 1 cup heavy whipping cream
– 1/4 cup crushed graham crackers for topping
– Whipped cream for garnish
– Optional: chopped pecans for extra crunch
Measurements and Substitutions
Each ingredient plays a key role in the taste and texture. If you want, you can change some items. For example, you can swap cream cheese with ricotta for a lighter feel. You can also use maple syrup instead of powdered sugar for a different sweetness. Just keep the same amounts for balance. This keeps the mousse rich and tasty.
Tips for Selecting Fresh Ingredients
Choosing fresh ingredients is vital for great flavor. Here’s what I recommend:
– Pumpkin puree: Look for pure pumpkin, not pumpkin pie filling. Check the can label for quality.
– Cream cheese: Softened cream cheese makes mixing easier. Choose a full-fat brand for a creamy texture.
– Heavy cream: Use heavy whipping cream for the best volume when whipped. Make sure it’s fresh.
– Spices: Fresh spices make a big difference. Choose jars with clear dates. If possible, buy whole spices and grind them yourself.
These tips help ensure your pumpkin cheesecake mousse cups taste amazing.
Step-by-Step Instructions
Mixing the Cream Cheese Base
Start by taking your softened cream cheese. Place it in a mixing bowl. Use an electric mixer to beat the cream cheese until it is smooth and creamy. This step is key for a nice texture. Next, add in the pumpkin puree. It brings that lovely fall flavor. Then, sprinkle in the powdered sugar and vanilla extract. The sugar adds sweetness, and the vanilla gives depth. Don’t forget the pumpkin pie spice! This spice mix makes it taste like pumpkin pie. Mix everything well until it is fully combined. You want a creamy and uniform base.
Whipping the Cream
Now, let’s whip the heavy cream. Pour it into a separate bowl. Use a hand mixer or a stand mixer for this. Beat the cream until you see stiff peaks. This means the cream holds its shape well. It should look fluffy and light. This step is important because it adds air to the mousse. A light mousse is what we want! Once it’s ready, set it aside for the next step.
Folding Techniques for Light and Fluffy Mousse
Now comes the fun part—folding! Take a spatula and scoop some whipped cream into the pumpkin mixture. Gently fold it in. Be careful not to mix too hard; you want to keep the air in the whipped cream. This air makes your mousse light and fluffy. Repeat this process in batches until all the whipped cream is mixed in. Once everything is combined, spoon the mousse into individual cups. Fill them about three-quarters full. This is key because they need room to set. Finally, chill the mousse cups in the fridge for at least two hours. This helps the flavors meld and the mousse to firm up. Enjoy your delicious creation!
Tips & Tricks
Achieving the Perfect Texture
To get the best texture for your mousse, start with soft cream cheese. Soften it at room temperature for about 30 minutes. Use an electric mixer to beat it until it is smooth and creamy. This step is key to avoid lumps. When you fold in the whipped cream, do it gently. This keeps the mousse light and airy. Make sure to fold in batches. This helps maintain volume and gives a lovely texture.
Importance of Chilling Time
Chilling is crucial for setting your mousse. It allows the flavors to blend and the texture to firm up. After you spoon the mousse into cups, cover them and refrigerate for at least 2 hours. If you can chill them longer, that’s even better. The mousse tastes best when it is cold and set. This makes each bite creamy and delightful.
Serving Suggestions for Presentation
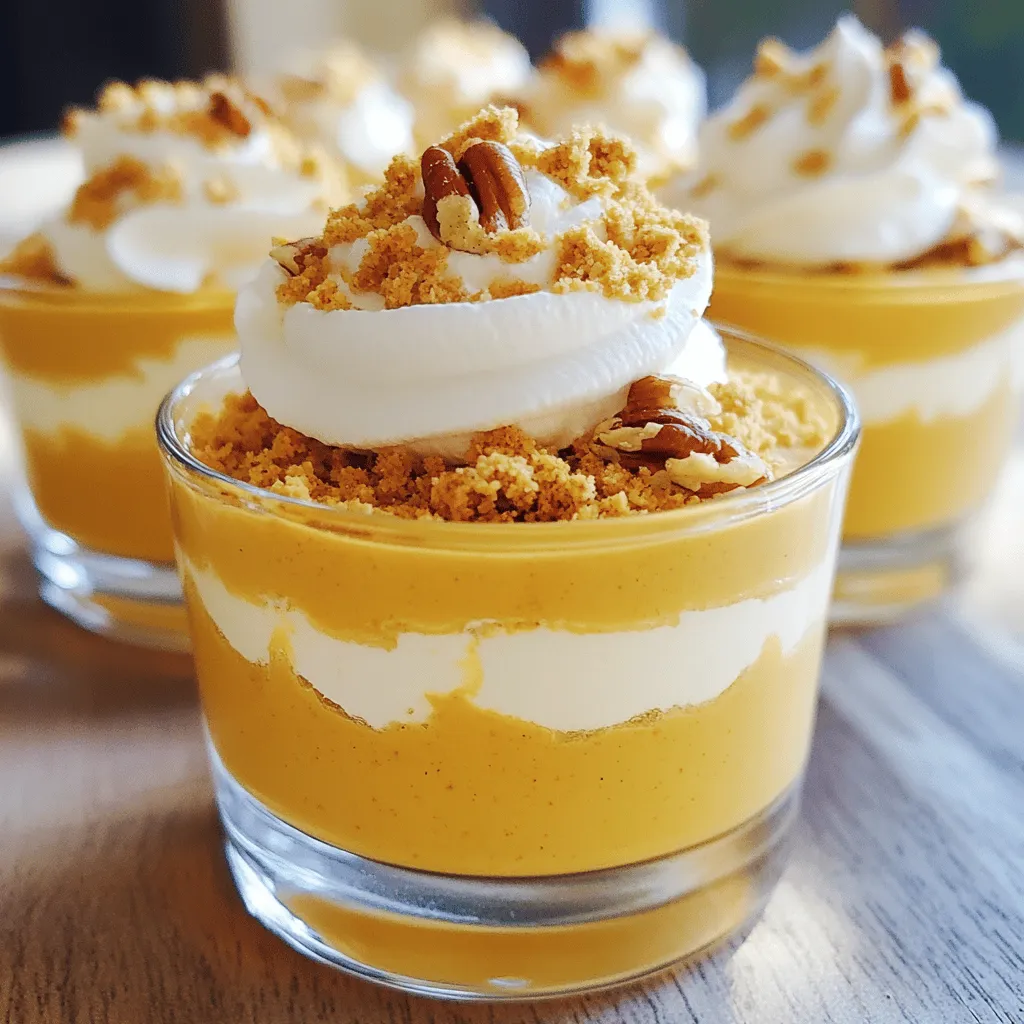
Presentation adds to the fun of dessert. Use clear cups to showcase the beautiful layers. Before serving, sprinkle crushed graham crackers on top for crunch. A dollop of whipped cream adds a nice touch. For extra flavor, add chopped pecans. This gives a nice contrast in texture. Serve these cups on a pretty platter. Your guests will be impressed!
Variations
Alternative Flavor Additions
You can change the flavor of your mousse cups easily. Try adding a splash of maple syrup for a sweet twist. You can also mix in some chocolate chips or caramel sauce to add depth. For a spicier kick, consider adding a pinch of cayenne pepper. Each addition brings a new taste to your dessert!
Gluten-Free Options
If you need a gluten-free version, swap out the graham crackers. Use crushed gluten-free cookies or nuts for the topping. You can also find gluten-free pie crusts to use as a base. This way, everyone can enjoy the treat without worry.
Dairy-Free Substitutes
To make the mousse dairy-free, use non-dairy cream cheese. Coconut cream works great as a whipped cream alternative. Just chill a can of coconut milk, then scoop out the solid cream. This keeps the mousse creamy and rich without dairy. Use powdered sugar made from coconut or another plant-based sweetener to finish it off.
Storage Info
How to Store Pumpkin Cheesecake Mousse Cups
Store your pumpkin cheesecake mousse cups in the fridge. Use an airtight container to keep them fresh. If you have leftovers, cover them well. This way, they will stay tasty for a few days.
Shelf Life and Best Practices
These mousse cups last about 3 to 4 days in the fridge. After this, the texture might change. To keep them at their best, enjoy them soon after making. If you notice any strange smells or colors, it’s best to toss them.
Freezing Options for Longer Storage
You can freeze the mousse cups, but some texture changes may occur. Freeze them in airtight containers. Make sure to leave space for expansion. When you’re ready to eat, thaw them in the fridge overnight. Enjoy the yummy flavors, but keep in mind that frozen mousse may not be as smooth.
FAQs
Can I make these ahead of time?
Yes, you can make pumpkin cheesecake mousse cups ahead of time. I recommend making them the day before you plan to serve. This way, the flavors can meld and the mousse will set nicely. Just cover the cups with plastic wrap and chill them in the fridge. They will taste great and save you time on the day of your event.
What can I use instead of graham crackers?
If you want to switch things up, you can use crushed cookies or nuts. Chocolate cookies add a rich flavor, while vanilla wafers give a nice crunch. If you prefer a gluten-free option, try almond flour or gluten-free cookies. These alternatives will still give you that lovely texture and taste on top of your mousse.
Is there an alternative to heavy cream?
Yes, there are several alternatives to heavy cream. You can use coconut cream for a dairy-free option. It adds a rich flavor and creamy texture. Another choice is to use whipped coconut milk. For a lighter option, you can try half-and-half or whole milk, but note that the mousse may be less fluffy. Each option will give you a different taste, so feel free to experiment!
In this article, I shared how to create delicious pumpkin cheesecake mousse cups. We covered the right ingredients, measurements, and helped you choose fresh items. You learned step-by-step instructions for mixing, whipping, and folding the mousse. I also offered tips for perfect texture, chilling, and serving ideas. Variations included alternative flavors and substitutes for gluten and dairy. Finally, I explained storage options and answered common questions. Enjoy making this treat, and feel free to get creative with your flavors!


