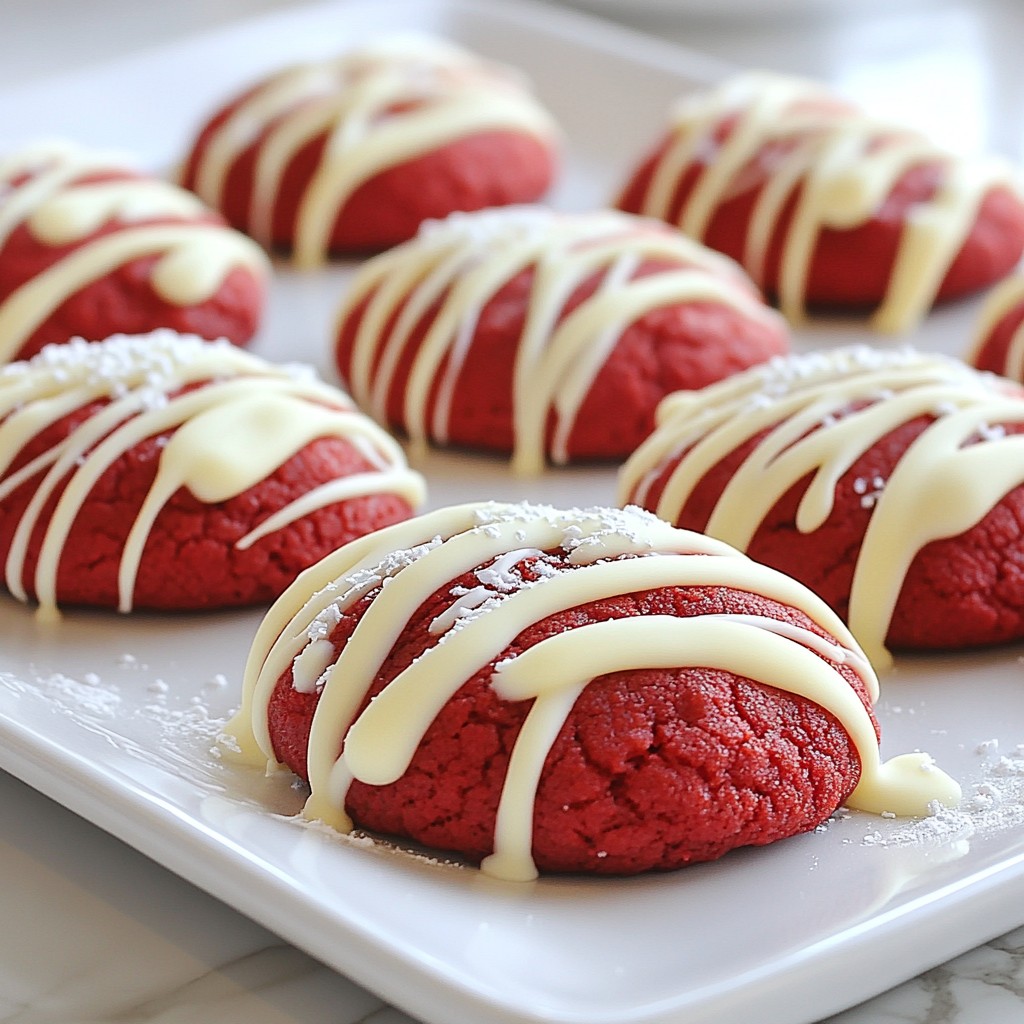
Are you ready to indulge in a truly special treat? These Red Velvet Cheesecake Cookies combine rich red velvet flavor with creamy cheesecake goodness. They are not just cookies; they are a delight for your taste buds! In this post, I’ll guide you through the simple steps to create these irresistible bites. Plus, I’ll share tips and tricks to make them even better. Let’s dive into baking these delicious cookies together!
Why I Love This Recipe
- Delicious Flavor Combination: The rich chocolatey taste of red velvet combined with creamy cheesecake filling creates a delightful flavor experience.
- Festive Appearance: The vibrant red color of these cookies makes them perfect for celebrations and special occasions.
- Easy to Make: This recipe is straightforward and doesn’t require any complex techniques, making it accessible for bakers of all levels.
- Customizable: You can easily add your favorite mix-ins like nuts or different types of chocolate to make these cookies uniquely yours.
Ingredients
Essential Ingredients for Red Velvet Cheesecake Cookies
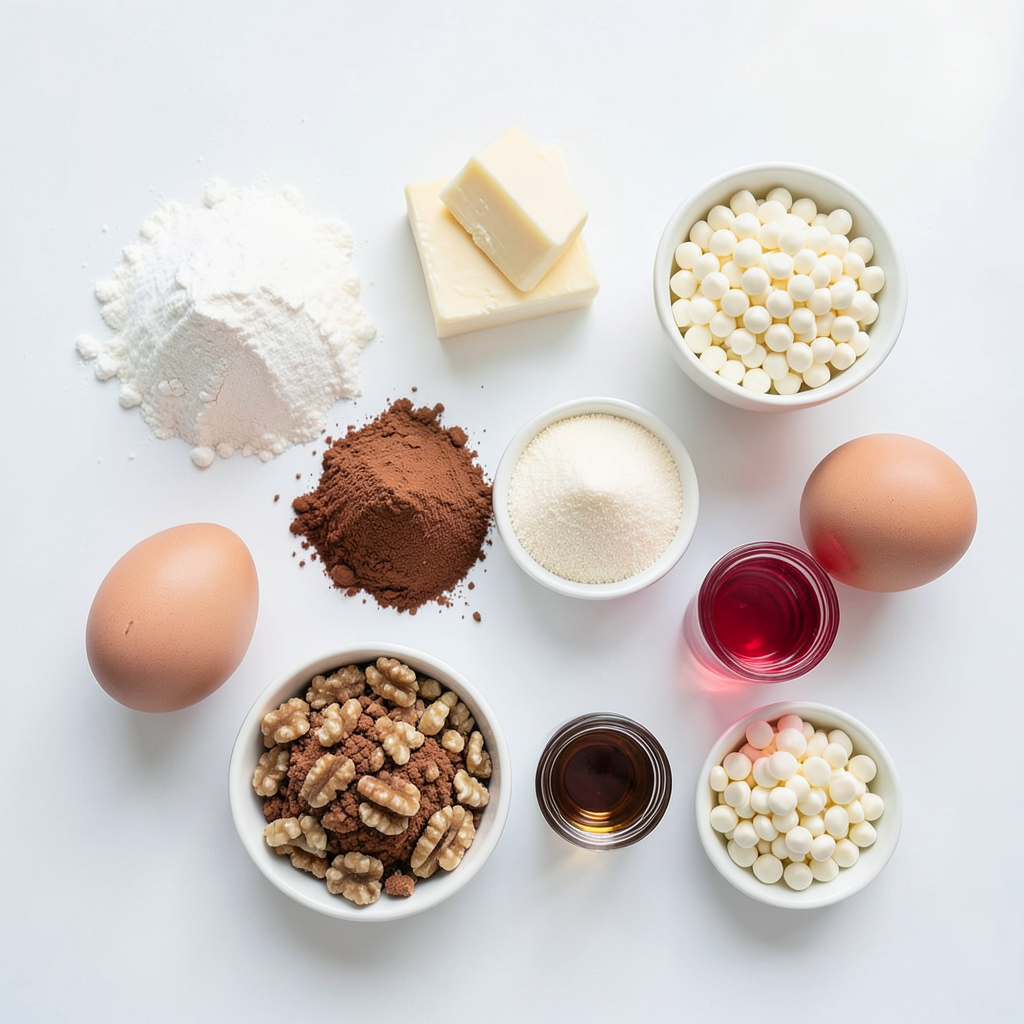
To make these delightful cookies, you need some key ingredients. Here’s what you’ll need:
- 1 cup all-purpose flour
- 1/4 cup cocoa powder
- 1/2 teaspoon baking soda
- 1/4 teaspoon salt
- 1/2 cup unsalted butter, softened
- 1/2 cup granulated sugar
- 1/2 cup brown sugar, packed
- 1 large egg
- 1 teaspoon vanilla extract
- 1 tablespoon red food coloring
- 1/2 cup cream cheese, softened
- 1 cup white chocolate chips
These ingredients create a soft, rich, and tasty cookie. The red food coloring gives it that classic red velvet look.
Optional Ingredients for Enhanced Flavor
You can take these cookies up a notch with some optional ingredients:
- 1/2 cup crushed walnuts (optional)
Adding walnuts gives a nice crunch. If you prefer a nut-free cookie, just skip this ingredient.
Ingredient Substitutions
You might not have everything on hand, and that’s okay! Here are some substitutions:
- For all-purpose flour, you can use a gluten-free blend.
- If you don’t have unsalted butter, salted butter works too. Just skip the salt.
- You can swap out white chocolate chips for dark chocolate chips if you want a richer flavor.
These substitutions help make the recipe fit your needs without losing the cookie’s charm. Feel free to mix and match!
Step-by-Step Instructions
Preparing Your Workspace and Equipment
Start by getting your kitchen ready. Gather all your ingredients and tools. You need a mixing bowl, measuring cups, a whisk, and a baking sheet. Preheat your oven to 350°F (175°C). Line the baking sheet with parchment paper. This step keeps the cookies from sticking and makes cleanup easy.
Mixing the Dough: Key Steps
First, mix your dry ingredients. In a bowl, whisk together 1 cup of all-purpose flour, 1/4 cup of cocoa powder, 1/2 teaspoon of baking soda, and 1/4 teaspoon of salt. Set this bowl aside.
Next, cream the butter and sugars. In a large mixing bowl, beat together 1/2 cup of softened unsalted butter, 1/2 cup of granulated sugar, and 1/2 cup of brown sugar. Mix until it looks creamy and smooth. Then, add in 1 large egg, 1 teaspoon of vanilla extract, and 1 tablespoon of red food coloring. Stir until everything is well mixed.
Now, combine the dry and wet mixtures. Gradually add the dry ingredients into the wet mixture. Mix until just combined. Do not overmix; this keeps the cookies soft.
Forming and Baking the Cookies
Make the cheesecake filling next. In a separate bowl, mix 1/2 cup of softened cream cheese until smooth. Add in 1 cup of white chocolate chips. If you like, mix in 1/2 cup of crushed walnuts. Stir until everything is combined.
Now, it’s time to form the cookies. Take a tablespoon of cookie dough and flatten it in your hand. Place a teaspoon of the cheesecake filling in the center. Fold the dough around the filling and roll it into a ball. Place the balls on the prepared baking sheet, leaving about 2 inches between each.
Bake the cookies in the preheated oven for 12-15 minutes. The edges should set, but the centers can stay soft. After baking, let them cool on the baking sheet for 5 minutes. Then, transfer the cookies to a wire rack to cool completely. Enjoy your tasty red velvet cheesecake cookies!
Tips & Tricks
How to Achieve the Perfect Red Velvet Color
To get the best red color in your cookies, use high-quality red food coloring. I recommend gel food coloring, as it gives a bright hue without adding too much liquid. Start with one tablespoon. If you want a deeper color, you can add a bit more. Mix the food coloring well with your wet ingredients. This helps ensure an even color throughout your cookies.
Baking Tips for Soft and Chewy Cookies
For soft and chewy cookies, be careful not to overmix the dough. Once you combine the wet and dry ingredients, mix just until they come together. Also, watch your baking time closely. Bake the cookies for 12 to 15 minutes, leaving them soft in the center. They will firm up as they cool. Remember to use room temperature butter and eggs. This helps create a creamy mixture, which leads to a better texture.
Serving Suggestions to Enhance Presentation
To make your cookies look even more appealing, serve them on a decorative plate. Dust them lightly with powdered sugar for an elegant touch. You can also drizzle melted white chocolate over the top. This adds a lovely look and an extra layer of flavor. For a fun twist, garnish with crushed walnuts or colorful sprinkles to make them pop.
Pro Tips
- Chill the Dough: For easier handling, refrigerate the cookie dough for 30 minutes before forming the cookies. This helps the dough firm up and prevents spreading during baking.
Variations
Cream Cheese Filling Alternatives
You can play with the cream cheese filling. Instead of using plain cream cheese, try using flavored varieties. Options like strawberry or vanilla work well. You can also mix in some lemon zest for a fresh twist. This will add a nice zing to your cookies. If you want a richer taste, use mascarpone cheese instead. It gives a creamy texture and a unique flavor.
Add-Ins for Cookie Dough
To make your cookies even more special, add some fun mix-ins. You can stir in mini chocolate chips for extra sweetness. Chopped pecans or almonds can add a nice crunch. If you like a fruity flavor, consider adding dried cranberries or cherries. These will give a lovely contrast to the rich red velvet. Choose your favorite add-ins to make each batch unique!
Gluten-Free and Dairy-Free Options
If you need gluten-free cookies, swap the all-purpose flour for a gluten-free blend. Many blends work well in this recipe. For a dairy-free option, use vegan cream cheese and dairy-free butter. You can also find dairy-free chocolate chips. These swaps will help you enjoy the same great taste without the allergens. Always check labels to ensure they meet your dietary needs.
Storage Info
How to Properly Store Cookies
To keep your red velvet cheesecake cookies fresh, use an airtight container. Stack the cookies in a single layer. This method prevents them from sticking together. If you have a lot of cookies, you can use wax paper between the layers. Store them at room temperature for up to a week. This will help maintain their soft texture.
Freezing Cookies for Later Use
If you want to save some cookies for later, freezing is a great option. First, let the cookies cool completely. Then, place them on a baking sheet and freeze for about an hour. After they are firm, transfer them to a freezer-safe bag. Make sure to remove as much air as possible. These cookies can last up to three months in the freezer. When you're ready to enjoy them, just thaw them at room temperature.
Best Practices for Maintaining Freshness
To keep your cookies fresh longer, avoid exposing them to air. Humidity can make them soggy, so a cool, dry place is best. You can also add a slice of bread to the container. The bread will help keep the cookies soft. Make sure to check on your cookies often. If you notice them getting hard, use the bread trick to save them.
FAQs
What makes Red Velvet Cheesecake Cookies different from regular cookies?
Red Velvet Cheesecake Cookies stand out due to their unique flavors and textures. They combine rich chocolate with the tangy sweetness of cream cheese. Regular cookies often lack this creamy filling and vibrant color. The red food coloring gives these cookies a fun and festive look. The soft cheesecake center contrasts beautifully with the chewy cookie exterior. This combination makes each bite a delightful surprise.
Can I make these cookies ahead of time?
Yes, you can make these cookies ahead of time. You can prepare the dough and store it in the fridge for up to three days. This helps the flavors develop even more. You can also freeze the dough for up to three months. Just scoop the dough balls onto a baking sheet, freeze them, and then transfer to a bag. When you’re ready to bake, just add a couple of minutes to the baking time.
How do I adjust baking time for different oven types?
Baking times can vary based on your oven type. If you use a convection oven, reduce the baking time by about 2-3 minutes. Convection ovens circulate air, which cooks food faster. For older or less powerful ovens, you might need to add 1-2 minutes to the baking time. Always keep an eye on your cookies as they bake. The edges should be set while the centers remain soft for the perfect texture.
You now know how to make delicious Red Velvet Cheesecake Cookies. First, gather all the essential ingredients. Next, follow the easy steps for mixing, forming, and baking the cookies. Use tips for color and texture to ensure they turn out perfect. Experiment with variations and find your favorite add-ins. Remember how to store them right so they stay fresh. These cookies are simple yet impressive, making them great for any occasion. Enjoy baking and sharing these treats with friends and family!