Get ready to delight your taste buds with my Red Velvet Crinkle Cookies! These festive treats burst with rich flavor and a stunning appearance. In this post, I’ll share all you need to know, from a detailed ingredients list to step-by-step baking instructions. Plus, I'll throw in tips for perfect texture and fun variations to impress your friends. Let’s create some cookie magic that’s hard to resist!
Why I Love This Recipe
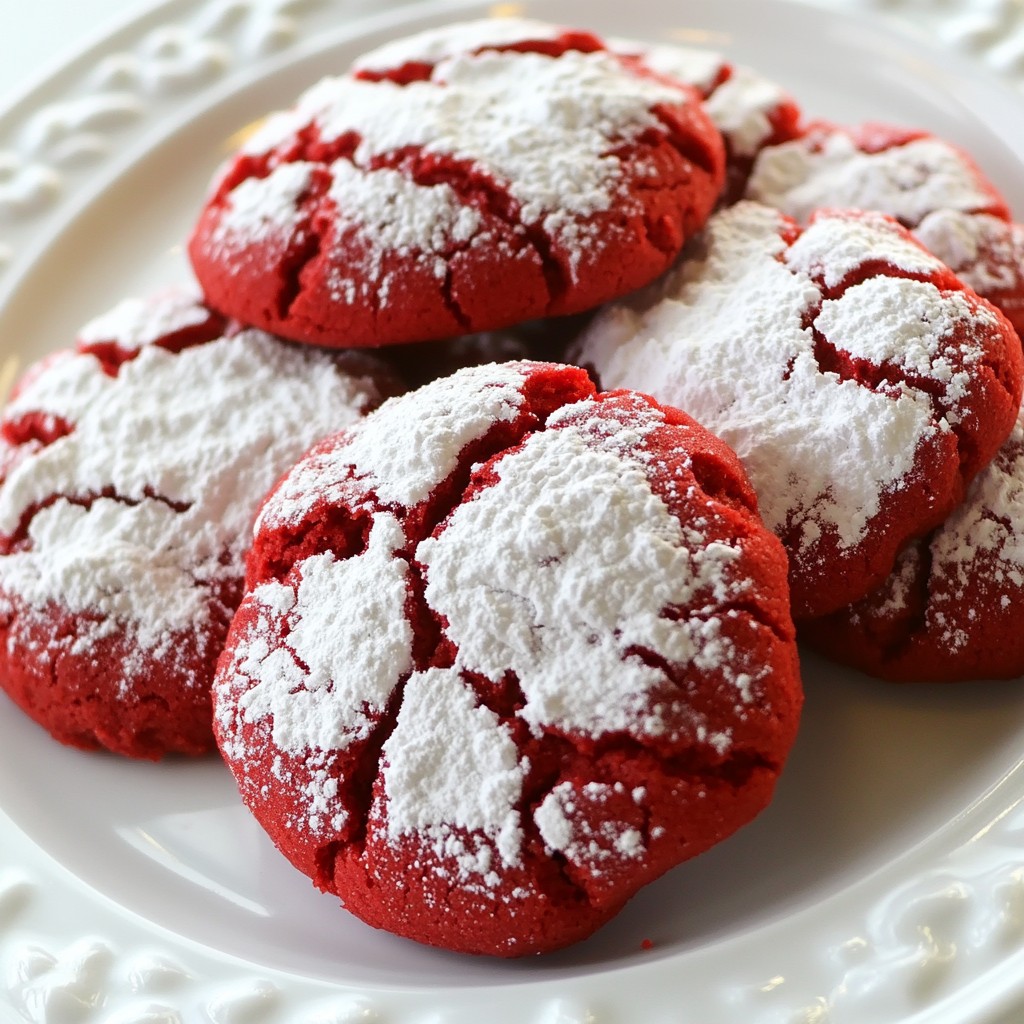
- Festive Appearance: The striking red color and crinkled texture make these cookies a visual delight, perfect for holiday gatherings.
- Deliciously Soft: With a soft center and slightly crispy edges, each bite offers a perfect balance of textures that keeps you coming back for more.
- Simple Ingredients: This recipe uses common pantry staples, making it easy to whip up a batch anytime you're craving something sweet.
- Fun to Make: Rolling the dough in powdered sugar adds a fun touch, making it a great activity to enjoy with family or friends.
Ingredients
List of Ingredients
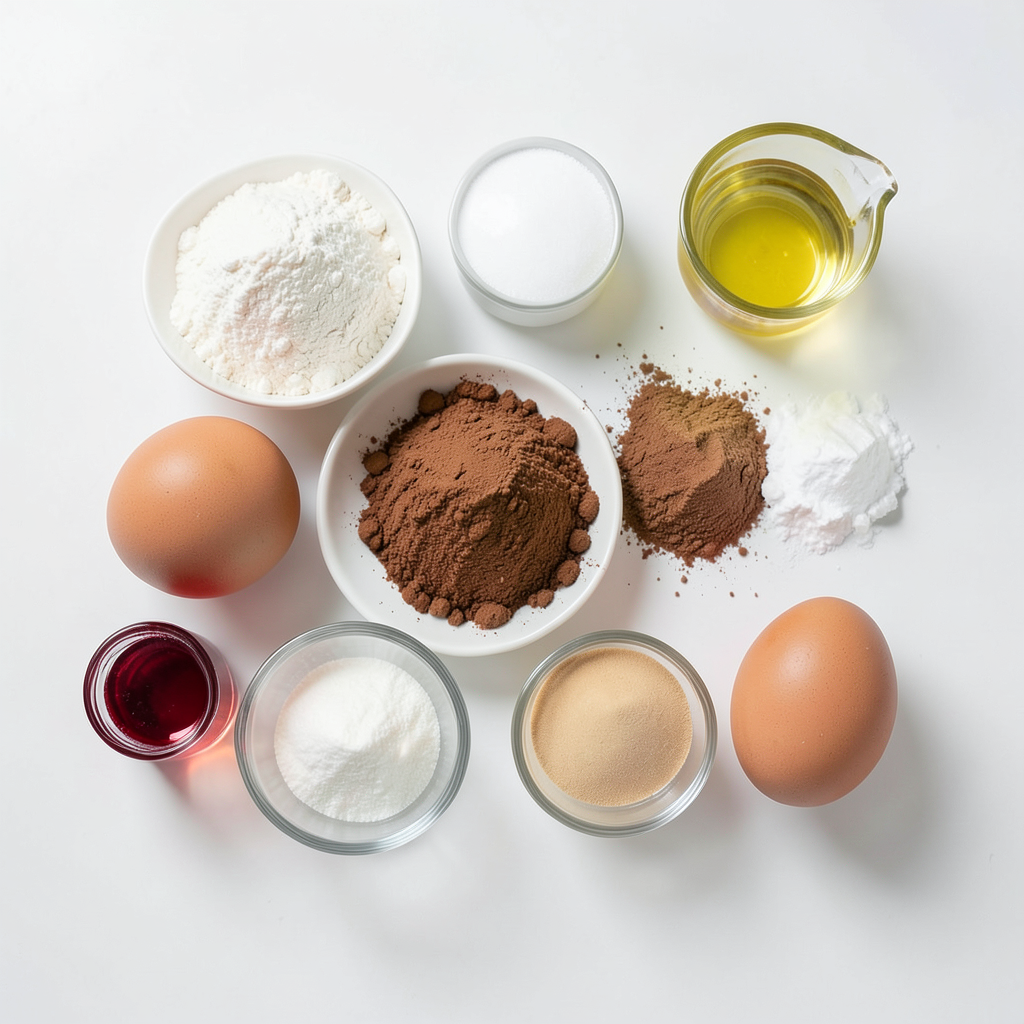
For these delightful red velvet crinkle cookies, gather the following ingredients:
- 2 cups all-purpose flour
- 1 ½ teaspoons baking powder
- 1 teaspoon baking soda
- ½ teaspoon salt
- ½ cup unsweetened cocoa powder
- 1 cup granulated sugar
- ½ cup brown sugar, packed
- ¼ cup vegetable oil
- 2 large eggs
- 1 teaspoon vanilla extract
- 2 tablespoons red food coloring
- Powdered sugar for dusting
Each ingredient plays a key role in the flavor and texture of these cookies.
Ingredient Substitutes:
- For gluten-free cookies, swap all-purpose flour with a gluten-free blend.
- To make these cookies vegan, use flax eggs. Mix 1 tablespoon of ground flaxseed with 2.5 tablespoons of water for each egg.
- You can replace vegetable oil with melted coconut oil for a richer flavor.
Choosing quality ingredients always helps achieve the best results.
Step-by-Step Instructions
Preparation Overview
Start by preheating your oven to 350°F (175°C). This step is key for even baking. Next, grab a baking sheet and line it with parchment paper. This helps prevent the cookies from sticking.
Mixing the Dough
In a medium bowl, whisk together the dry ingredients first. This includes 2 cups of all-purpose flour, 1 ½ teaspoons of baking powder, 1 teaspoon of baking soda, ½ teaspoon of salt, and ½ cup of unsweetened cocoa powder. Make sure they blend well.
In a large bowl, mix 1 cup of granulated sugar, ½ cup of brown sugar, and ¼ cup of vegetable oil until creamy. Add 2 large eggs one at a time, mixing well after each. Then, add 1 teaspoon of vanilla extract. Now comes the fun part: stir in 2 tablespoons of red food coloring. Mix until you reach a bright and beautiful red.
Slowly add the dry mix to the wet ingredients. Stir until just combined. The dough may feel a bit sticky, which is normal.
Chilling and Baking
Chilling the dough is important. Cover the bowl with plastic wrap and refrigerate for at least 30 minutes. This makes the dough easier to handle.
Once chilled, scoop tablespoons of dough and roll them into balls. Roll each ball in powdered sugar until fully coated. Place them on the prepared baking sheet about 2 inches apart.
Bake your cookies for 10-12 minutes. The edges should look set while the centers stay soft. After baking, let the cookies cool on the sheet for 5 minutes. Then, transfer them to a wire rack to cool completely. Enjoy your festive treat!
Tips & Tricks
Common Baking Mistakes
To make perfect red velvet crinkle cookies, watch out for some common mistakes.
- Overmixing the dough: This can make cookies tough. Mix until just combined.
- Skipping the chill time: Chilling the dough helps the cookies keep their shape. Don’t rush this step.
- Not measuring ingredients: Use a scale or measuring cups. Accurate amounts matter.
- Baking on an unlined sheet: Always line your baking sheet. This helps cookies release easily.
Achieving the Right Texture
To ensure your cookies stay soft in the center, follow these tips:
- Use room temperature eggs: This helps them blend well.
- Don’t overbake: Bake just until edges are set, around 10-12 minutes. The center should look soft.
- Let them cool on the sheet: This allows them to finish cooking slightly.
Decorating Ideas
Presentation can make your cookies even more tempting. Here are some ideas:
- Dust with powdered sugar: This gives a snowy look. It’s festive and fun!
- Serve on a colorful platter: Use a bright dish to highlight the red color.
- Pair with milk: A glass of cold milk makes a perfect match!
- Add sprinkles: For a fun touch, sprinkle some on top before serving.
These tips will help you create stunning and tasty red velvet crinkle cookies that everyone will love!
Pro Tips
- Chill the Dough: Refrigerating the dough for at least 30 minutes makes it easier to handle and helps the cookies maintain their shape while baking.
- Use Quality Food Coloring: For the best color, opt for a high-quality gel food coloring, which provides a vibrant hue without adding excess liquid to the dough.
- Don’t Overbake: Keep an eye on the cookies in the oven; they should be soft in the center when you take them out to achieve that perfect chewy texture.
- Presentation Matters: Dusting the cookies with powdered sugar right before serving gives them an elegant look and enhances their festive appeal.
Variations
Gluten-Free Red Velvet Crinkle Cookies
To make gluten-free red velvet crinkle cookies, swap the all-purpose flour with a gluten-free blend. Look for a mix that includes xanthan gum. This gum helps give the cookies structure. Use the same amount as the recipe calls for. The cookies may have a different texture but will still be delicious.
Vegan Red Velvet Crinkle Cookies
For a vegan version, replace the eggs with flax eggs. To make a flax egg, mix 1 tablespoon of ground flaxseed with 2.5 tablespoons of water. Let it sit for five minutes to thicken. You can also use a plant-based oil in place of vegetable oil. Almond or coconut milk can serve as a great substitute for the dairy.
Flavor Customizations
You can add chocolate chips for a richer taste. Dark or white chocolate chips work well. If you want some crunch, add nuts like walnuts or pecans. Just fold them into the dough before chilling. These tweaks make the cookies extra special.
Storage Info
Best Practices for Storing Cookies
To keep your red velvet crinkle cookies fresh, use an airtight container. Glass or plastic containers work well. Place parchment paper between layers if stacking. This helps prevent sticking. Store them at room temperature. A cool, dry place is best. Avoid direct sunlight and heat.
Freezing Red Velvet Crinkle Cookies
Freezing these cookies is easy. First, let the cookies cool completely. Then, place them in a single layer on a baking sheet. Freeze for about an hour until firm. After that, move them to a freezer-safe bag or container. Label with the date for easy tracking. To thaw, take out the cookies and let them sit at room temperature for 30 minutes.
Shelf Life
Red velvet crinkle cookies last about one week at room temperature. For longer storage, freeze them. Frozen cookies can stay fresh for up to three months. Always check for any off smells or changes in texture before eating. Enjoy your tasty treats!
FAQs
What makes red velvet crinkle cookies different?
Red velvet crinkle cookies stand out because of their unique flavor and texture. They have a mild cocoa taste that pairs well with the slight tang of the red food coloring. This gives them a rich and vibrant look. The cookies are soft and chewy on the inside, while the outside is slightly crisp. The powdered sugar coating adds sweetness and a festive touch. This combination makes them perfect for any celebration or holiday gathering.
Can I use gel food coloring instead of liquid?
Yes, you can use gel food coloring instead of liquid. Gel food coloring provides a more intense color. It also does not add extra liquid to the dough. This helps keep the cookie texture just right. When using gel, start with a small amount and mix well. You can always add more if you want a deeper red color. Just remember that a little goes a long way!
How do I make cookies softer or chewier?
To make your cookies softer or chewier, you can adjust a few things in the recipe. Here are some tips:
- Use more brown sugar than granulated sugar. Brown sugar adds moisture.
- Slightly underbake the cookies. Take them out when they still look soft in the center.
- Chill the dough before baking. This helps them hold their shape.
- Use an extra egg yolk for added richness. This can improve the texture.
With these simple changes, you can enjoy a softer, chewier cookie every time!
This guide covered all you need to make red velvet crinkle cookies. You learned about essential ingredients, easy steps for mixing and chilling dough, and tips for perfecting texture. We explored variations, including gluten-free and vegan options. Finally, we discussed storage methods to keep your cookies fresh.
Use these tips to bake with confidence. Enjoy experimenting with flavors and sharing your delicious cookies!