Are you ready to transform your summer tomatoes into delicious home-canned gems? In this guide, I’ll show you how to can Roma tomatoes simply and easily. With just a few ingredients and basic equipment, you’ll savor the taste of summer all year long. Let’s dive into my tested methods for canning, and make sure your jars seal perfectly. Get your kitchen ready; your canned tomatoes await!
Ingredients
List of Required Ingredients
– 10 ripe Roma tomatoes
– 1 lemon (for acidification)
– 1 teaspoon salt
– 1 teaspoon sugar
– ½ teaspoon dried basil (optional)
– ½ teaspoon black pepper
– 4 cups water (for boiling)
– 4 sterilized quart jars with lids
Gather these ingredients before you start. The Roma tomatoes are key. They are meaty and flavorful. The lemon adds necessary acid. This helps keep your tomatoes safe to eat. Salt and sugar balance the flavors. Dried basil and black pepper add a nice touch, but they are optional.
Essential Equipment Needed
– Large pot for boiling
– Slotted spoon
– Ice bath setup
– Clean cloth for wiping jars
You will need a large pot for boiling water. The slotted spoon helps you move the hot tomatoes. Set up an ice bath in a bowl. This bath cools the tomatoes quickly after blanching. A clean cloth is handy for wiping the jars. This ensures a good seal. Having these items ready makes the process smoother.
Step-by-Step Instructions
Preparation of Jars and Tomatoes
First, you need to sterilize your jars and lids. Place them in a pot of boiling water for ten minutes. After boiling, let them air dry on a clean towel. Next, bring a large pot of water to a boil. While you wait, prepare an ice bath in a bowl filled with cold water and ice cubes. Now, grab your tomatoes. Use a sharp knife to score the bottom of each tomato with a small ‘X’. This will help the skins come off easily later.
Blanching and Peeling Tomatoes
Once your water is boiling, carefully add the prepared tomatoes. Blanch them for about 30 seconds to 1 minute. You’ll see the skins start to peel back. After blanching, use a slotted spoon to transfer the tomatoes to the ice bath. Let them cool for about a minute. Now it’s time to peel the skins off. The skins should slide off easily, leaving you with nice, smooth tomatoes.
Packing and Canning Process
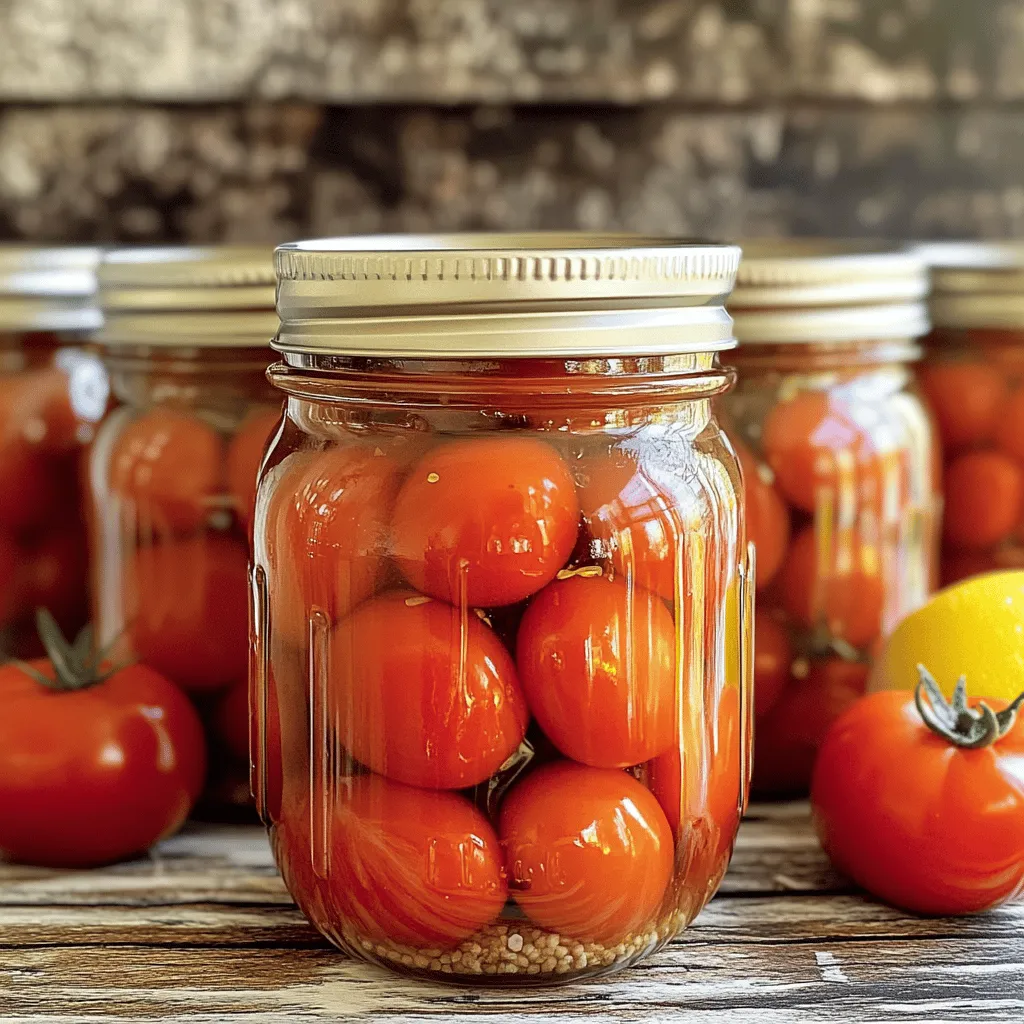
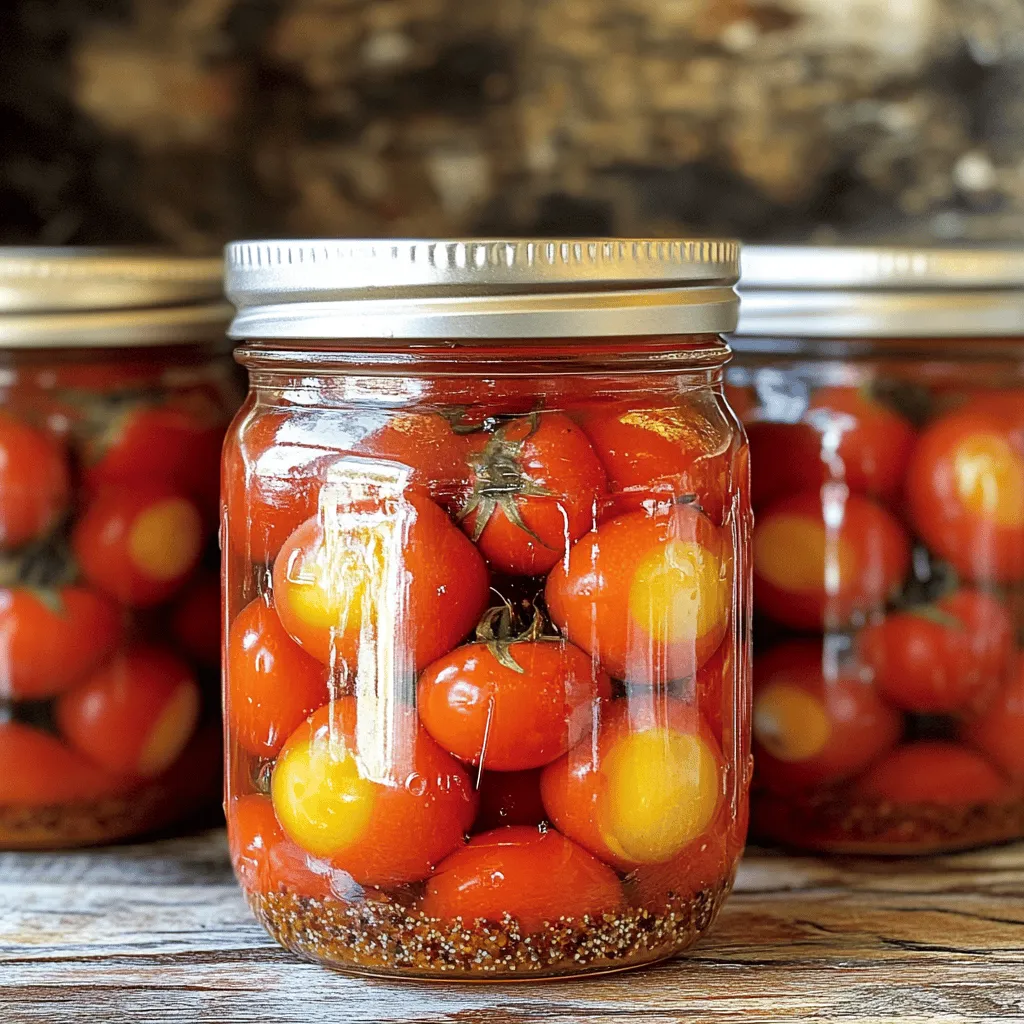
Next, slice the peeled tomatoes in half. Prepare your sterilized jars by adding 1 tablespoon of lemon juice to each jar. This step makes the tomatoes safe to eat by ensuring proper acidity. Now pack the halved tomatoes into the jars, leaving about half an inch of space at the top. Add 1 teaspoon of salt, 1 teaspoon of sugar, dried basil if you like, and a pinch of black pepper to each jar. Carefully pour boiling water over the tomatoes, making sure the water covers them well. Wipe the rims of the jars with a clean cloth to make sure there’s no residue that could prevent a seal. Finally, place the sterilized lids on the jars and screw on the metal bands until they are fingertip-tight.
Processing the Jars
Now for the fun part! Process the jars in a boiling water bath for 40 minutes. If you live at a higher altitude, you might need to adjust the processing time. After 40 minutes, carefully remove the jars from the water. Place them on a clean dish towel to cool completely. As they cool, you should hear a pop, which means the jars are sealing properly. Once cooled, check that the lids are sealed tight. If they are, you can store them in a cool, dark place.
Tips & Tricks
Best Practices for Successful Canning
– Ensure proper acidity with lemon juice: Adding lemon juice helps keep your canned tomatoes safe. It raises the acidity, which prevents bacteria. You need one tablespoon per jar.
– Maintain the correct headspace in jars: Leave about ½ inch of space at the top of each jar. This space allows for expansion during the canning process and helps seal the jars properly.
– Clean rims to secure proper sealing: Wipe the rims of the jars with a clean cloth. This removes any food bits that might stop the lids from sealing well.
Common Mistakes to Avoid
– Overpacking jars can lead to sealing issues: If you pack jars too tightly, they might not seal. This can let air in and spoil your tomatoes.
– Skipping sterilization could lead to spoilage: Always sterilize jars and lids before using them. This step is key to keeping your food safe.
– Not adjusting time for higher altitudes: If you live in a high area, you may need to process jars longer. Adjusting the time keeps your food safe and tasty.
Visual Guides for Better Understanding
– Use diagrams or photos to illustrate each step: Pictures can help you see what each step should look like. They make the process easier to follow.
– Video tutorials can enhance clarity: Watching videos can show you tips and tricks that words alone might miss. You might find helpful links on canning websites or cooking channels.
Creating delicious home-canned tomatoes is not just fun; it’s rewarding.
Variations
Flavor Enhancements
You can easily boost the taste of your canned tomatoes. Try adding herbs like oregano or thyme. These herbs add a nice aroma and depth. You can also consider adding garlic. Fresh garlic or garlic powder works well. It gives a warm, savory note that shines through in your dishes.
Alternative Tomato Varieties
The type of tomato you use makes a big difference. Heirloom tomatoes are rich and sweet. They bring unique flavors to your jars. Cherry tomatoes are small and juicy. They add a fresh taste that can be delightful. Experiment with both types to see how the taste and texture change.
Alternative Preserving Methods
There are other ways to preserve your tomatoes. Pressure canning is one option. It cooks the tomatoes under high heat and pressure. This method can help keep flavors intact. Water bath canning is another common method. It is easier for beginners and works well for acidic foods. You can also make salsa or crushed tomatoes. These are great alternatives that let you enjoy tomatoes in different forms.
Storage Info
Shelf Life of Canned Tomatoes
Home-canned tomatoes can last up to one year. For the best taste, eat them within six months. Store your jars in a cool, dark place. This helps keep them fresh longer. Avoid areas with heat or light. Both can spoil the tomatoes faster.
Signs of Spoilage
Check your jars before use. Look for a tight seal. If the lid pops up when pressed, it is not sealed. Also, inspect for mold. Mold can form on the surface. Bulging jars are another sign of spoilage. If you see any of these signs, throw the jar away.
Best Practices for Using Canned Tomatoes
Canned tomatoes are great for many dishes. You can use them in soups, sauces, or stews. They add rich flavor to pasta and rice. To enhance the taste, add herbs like basil or oregano. A dash of olive oil can also boost flavor. Always taste before serving. These tips will help you create delicious meals with your canned tomatoes.
FAQs
How long does it take to can tomatoes?
Canning tomatoes takes about 1 hour and 10 minutes in total. Here’s the breakdown:
– Prep time: 30 minutes to sterilize jars and prepare tomatoes.
– Processing time: 40 minutes in the boiling water bath.
Can I use different types of tomatoes for canning?
Yes, you can use various tomatoes for canning. Each type adds a unique flavor and texture.
– Roma tomatoes: Great for canning due to their low moisture.
– Heirloom tomatoes: Offer rich flavors but can be juicier.
– Cherry tomatoes: Add sweetness and work well in sauces.
Is home canning safe?
Home canning is safe when you follow proper guidelines. Here are some tips:
– Always use sterilized jars and lids.
– Ensure tomatoes are acidic; add lemon juice or citric acid.
– Process jars in a boiling water bath for the right time.
– Check seals after cooling; a sealed jar should not flex when pressed.
What should I do if my jars didn’t seal?
If jars don’t seal, don’t panic. Here’s what to do:
– Reprocess the jars: Remove the lids, check the rims, and reseal.
– Store unsealed jars in the fridge and use within a few days.
– You can also repurpose the contents into soups or sauces.
By following these guidelines, you can enjoy home-canned tomatoes safely and deliciously.
Canning tomatoes is a rewarding way to enjoy fresh flavors year-round. You need ripe tomatoes, lemon juice, and a few other ingredients. Follow the steps to prepare, blanch, and seal your jars for storage. Remember to pay attention to proper acidity and jar sterilization for safety. With practice, you can experiment with flavors and methods. Enjoy your home-canned tomatoes in various dishes while knowing you’re savoring your effort. Happy canning!