Strawberry Jam Without Pectin Easy Homemade Recipe

WANT TO SAVE THIS RECIPE?

If you love the sweet taste of homemade strawberry jam but want to skip the pectin, you’re in the right place. I’ll show you how to make delicious jam with just a few simple ingredients. No fancy tools or hard-to-find items needed! In this easy recipe, you’ll discover tips for perfecting the texture and flavor. Let’s turn those juicy strawberries into a tasty treat you can enjoy all year long!

Ingredients

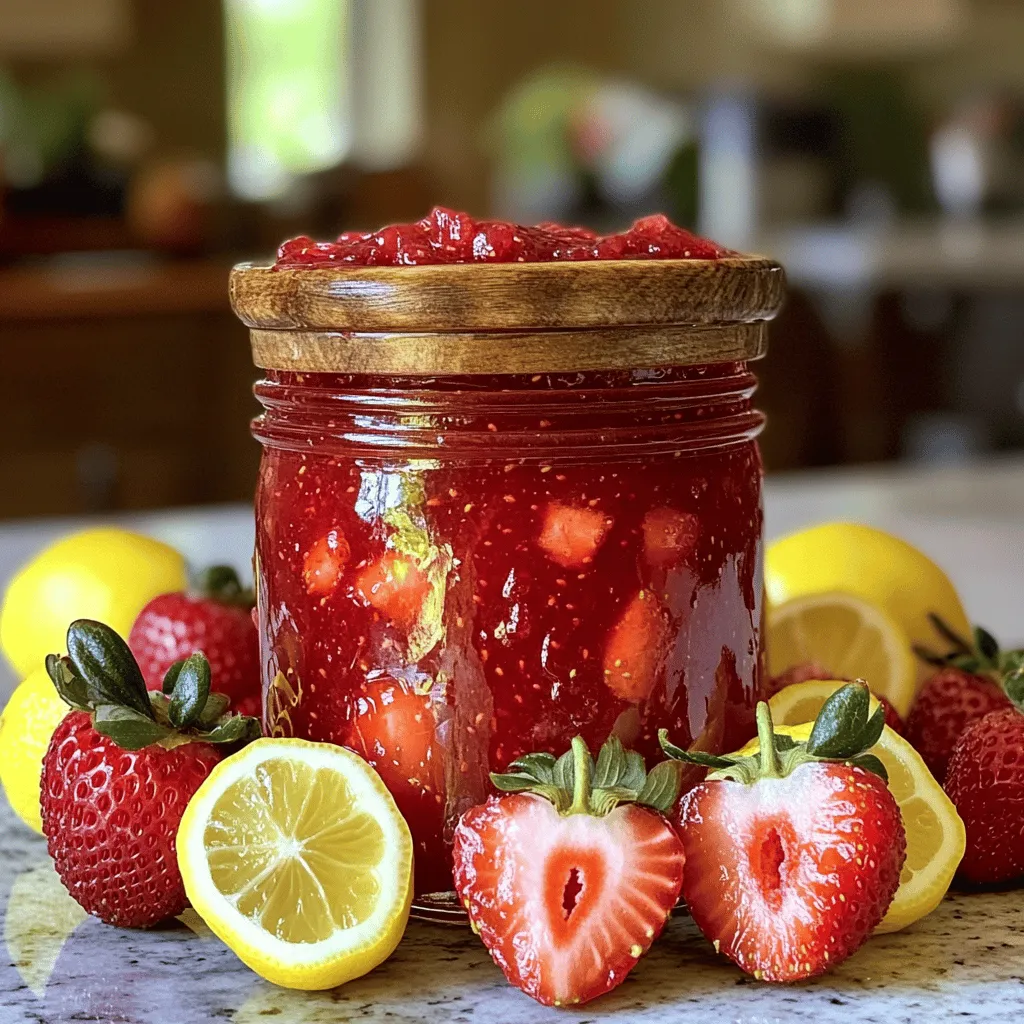
Main Ingredients for Strawberry Jam Without Pectin

To make this easy jam, you need just a few main ingredients:

– 4 cups fresh strawberries, hulled and halved

– 2 cups granulated sugar

– 2 tablespoons fresh lemon juice

– 1 teaspoon vanilla extract

– 1/4 teaspoon salt

These simple ingredients combine to create a rich and sweet jam. The strawberries are the star of the show. Their natural sugars help thicken the mixture without any pectin.

Optional Flavor Enhancers

You can add extra flavors to your jam if you like. Here are some ideas:

– A pinch of cinnamon for warmth

– A few fresh mint leaves for a refreshing taste

– A splash of orange juice for citrus notes

These optional additions can elevate your jam and make it unique. Feel free to experiment with different flavors!

Tools Needed for Preparation

Gather these tools to make your jam-making process smooth:

– A large pot for cooking

– A potato masher or fork for mashing

– A wooden spoon for stirring

– Measuring cups and spoons for accuracy

– Sterilized jars for storage

Having the right tools makes cooking easier and more enjoyable. You can find jars at most stores or recycle old ones. Just make sure they are clean!

For the full recipe, check the complete instructions in the beginning.

Step-by-Step Instructions

Preparing the Strawberries

Start with fresh strawberries. Rinse them under cold water and drain well. Remove the green tops, a process called hulling. Cut the strawberries in half. This helps release their juices. Place the halved strawberries in a large pot. Use a potato masher or fork to mash them. You can leave some chunks for added texture. This step makes your jam feel homemade and rustic.

Cooking the Jam Mixture

Now add the granulated sugar and salt into the pot. Stir the mixture well to combine everything. Let it sit for about 30 minutes. This will help the strawberries release their juices. After 30 minutes, place the pot over medium heat. Stir frequently until the mixture starts to boil. Once it reaches a rolling boil, lower the heat to medium-low. Add in the fresh lemon juice and vanilla extract. Keep cooking for about 30-40 minutes. Stir often to prevent it from sticking. You want the mixture to thicken nicely.

Testing the Jam Consistency

To check the jam’s consistency, use a simple “plate test.” Take a spoonful of the jam and place it on a chilled plate. Run your finger through it. If the line holds, your jam is ready! If it doesn’t, cook it a bit longer. This test helps ensure you have the right thickness. Once it’s ready, remove it from heat. Let it cool slightly before transferring it to sterilized jars. This step is crucial for keeping it fresh and tasty. You can find the full recipe [here](#).

Tips & Tricks

Best Practices for Making Jam

Start with ripe strawberries. They have the best flavor and sweetness. Wash them well but don’t soak. After rinsing, hull and halve them. This helps release their juices. Use a large pot to give the jam space to bubble. Stir often to avoid burning.

How to Avoid Common Mistakes

One mistake is not letting the sugar sit with the strawberries. This step helps draw out the juices. Another mistake is cooking at too high a heat. A gentle boil is key. If you cook too fast, your jam may burn. Always perform the plate test before deciding it’s done.

Achieving the Perfect Texture

To get the right texture, mash the strawberries to your liking. Some prefer smooth jam, while others like chunks. Cooking time also affects thickness. Keep cooking until it thickens to your taste. Remember, the jam will firm up as it cools. If it’s too runny, just cook it a bit longer.

Variations

Adding Other Fruits

You can mix in other fruits for fun flavors. Try adding 1 cup of mashed blueberries or raspberries. These fruits pair well with strawberries. They add a unique taste and color to the jam. You can also use peaches or apples for a different twist. Just remember to adjust the sugar. Some fruits are sweeter than strawberries.

Infusing Flavors (herbs & spices)

Herbs and spices can give your jam a special touch. For a fresh taste, try adding a few mint leaves. Chop them finely and add them while cooking. You can also use a pinch of cinnamon or nutmeg. These spices add warmth and depth to the jam. Experiment with different herbs like basil for a unique flavor.

Adjusting Sweetness Levels

You can change the sweetness to fit your taste. If you like it less sweet, reduce the sugar by half a cup. You can also use honey or maple syrup instead of sugar. Just remember to balance it with the acidity from the lemon juice. Taste the mixture as it cooks to find your perfect level of sweetness.

For more ideas, check out the Full Recipe.

Storage Info

Short-Term Storage Solutions

You can store your homemade strawberry jam in the fridge for up to three weeks. Use clean jars with tight lids. This keeps the jam fresh and tasty. Always let the jam cool before sealing the jar. Keeping it in the fridge helps maintain flavor and texture.

Long-Term Preservation Methods

For longer storage, you can process the jam in a hot water bath. This method allows the jam to last for up to a year. First, fill sterilized jars with hot jam. Seal them tightly, then place them in boiling water. Let them process for about 10 minutes. Remove the jars and let them cool completely. Check that the lids are sealed before storing.

Signs of Spoilage

Always check your jam for signs of spoilage. If you see mold or an off smell, toss it out. If the lid is bulging, that can mean it’s bad, too. Also, if the jam is very runny or has changed color, it might not be safe to eat. Trust your senses; when in doubt, throw it out!

FAQs

Can I use frozen strawberries?

Yes, you can use frozen strawberries. Just make sure to thaw them first. Drain any excess liquid before cooking. This helps prevent a watery jam.

How long does strawberry jam last?

Homemade strawberry jam lasts up to three weeks in the fridge. If you can it properly, it can last up to a year. Always check for signs of spoilage before use.

What can I use instead of pectin?

You don’t need pectin in this recipe. The natural sugars and acids in strawberries work well to thicken the jam. Lemon juice helps too, giving it a fresh taste.

Is there a way to can strawberry jam?

Yes, you can can strawberry jam using a hot water bath. After cooking, pour the jam into sterilized jars. Seal tightly and process in boiling water for about 10 minutes for safe storage.

Why is my jam too runny?

Your jam may be too runny if you didn’t cook it long enough. Make sure to check the consistency with the plate test. If it doesn’t hold a line, cook it a bit longer to thicken.

You now have a clear guide to making strawberry jam without pectin. We covered the main ingredients, step-by-step instructions, and tips to avoid mistakes. You learned how to create tasty variations and store your jam properly.

Making jam is easy and fun. With this knowledge, you can enjoy your homemade strawberry jam with family and friends. Enjoy the sweet taste of your hard work!

To make this easy jam, you need just a few main ingredients: - 4 cups fresh strawberries, hulled and halved - 2 cups granulated sugar - 2 tablespoons fresh lemon juice - 1 teaspoon vanilla extract - 1/4 teaspoon salt These simple ingredients combine to create a rich and sweet jam. The strawberries are the star of the show. Their natural sugars help thicken the mixture without any pectin. You can add extra flavors to your jam if you like. Here are some ideas: - A pinch of cinnamon for warmth - A few fresh mint leaves for a refreshing taste - A splash of orange juice for citrus notes These optional additions can elevate your jam and make it unique. Feel free to experiment with different flavors! Gather these tools to make your jam-making process smooth: - A large pot for cooking - A potato masher or fork for mashing - A wooden spoon for stirring - Measuring cups and spoons for accuracy - Sterilized jars for storage Having the right tools makes cooking easier and more enjoyable. You can find jars at most stores or recycle old ones. Just make sure they are clean! For the full recipe, check the complete instructions in the beginning. Start with fresh strawberries. Rinse them under cold water and drain well. Remove the green tops, a process called hulling. Cut the strawberries in half. This helps release their juices. Place the halved strawberries in a large pot. Use a potato masher or fork to mash them. You can leave some chunks for added texture. This step makes your jam feel homemade and rustic. Now add the granulated sugar and salt into the pot. Stir the mixture well to combine everything. Let it sit for about 30 minutes. This will help the strawberries release their juices. After 30 minutes, place the pot over medium heat. Stir frequently until the mixture starts to boil. Once it reaches a rolling boil, lower the heat to medium-low. Add in the fresh lemon juice and vanilla extract. Keep cooking for about 30-40 minutes. Stir often to prevent it from sticking. You want the mixture to thicken nicely. To check the jam's consistency, use a simple “plate test.” Take a spoonful of the jam and place it on a chilled plate. Run your finger through it. If the line holds, your jam is ready! If it doesn’t, cook it a bit longer. This test helps ensure you have the right thickness. Once it’s ready, remove it from heat. Let it cool slightly before transferring it to sterilized jars. This step is crucial for keeping it fresh and tasty. You can find the full recipe [here](#). Start with ripe strawberries. They have the best flavor and sweetness. Wash them well but don’t soak. After rinsing, hull and halve them. This helps release their juices. Use a large pot to give the jam space to bubble. Stir often to avoid burning. One mistake is not letting the sugar sit with the strawberries. This step helps draw out the juices. Another mistake is cooking at too high a heat. A gentle boil is key. If you cook too fast, your jam may burn. Always perform the plate test before deciding it's done. To get the right texture, mash the strawberries to your liking. Some prefer smooth jam, while others like chunks. Cooking time also affects thickness. Keep cooking until it thickens to your taste. Remember, the jam will firm up as it cools. If it’s too runny, just cook it a bit longer. {{image_2}} You can mix in other fruits for fun flavors. Try adding 1 cup of mashed blueberries or raspberries. These fruits pair well with strawberries. They add a unique taste and color to the jam. You can also use peaches or apples for a different twist. Just remember to adjust the sugar. Some fruits are sweeter than strawberries. Herbs and spices can give your jam a special touch. For a fresh taste, try adding a few mint leaves. Chop them finely and add them while cooking. You can also use a pinch of cinnamon or nutmeg. These spices add warmth and depth to the jam. Experiment with different herbs like basil for a unique flavor. You can change the sweetness to fit your taste. If you like it less sweet, reduce the sugar by half a cup. You can also use honey or maple syrup instead of sugar. Just remember to balance it with the acidity from the lemon juice. Taste the mixture as it cooks to find your perfect level of sweetness. For more ideas, check out the Full Recipe. You can store your homemade strawberry jam in the fridge for up to three weeks. Use clean jars with tight lids. This keeps the jam fresh and tasty. Always let the jam cool before sealing the jar. Keeping it in the fridge helps maintain flavor and texture. For longer storage, you can process the jam in a hot water bath. This method allows the jam to last for up to a year. First, fill sterilized jars with hot jam. Seal them tightly, then place them in boiling water. Let them process for about 10 minutes. Remove the jars and let them cool completely. Check that the lids are sealed before storing. Always check your jam for signs of spoilage. If you see mold or an off smell, toss it out. If the lid is bulging, that can mean it’s bad, too. Also, if the jam is very runny or has changed color, it might not be safe to eat. Trust your senses; when in doubt, throw it out! Yes, you can use frozen strawberries. Just make sure to thaw them first. Drain any excess liquid before cooking. This helps prevent a watery jam. Homemade strawberry jam lasts up to three weeks in the fridge. If you can it properly, it can last up to a year. Always check for signs of spoilage before use. You don’t need pectin in this recipe. The natural sugars and acids in strawberries work well to thicken the jam. Lemon juice helps too, giving it a fresh taste. Yes, you can can strawberry jam using a hot water bath. After cooking, pour the jam into sterilized jars. Seal tightly and process in boiling water for about 10 minutes for safe storage. Your jam may be too runny if you didn’t cook it long enough. Make sure to check the consistency with the plate test. If it doesn’t hold a line, cook it a bit longer to thicken. You now have a clear guide to making strawberry jam without pectin. We covered the main ingredients, step-by-step instructions, and tips to avoid mistakes. You learned how to create tasty variations and store your jam properly. Making jam is easy and fun. With this knowledge, you can enjoy your homemade strawberry jam with family and friends. Enjoy the sweet taste of your hard work!

Strawberry Jam Without Pectin

Discover the joy of making Sweet Strawberry Delight Jam with this easy recipe! This delightful spread combines fresh strawberries, sugar, lemon juice, and vanilla for a burst of flavor in every spoonful. Perfect for breakfast or as a sweet gift, this homemade jam is simple to prepare and great for preserving summer's sweetness. Click through to explore the full recipe and learn how to create your own jar of strawberry bliss!

Ingredients
  

4 cups fresh strawberries, hulled and halved

2 cups granulated sugar

2 tablespoons fresh lemon juice

1 teaspoon vanilla extract

1/4 teaspoon salt

Instructions
 

Rinse the strawberries under cold water and drain well. Hull and halve them, placing them in a large pot.

    Mash the strawberries with a potato masher or fork to your desired consistency—leave some chunks for texture if preferred.

      Add the granulated sugar and salt to the pot, stirring to combine. Let the mixture sit for about 30 minutes to release the juices from the strawberries.

        Once the strawberries and sugar have mingled, place the pot over medium heat, stirring frequently until the mixture begins to boil.

          Once it reaches a rolling boil, reduce to medium-low heat and add the fresh lemon juice and vanilla extract. Continue to cook for about 30-40 minutes, stirring frequently to prevent sticking, until the mixture thickens to your liking.

            Perform a “plate test” to check the consistency: place a spoonful of the jam on a chilled plate and run your finger through it. If it holds the line, it’s ready! If not, cook for a bit longer.

              Once the jam is ready, remove from heat and let it cool slightly before transferring it to sterilized jars while still warm. Seal tightly and allow to cool completely at room temperature.

                Store in the refrigerator for up to three weeks, or process in a hot water bath for longer shelf life.

                  Prep Time, Total Time, Servings: 15 min | 1 hr | About 4 cups

                    WANT TO SAVE THIS RECIPE?

                    Leave a Comment

                    Recipe Rating