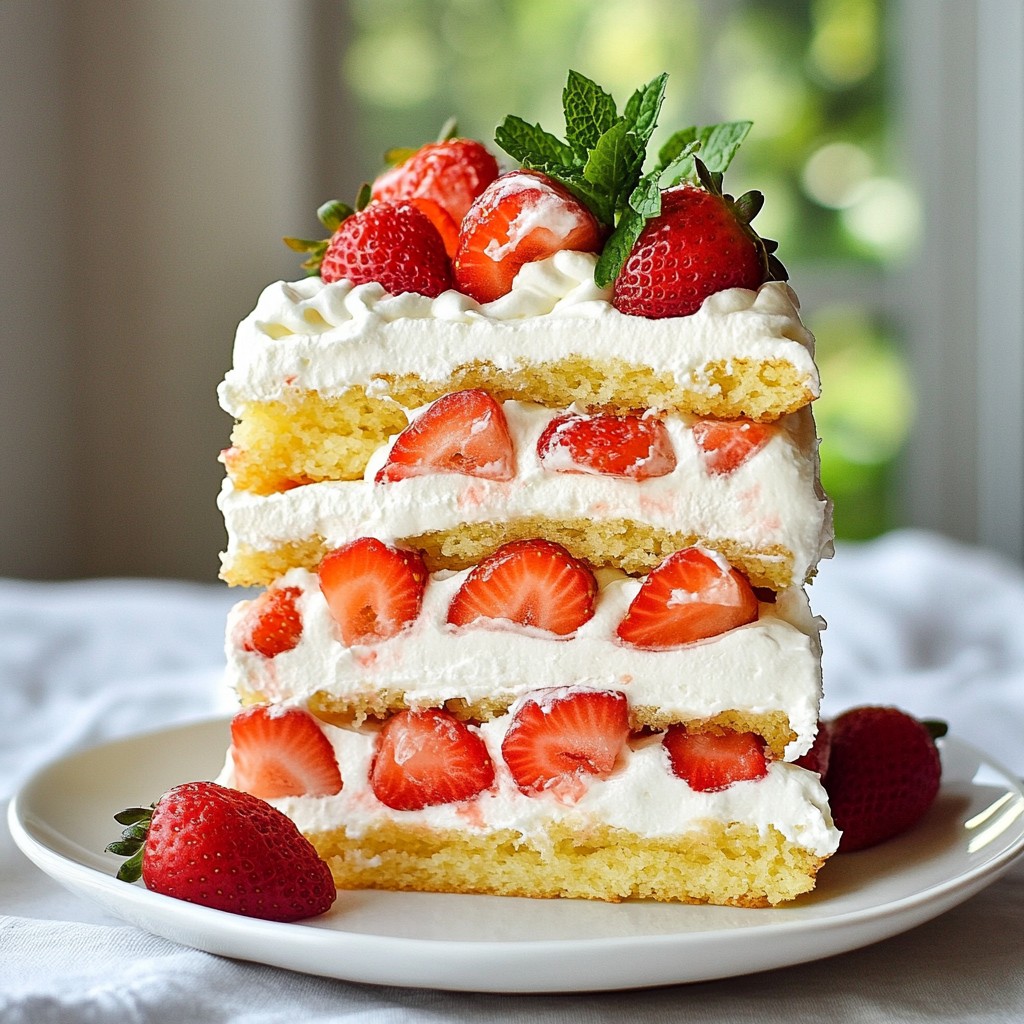
Are you ready to treat yourself to a sweet delight? My Strawberry Shortcake Layer Cake is easy to make and bursting with flavor. This dessert layers fluffy cake, fresh strawberries, and whipped cream for a perfect bite. You’ll impress your friends and family while enjoying the process. Let’s dive into the simple steps and tips to create this delicious cake that makes any occasion extra special!
Why I Love This Recipe
- Delicious Layers: This cake features layers of fluffy vanilla cake, whipped cream, and sweet, juicy strawberries that create a delightful combination of flavors and textures.
- Perfect for Celebrations: Whether it's a birthday, anniversary, or a summer gathering, this Strawberry Shortcake Layer Cake impresses everyone and adds a festive touch to any occasion.
- Simple to Make: With straightforward steps and common ingredients, this recipe is accessible for bakers of all skill levels, making it a fun project for the whole family.
- Fresh and Fruity: Using fresh strawberries not only enhances the flavor but also makes the cake look stunning, showcasing the beauty of seasonal produce.
Ingredients
Detailed Ingredient List
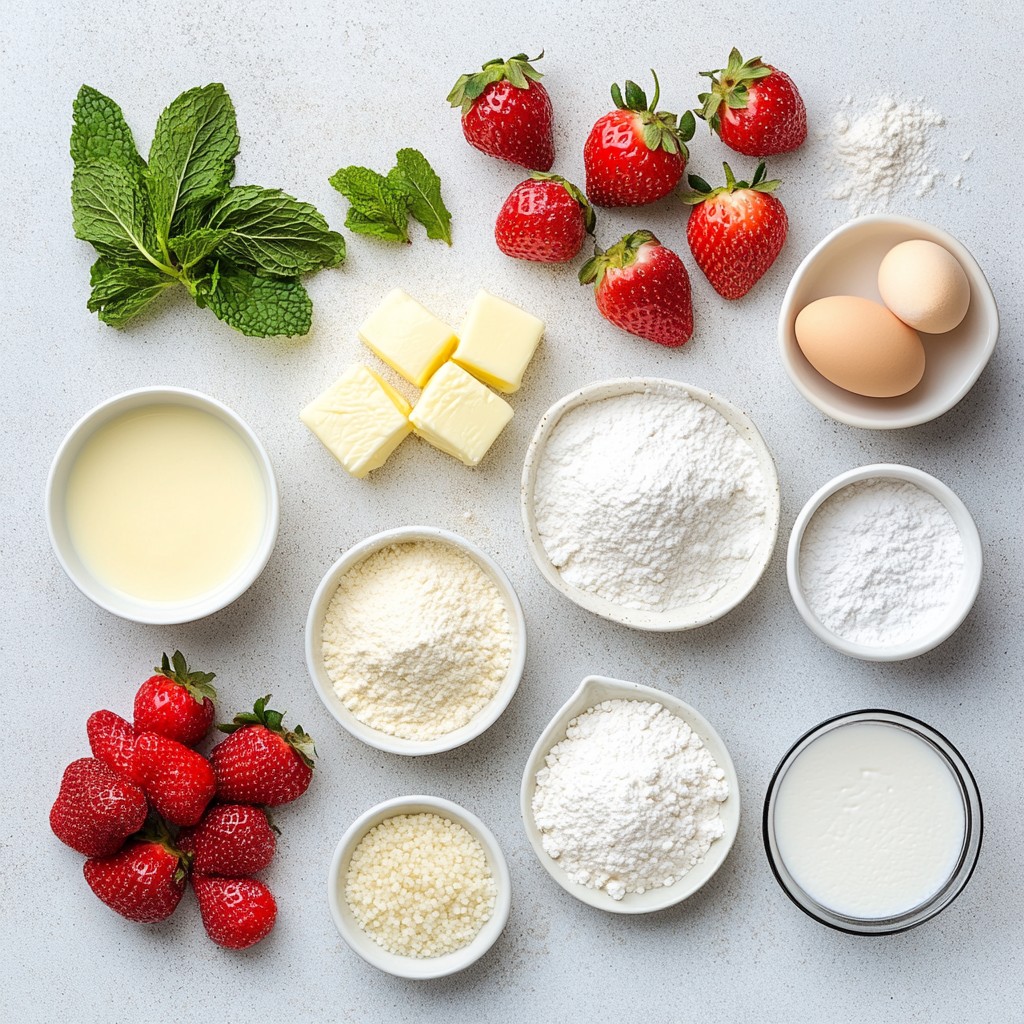
To make a Strawberry Shortcake Layer Cake, you need the following ingredients:
- 2 cups all-purpose flour
- 2 cups granulated sugar
- 1 tablespoon baking powder
- ½ teaspoon salt
- ½ cup unsalted butter, softened
- 1 cup whole milk
- 2 large eggs
- 1 teaspoon vanilla extract
- 4 cups fresh strawberries, hulled and sliced
- 1 ½ cups heavy whipping cream
- ¼ cup powdered sugar
- 1 teaspoon vanilla extract (for whipped cream)
- Fresh mint leaves for garnish
Substitutions for Ingredients
You can swap some ingredients if needed:
- For gluten-free, use a gluten-free flour blend.
- Coconut milk works as a dairy-free choice for whole milk.
- Use a dairy-free butter substitute if you want a vegan option.
- For whipped cream, coconut cream can replace heavy cream.
- Any sweetener can replace granulated sugar, like honey or maple syrup.
Tools and Equipment Needed
Gather these tools to make your cake:
- Three 9-inch round cake pans
- Mixing bowls
- Whisk and spatula
- Hand mixer or stand mixer
- Measuring cups and spoons
- Wire racks for cooling
- Serving platter for assembly
Step-by-Step Instructions
Preheating and Preparing Cake Pans
Start by preheating your oven to 350°F (175°C). It’s important to grease and flour three 9-inch round cake pans. This step helps the cakes come out easily after baking. You can use a little butter or cooking spray to grease the pans, then add a dusting of flour. This will create a non-stick surface.
Mixing Dry and Wet Ingredients
In a large bowl, whisk together 2 cups of all-purpose flour, 2 cups of granulated sugar, 1 tablespoon of baking powder, and ½ teaspoon of salt. Make sure to mix these well. In another bowl, cream ½ cup of softened unsalted butter until it's light and fluffy. Next, add the dry mix to the butter, alternating with 1 cup of whole milk. Begin and end with the flour mix. Mix until just combined. Now, you can add 2 large eggs and 1 teaspoon of vanilla extract to the batter. Mix until smooth.
Baking and Cooling the Cakes
Pour the batter evenly into your prepared cake pans. Bake in the preheated oven for 25 to 30 minutes. Check for doneness by inserting a toothpick into the center. If it comes out clean, your cakes are ready. Remove the cakes from the oven and let them cool in the pans for 10 minutes. After that, carefully transfer them to wire racks to cool completely.
Preparing Strawberries and Whipping Cream
While your cakes cool, prepare the strawberries. Take 4 cups of fresh strawberries, hull and slice them. Mix these strawberries with 1 tablespoon of sugar. Let them sit for about 20 minutes. This will help the strawberries release their juices. In a large bowl, beat 1 ½ cups of heavy whipping cream, ¼ cup of powdered sugar, and 1 teaspoon of vanilla extract until soft peaks form.
Assembling and Decorating the Cake
Once the cakes are cool, it’s time to assemble. Place one layer on a serving platter. Spread a layer of whipped cream over it, then spoon some of the macerated strawberries on top. Repeat this process with the second cake layer. Finally, add the third layer. Frost the top and sides of the cake with any remaining whipped cream. Add any leftover strawberries for decoration. You can also add fresh mint leaves for a pop of color.
Tips & Tricks
Achieving the Perfect Cake Texture
To get a soft and fluffy cake, start with room temperature butter and eggs. This helps mix well and trap air. Make sure to cream the butter until it's light and fluffy. When you add the flour, mix just until combined. Overmixing can lead to a dense cake. Bake the cakes until a toothpick comes out clean, and let them cool completely before stacking. This helps keep the layers from squishing together.
Variations for Flavor and Presentation
You can change the flavor by adding lemon zest or almond extract. For a fun twist, try adding layers of chocolate ganache between the cake and strawberries. You can also swap the strawberries for other fruits like peaches or blueberries. To make it pretty, use a piping bag to decorate the whipped cream on top. Fresh mint leaves are a great touch too!
Recommended Serving Suggestions
Serve this cake chilled for the best taste. It pairs well with a scoop of vanilla ice cream or a drizzle of chocolate sauce. Try adding a berry sauce on the plate for extra color. For gatherings, cut the cake into small slices. This way, everyone can have a taste without feeling too full.
Pro Tips
- Use Fresh Strawberries: Always opt for fresh, ripe strawberries for the best flavor. They should be bright red and fragrant to enhance the taste of your cake.
- Chill the Whipped Cream: For a better texture, chill your mixing bowl and beaters before whipping the cream. This helps achieve soft peaks more quickly.
- Layering Technique: When assembling the cake, spread the whipped cream and strawberries evenly. This ensures that every slice has a balanced amount of filling.
- Storage Tips: To keep the cake fresh, store it in the refrigerator and cover it with plastic wrap. Enjoy it within 2-3 days for the best taste and texture.
Variations
Gluten-Free Strawberry Shortcake Layer Cake
You can easily make a gluten-free version. Swap the all-purpose flour for a gluten-free blend. Look for one with xanthan gum for better texture. The rest of the ingredients stay the same. You will enjoy the same great taste without gluten.
Chocolate Strawberry Shortcake Layer Cake
For a chocolate twist, add cocoa powder. Use ¾ cup of unsweetened cocoa powder in place of ¾ cup of flour. This adds rich chocolate flavor. You can also layer in chocolate ganache between the cake layers. It brings a fun twist to the classic recipe.
Vegan Strawberry Shortcake Layer Cake
Make this cake vegan by using plant-based ingredients. Replace the butter with coconut oil or vegan butter. Use almond or soy milk instead of whole milk. For eggs, try flax eggs. Mix one tablespoon of ground flaxseed with three tablespoons of water. Let it sit for five minutes to thicken. This cake will be just as tasty and kind to animals.
Storage Info
How to Store Leftover Cake
To keep your leftover strawberry shortcake layer cake fresh, place it in an airtight container. If you do not have one, wrap the cake tightly in plastic wrap. Store it in the fridge for up to three days.
If you want to keep it longer, freezing is a great option. Just make sure to use a suitable container that seals well.
Freezing and Thawing Instructions
You can freeze your cake if you have extra slices. First, slice the cake into pieces. Wrap each piece in plastic wrap, then place them in a freezer bag. This will protect them from freezer burn.
When you want to enjoy a slice, take it out and let it thaw in the fridge overnight. If you need it fast, leave it on the counter for about 1-2 hours.
Best Practices for Maintaining Freshness
To maintain the cake's freshness, keep it away from strong odors in the fridge. Cover it well to keep moisture in.
If you want to enjoy the flavors longer, keep only the amount you will eat soon in the fridge. The rest can stay in the freezer. This way, you can always have a slice of delight ready to go!
FAQs
How can I make the cake ahead of time?
You can bake the cake a day before. After cooling, wrap each layer in plastic wrap. Store the layers at room temperature. If you need to store them longer, keep them in the fridge. Just remember to let them sit out for a bit before you assemble the cake.
Can I use frozen strawberries for this recipe?
Yes, you can use frozen strawberries. Thaw them first. Drain any excess liquid to avoid a soggy cake. Fresh strawberries have a better texture and flavor, but frozen strawberries work in a pinch.
What can I substitute for heavy whipping cream?
You can use coconut cream or whipped topping. If you need a dairy-free option, coconut cream is great. For a lighter option, consider using half-and-half, but it won’t whip as well.
How do I fix a sunk cake?
If your cake sinks in the middle, it might be undercooked. To fix it, check your oven temperature with a thermometer. Bake the cake longer but cover it with foil to avoid burning. For a flat cake, level the top with a knife.
This blog post walks you through making a delicious strawberry shortcake layer cake. We covered the key ingredients and helpful substitutions. You learned the best tools to use, plus step-by-step instructions for mixing and baking. I shared useful tips and variations, including gluten-free and vegan options. Lastly, you discovered the best ways to store your cake.
I hope you feel ready to bake this sweet treat. Enjoy every slice!


