If you’re ready to bring some vintage charm to your holiday baking, you’re in the right place! Vintage Christmas sugar cookies are not just treats; they’re a warm hug from the past. In this guide, I’ll share all the classic recipes, tips, and tricks you need to create these delightful cookies at home. You’ll be baking festive goodies that sparkle with nostalgia and flavor in no time!
Why I Love This Recipe
- Classic Flavor: These vintage sugar cookies bring back the nostalgic flavors of Christmas, making them a perfect treat for the holiday season.
- Customizable Decorations: The light and fluffy cookies are a blank canvas for creativity with colorful sprinkles or edible glitter.
- Fun for All Ages: Baking, cutting, and decorating these cookies is a fun activity that the whole family can enjoy together.
- Make Ahead: The dough can be made in advance and chilled in the refrigerator, making holiday baking stress-free.
Ingredients
List of Required Ingredients
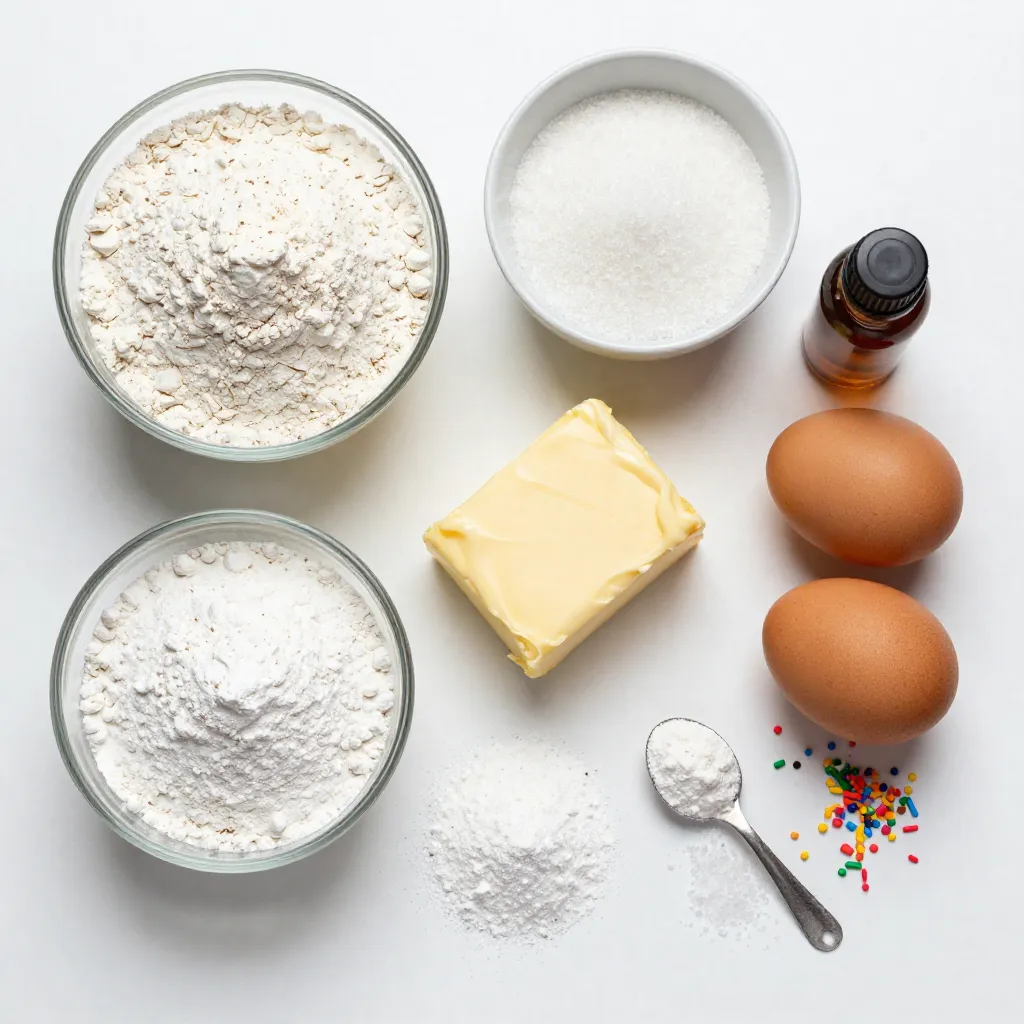
To make vintage Christmas sugar cookies, you need the following:
– 2 3/4 cups all-purpose flour
– 1 teaspoon baking powder
– 1/2 teaspoon baking soda
– 1/4 teaspoon salt
– 1 cup unsalted butter, softened
– 1 1/2 cups granulated sugar
– 1 large egg
– 1 teaspoon vanilla extract
– 1 teaspoon almond extract
– 1/2 cup powdered sugar (for dusting)
– Colorful sprinkles or edible glitter (for decoration)
Alternative Ingredient Suggestions
You can swap some ingredients if needed. Try using:
– Coconut oil instead of unsalted butter for a dairy-free option.
– Brown sugar instead of granulated sugar for a richer flavor.
– Egg replacer or applesauce for a vegan choice.
– Gluten-free flour blends for a gluten-free cookie.
Tips for Choosing Quality Ingredients
Selecting good ingredients is key to great cookies. Here are some tips:
– Use fresh, unsalted butter for the best taste.
– Choose high-quality vanilla and almond extracts for stronger flavor.
– Use fine granulated sugar for a smoother texture.
– Check the expiration date on your baking powder and soda for freshness.
– Opt for organic flour if you want a more natural product.
Step-by-Step Instructions
Detailed Preparation Steps
To start, gather your ingredients. You need:
– 2 3/4 cups all-purpose flour
– 1 teaspoon baking powder
– 1/2 teaspoon baking soda
– 1/4 teaspoon salt
– 1 cup unsalted butter, softened
– 1 1/2 cups granulated sugar
– 1 large egg
– 1 teaspoon vanilla extract
– 1 teaspoon almond extract
– 1/2 cup powdered sugar (for dusting)
– Colorful sprinkles or edible glitter (for decoration)
In a medium bowl, whisk together flour, baking powder, baking soda, and salt. Set this bowl aside. In a large bowl, beat the softened butter and granulated sugar. Mix until you see it become light and fluffy, about 3 to 5 minutes. Next, add the egg, vanilla, and almond extract. Beat this well to combine.
Gradually, add the dry mixture to the wet mix. Use low speed, mixing just until the dough forms. Be careful not to overmix. Divide the dough into two equal parts. Flatten each part into discs and wrap them in plastic. Chill in the fridge for at least 2 hours or overnight for the best result.
Tips for Proper Chilling
Chilling the dough is key for great cookies. It helps the cookies hold their shape when baking. If you are in a rush, chill for two hours. However, chilling overnight can make the flavor even better. Make sure to wrap the dough well. This keeps it fresh and prevents it from drying out.
Baking Techniques for Perfect Cookies
When ready to bake, preheat your oven to 350°F (175°C). Line your baking sheets with parchment paper. Roll out one disc of dough on a lightly floured surface. Aim for about 1/4 inch thick. Use cookie cutters to cut out fun shapes. Place the cookies on the sheets, leaving space between them.
Bake for 8 to 10 minutes. Look for golden edges. Keep an eye on them to avoid over-baking. Once done, let them cool on the baking sheets for a few minutes. Then, move the cookies to a wire rack to cool completely. Once cooled, dust with powdered sugar and decorate with sprinkles or edible glitter. Enjoy your beautiful vintage Christmas sugar cookies!
Tips & Tricks
Decorating Ideas for Vintage Flair
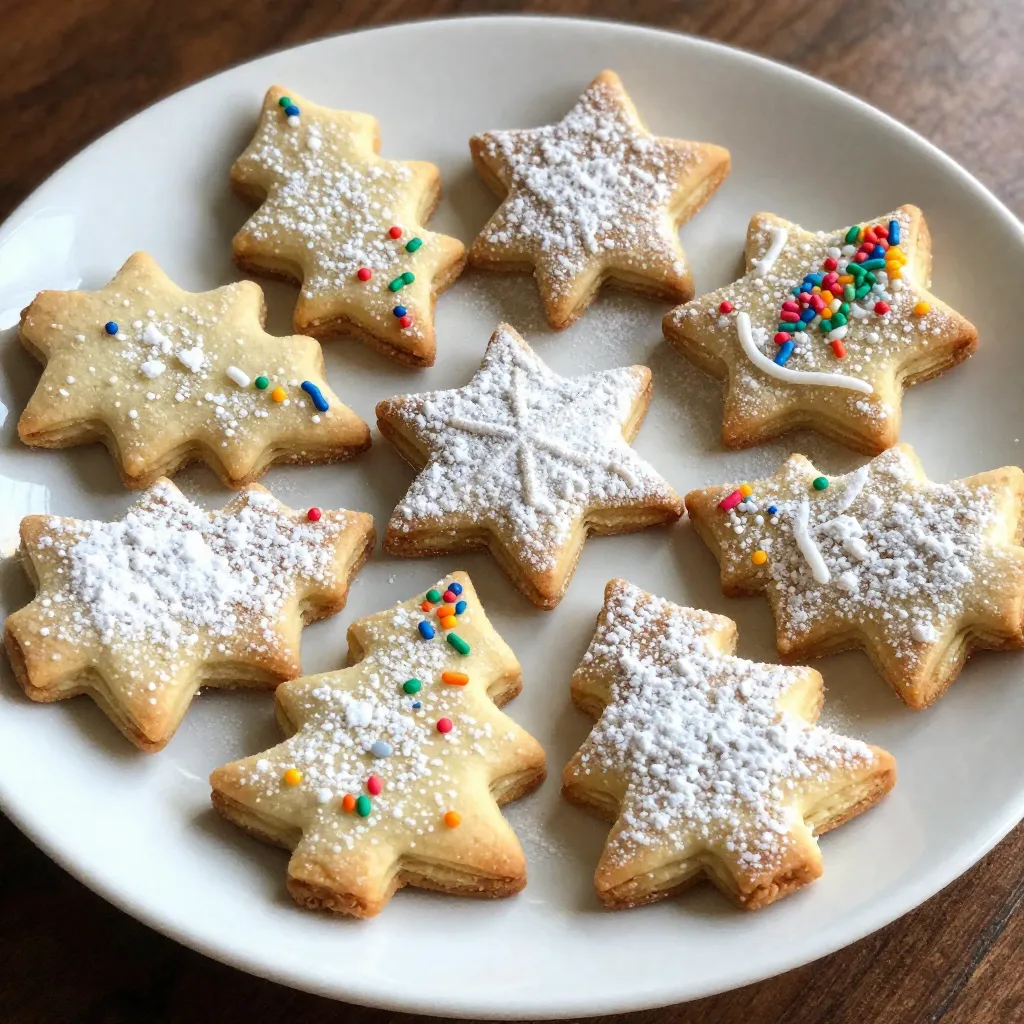
To make your cookies shine, use simple and fun decorations. Dust each cookie with powdered sugar for a snowy look. You can also add colorful sprinkles or edible glitter to make them pop. Use classic shapes like stars, trees, or bells to keep the vintage vibe alive. For an extra touch, consider wrapping each cookie in clear bags tied with a ribbon. This makes them perfect gifts for friends and family.
Common Mistakes to Avoid
One common mistake is overmixing the dough. This can make your cookies tough, not soft. Always mix just until the dough comes together. Another mistake is skipping the chilling step. Chilling helps the cookies hold their shape while baking. Lastly, watch the baking time closely. If you bake too long, you’ll end up with dry cookies. Check them at 8 minutes to catch them when they’re perfect.
How to Achieve the Perfect Cookie Texture
To get that ideal cookie texture, start with soft butter. This ensures your cookies are light and fluffy. Mix the butter and sugar until it feels airy. Keep your flour measurement accurate by spooning it into your cup and leveling it off. When rolling out the dough, ensure it’s about 1/4 inch thick. This helps the cookies bake evenly. Lastly, let them cool completely before decorating. This prevents melting and keeps your designs neat.
Pro Tips
- Chill the Dough: Chilling the dough not only makes it easier to handle but also enhances the flavors as the ingredients meld together.
- Use Quality Extracts: Opt for high-quality vanilla and almond extracts to elevate the flavor profile of your cookies.
- Watch the Baking Time: Every oven is different; keep an eye on your cookies to avoid over-baking. They should be golden around the edges but soft in the center.
- Decorate After Cooling: Ensure the cookies are completely cooled before dusting with powdered sugar or decorating to prevent melting and smudging.
Variations
Flavor Variations
You can make vintage Christmas sugar cookies even more exciting. Try adding flavors like:
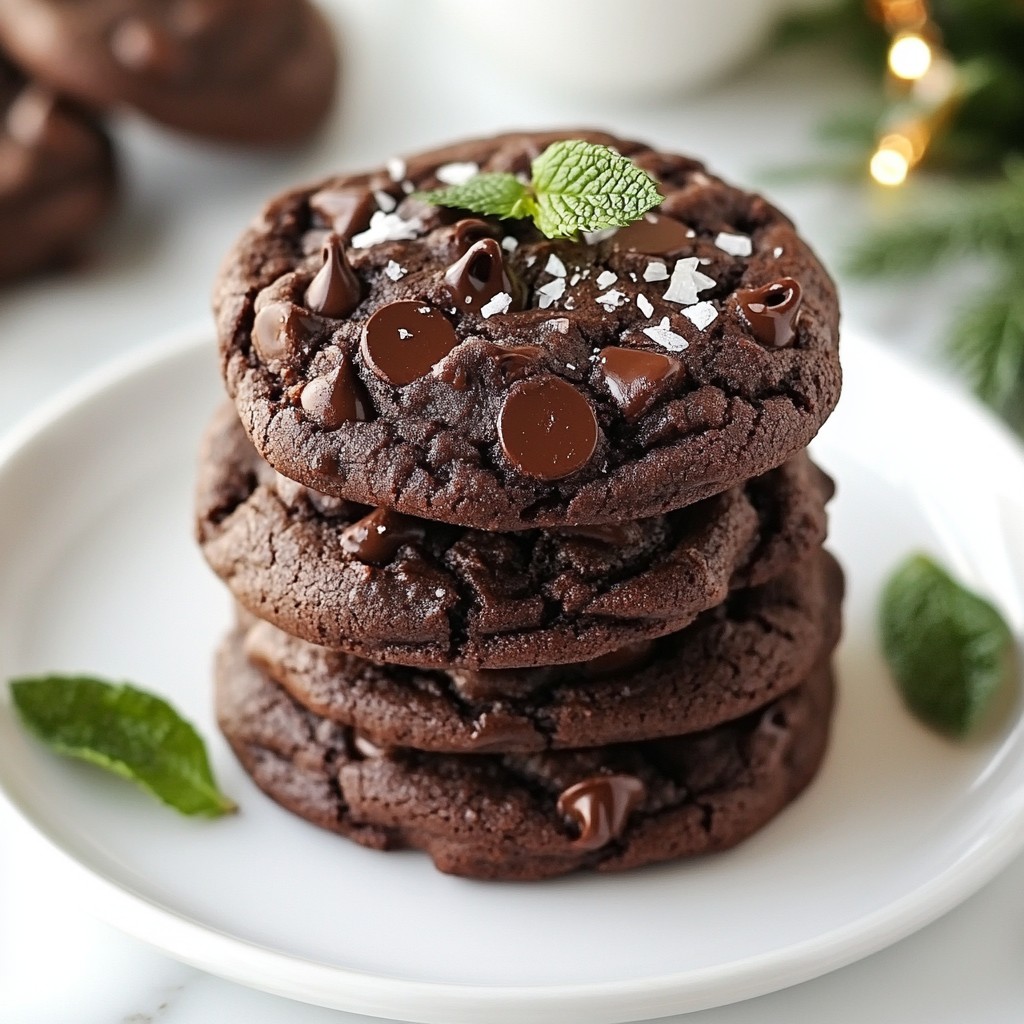
– Chocolate: Mix in cocoa powder for a rich taste.
– Citrus: Add lemon or orange zest for a fresh burst.
– Spices: Use cinnamon or nutmeg for a warm feel.
Each flavor changes the cookie’s vibe. You can keep the base the same and switch the flavor. It’s easy and fun!
Creative Shapes and Themes for Cutouts
Cut your cookies into fun shapes. Use cookie cutters for stars, trees, or gingerbread men. You can also create themed shapes for different holidays:
– Christmas: Use snowflakes and candy canes.
– Winter: Try mittens or snowmen.
– New Year: Make clocks or champagne glasses.
Let your creativity shine! You can mix and match shapes for a beautiful cookie platter.
Alternative Decorations
Decorating your cookies adds charm. Here are some fun ideas:
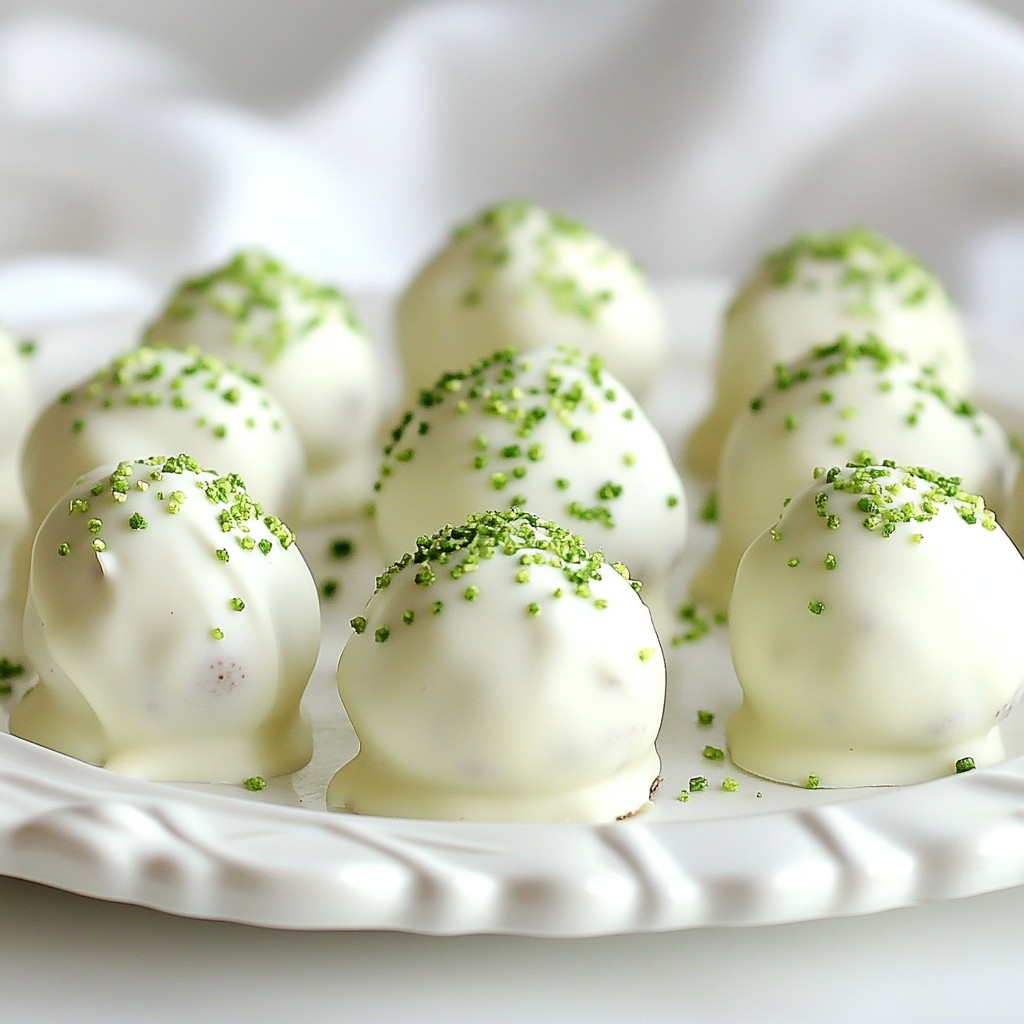
– Glazes: Make a simple glaze with powdered sugar and a little milk. Drizzle it on for a glossy finish.
– Icing: Use royal icing for detailed designs. It’s great for outlining and flooding shapes.
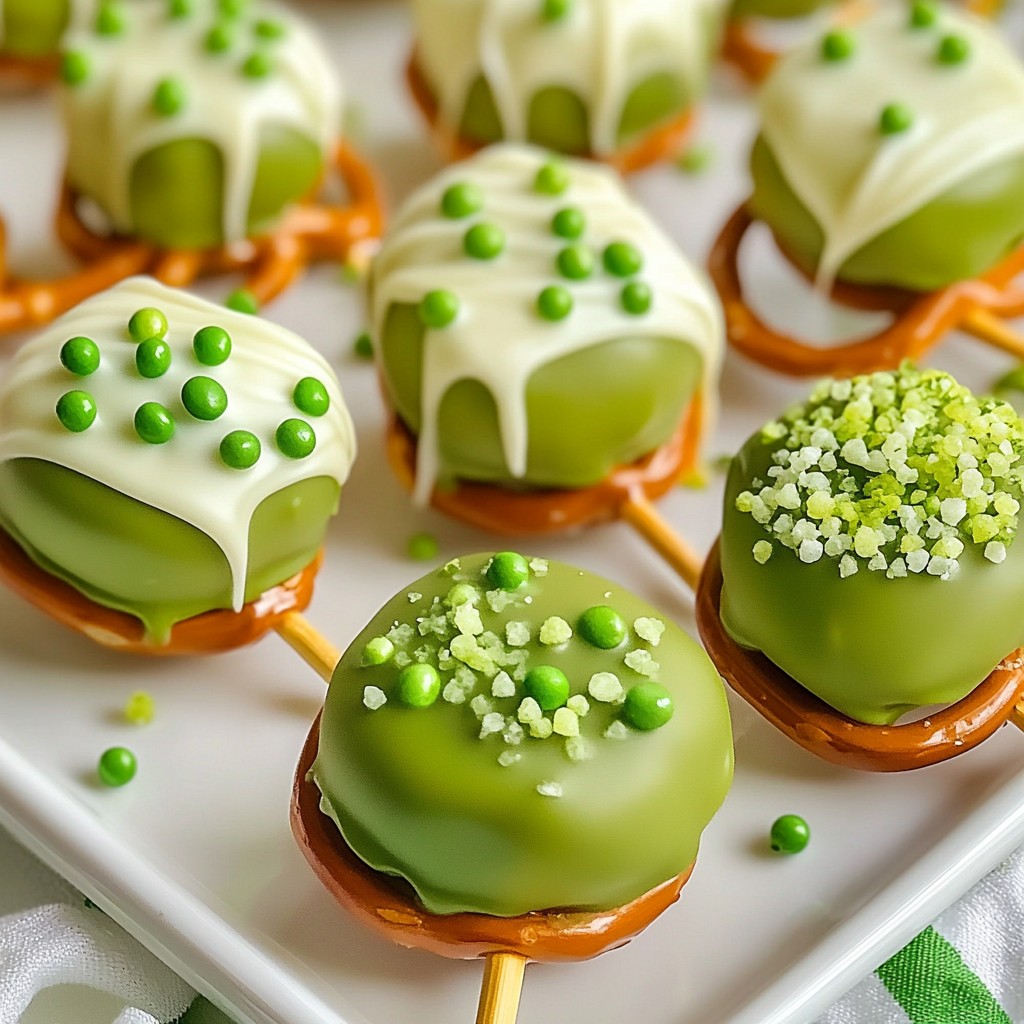
– Sprinkles: Colorful sprinkles or edible glitter can make your cookies pop.
Try different decorations for each batch. You can make them as simple or fancy as you like. Enjoy your baking adventure!
Storage Info
How to Properly Store Cookies
To keep your vintage Christmas sugar cookies fresh, store them in an airtight container. Line the container with parchment paper to absorb any moisture. Place the cookies in a single layer. If you have many cookies, add parchment paper between layers. This method helps to avoid sticking.
Tips for Freezing Dough and Baked Cookies
Freezing cookie dough is easy. After chilling the dough, shape it into discs. Wrap each disc tightly in plastic wrap and place them in a freezer bag. You can freeze the dough for up to three months. To bake, thaw the dough in the fridge overnight before rolling and cutting.
For baked cookies, let them cool completely. Then, place them in an airtight container or freezer bag. You can freeze baked cookies for up to two months. When you’re ready to enjoy, just thaw them at room temperature.
Shelf Life of Vintage Christmas Sugar Cookies
When stored properly, these cookies last about one week at room temperature. If you freeze them, they stay fresh for months. Just remember to check for any signs of freezer burn when thawing. Enjoy your festive treats for as long as possible!
FAQs
What is the difference between sugar cookies and vintage sugar cookies?
Vintage sugar cookies have a special twist. They use both vanilla and almond extracts. This gives them a richer flavor. The texture is also unique. Vintage cookies are often thicker and softer. Regular sugar cookies can be crispier and less flavorful. The vintage style also focuses on decoration. You can use colorful sprinkles or edible glitter for a festive look.
Can I use margarine instead of butter?
Yes, you can use margarine, but it may change the taste. Butter adds a rich flavor that margarine lacks. If you use margarine, choose one with a high-fat content. This helps keep the cookies soft. The texture might be a bit different, too. Butter gives a nice, chewy bite. Margarine may make the cookies a bit more crumbly.
How can I make these cookies gluten-free?
To make gluten-free cookies, swap all-purpose flour for a gluten-free blend. Look for a mix that includes xanthan gum. This helps bind the dough, giving it a good texture. You can also use almond flour or coconut flour. However, these flours can change the flavor. Adjust the sugar if needed, as these flours can be sweeter. Always check for gluten in your other ingredients too.
You learned about the key ingredients and how to pick the best ones. I shared step-by-step baking tips for perfect cookies, plus ways to add vintage flair. We also explored fun variations and how to store cookies properly. Keeping these tips in mind will help you bake better cookies. Enjoy the process, and don’t be afraid to get creative. Happy bakin