-min.png)
-min.png)
-min.png)
-min.png)
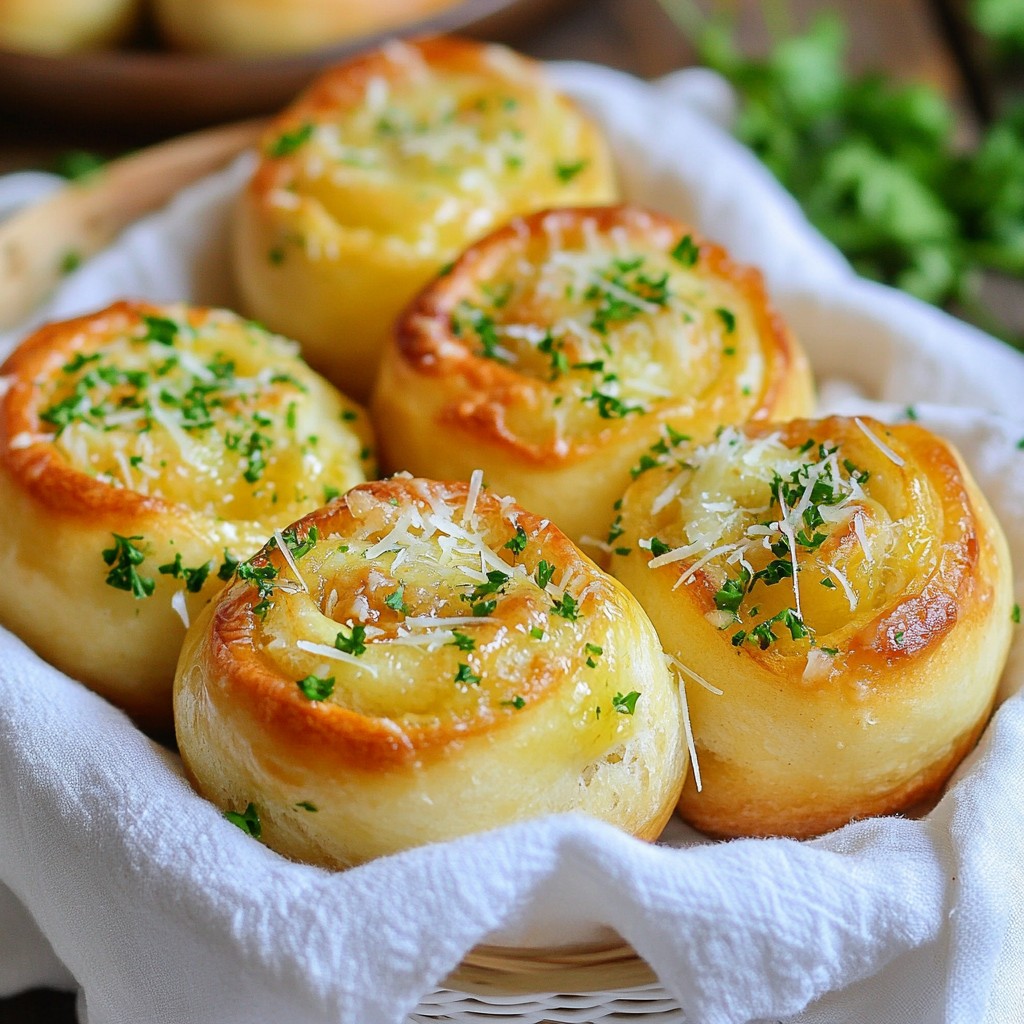
Buttery Garlic Bread Rolls Simple and Flavorful Recipe
Deliciously soft and buttery rolls infused with garlic and herbs, perfect as a side or appetizer.
Today's Special
Deliciously soft and buttery rolls infused with garlic and herbs, perfect as a side or appetizer.
Indulge in our collection of irresistible dessert recipes! From decadent chocolate treats to light and fruity delights, discover sweet creations that will satisfy every craving and make every occasion special!
More Desserts


What are you craving?
Explore our delicious collection of recipes organized by category
Discover delicious dinner recipes that bring joy to your table! From quick weeknight meals to impressive family feasts, explore our collection of savory dishes that make every dinner time memorable!
More Dinners
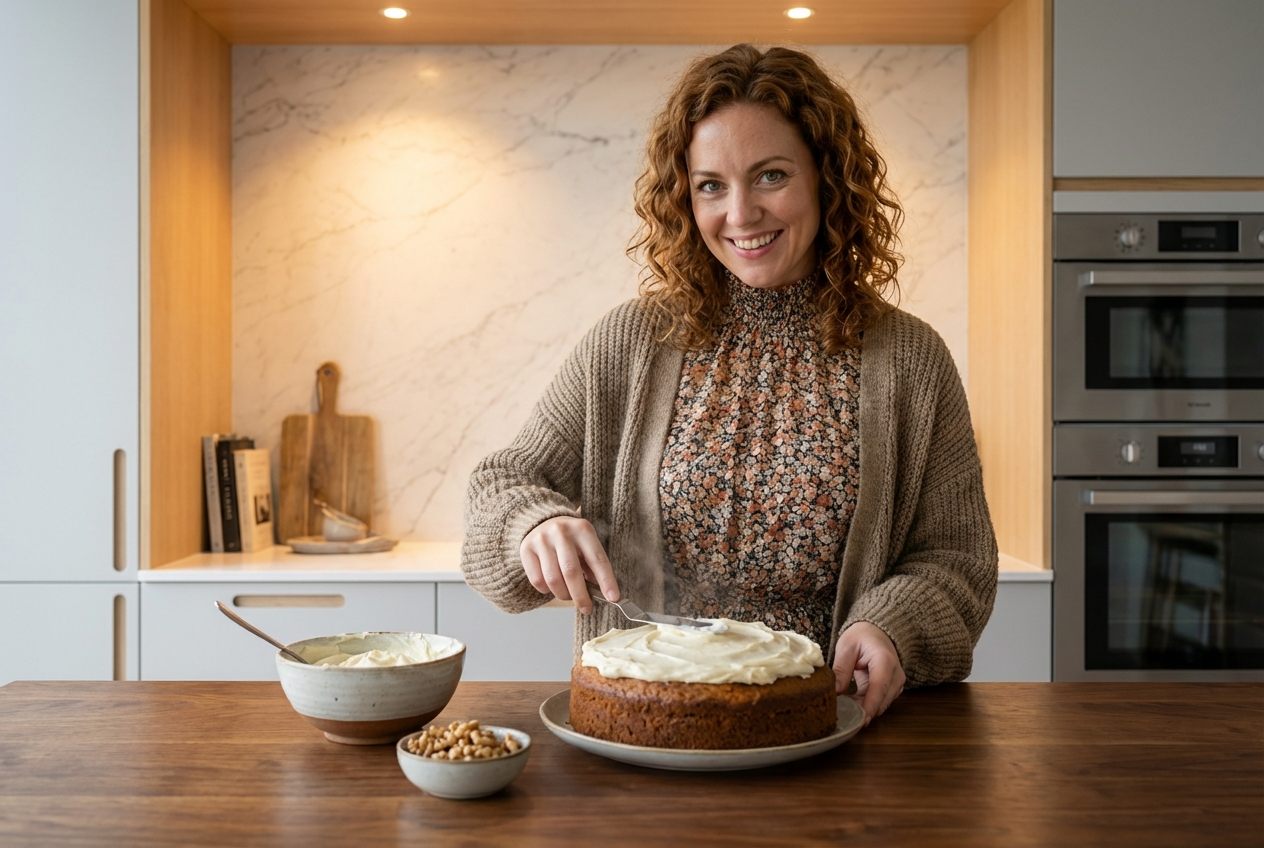
Nice to meet you!
Natalie Bennett founded itssoupy, sharing her passion as the Owner & Food Blogger.
Learn More About MeLooking for something?
Fresh from the kitchen
Check out our newest additions - tried, tested, and absolutely delicious!
Deliciously soft and buttery rolls infused with garlic and herbs, perfect as a side or appetizer.
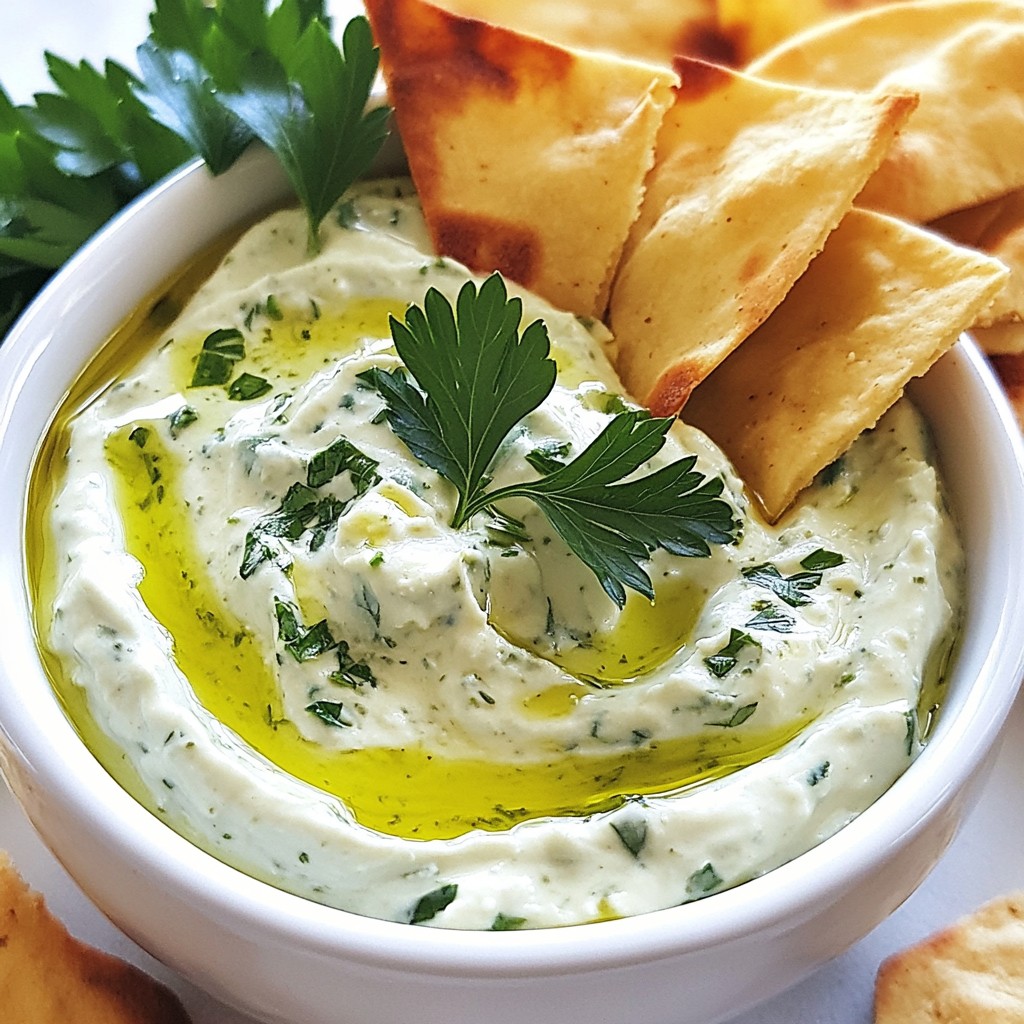
A delicious and creamy dip made with feta cheese and green olives, perfect for parties or as a snack...
Delicious baked fritters made with apples and spiced with cinnamon, perfect for a sweet treat.
A delightful layered cake made with puff pastry and a rich custard filling.
A delicious apple cake topped with creamy cream cheese frosting.
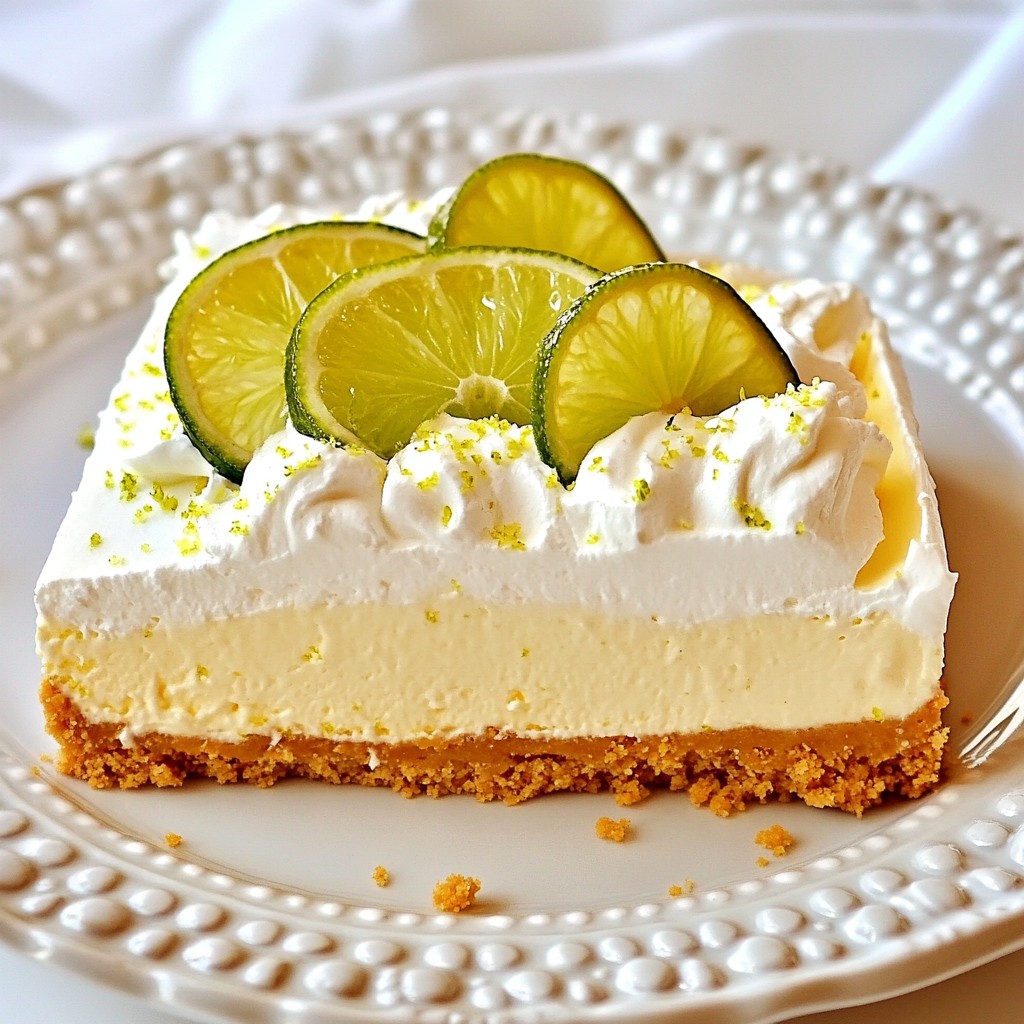
A refreshing and creamy no-bake cheesecake with a tangy key lime flavor.