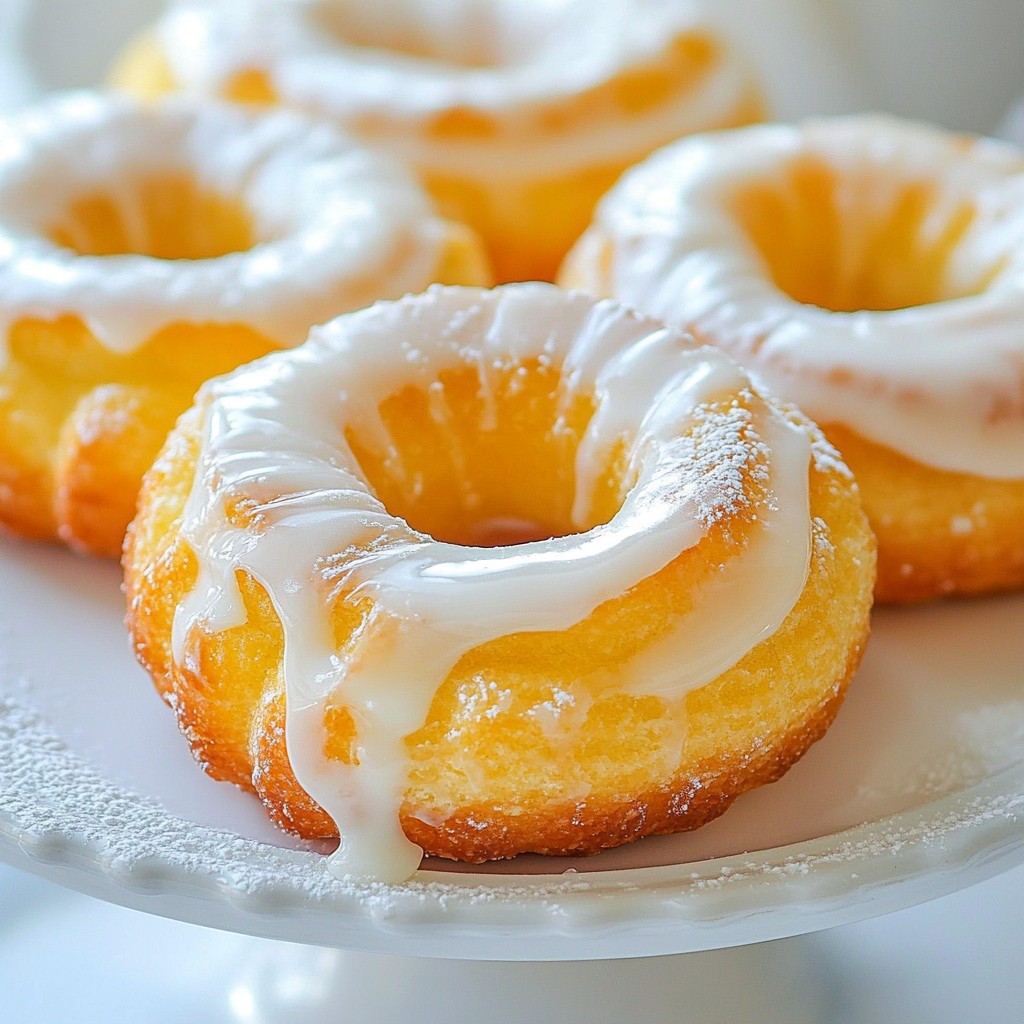
If you love donuts but want a healthier twist, you’ll adore these Baked French Crullers with Vanilla Glaze. They are light, fluffy, and packed with flavor. I’ll guide you through each step, from mixing the dough to achieving that perfect glaze. Get ready to impress your friends and family with these delightful treats that are easier to make than you think. Let’s dive into this delicious baking adventure!
Why I Love This Recipe
- Deliciously Light: These crullers are baked, making them a lighter alternative to traditional fried donuts while still being incredibly fluffy and satisfying.
- Easy to Make: The straightforward steps make this recipe accessible for bakers of all skill levels, from beginners to experienced cooks.
- Customizable Glaze: The vanilla glaze is simple yet versatile; you can add flavors like lemon or almond for a personalized touch.
- Perfect for Any Occasion: These crullers can be enjoyed at breakfast, as a snack, or served at gatherings, making them a delightful treat for any moment.
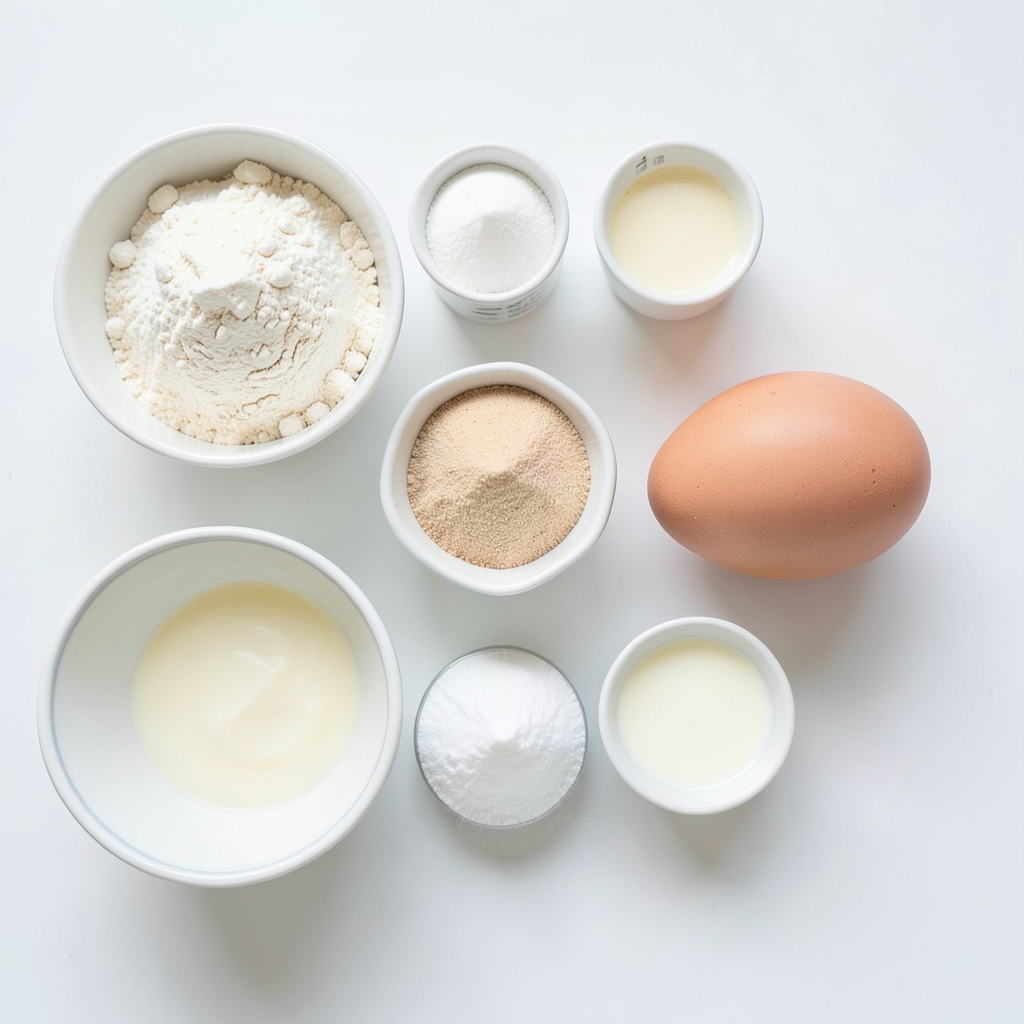
Ingredients
Main Ingredients for Baked French Crullers
- 1 cup all-purpose flour
- ½ cup almond flour
- 1 teaspoon baking powder
- ½ teaspoon salt
- ½ cup unsalted butter, softened
- 1 cup milk
- 3 large eggs
- 2 teaspoons vanilla extract
For the crullers, start with all-purpose flour and almond flour. The almond flour gives a nice texture. You also need baking powder and salt to help them rise. Butter adds richness, while milk keeps the dough moist. Eggs provide structure, and vanilla extract gives a lovely flavor.
Ingredients for Vanilla Glaze
- 1 cup powdered sugar
- 2 tablespoons milk (for glaze)
- Extra powdered sugar for dusting (optional)
For the glaze, you will need powdered sugar and milk. This glaze makes the crullers sweet and shiny. If you want a little extra sweetness on top, you can use extra powdered sugar for dusting. This adds a nice touch to your finished treat.
Step-by-Step Instructions
Preparation Steps for Crullers
1. Preheating the oven and lining the baking sheet
Set your oven to 375°F (190°C). While it heats, line a baking sheet with parchment paper. This step helps prevent sticking.
2. Mixing dry ingredients and preparing the dough
In a large mixing bowl, combine:
- 1 cup all-purpose flour
- ½ cup almond flour
- 1 teaspoon baking powder
- ½ teaspoon salt
Mix these dry ingredients well and set them aside.
Baking Instructions
1. Piping the dough shapes
In a saucepan, melt ½ cup unsalted butter with 1 cup milk over medium heat. Stir until it simmers. Remove from heat. Add the flour mixture slowly, stirring until a dough forms. Let it cool a bit. Then, mix in 3 large eggs and 2 teaspoons vanilla extract one at a time. The dough should be smooth. Transfer it to a piping bag with a star-shaped nozzle. Pipe circular shapes about 4-5 inches wide onto the lined baking sheet.
2. Baking time and tips for perfect crullers
Bake the crullers for 15-18 minutes. They should be golden brown and puffed. Let them cool on a wire rack after baking. This cooling step keeps them fluffy.
Preparing the Vanilla Glaze
1. Whisking ingredients and achieving the right consistency
To make the glaze, whisk together 1 cup powdered sugar and 2 tablespoons milk. Mix until smooth. If it’s too thick, add more milk. If it’s too thin, add more powdered sugar. This glaze gives the crullers a sweet touch.
You are now ready to dip your crullers in the glaze! Enjoy your baking adventure.
Tips & Tricks
Ensuring Perfectly Baked Crullers
To get the best crullers, you need the right dough. Start with a smooth, thick dough. If it feels too sticky, add a bit more all-purpose flour. If it feels too dry, add a splash of milk. This balance is key to getting a nice rise.
When baking, give your crullers enough space on the baking sheet. They will puff up while baking. Make sure your oven is preheated. Heat helps them rise and become light. Check them around the 15-minute mark. They should be golden brown and spring back when touched.
Glaze Application Tips
For a smooth glaze, whisk the powdered sugar and milk well. You want it to be thick yet pourable. If it’s too thick, add more milk a little at a time. If it’s too thin, add more powdered sugar.
After dipping your crullers in the glaze, let the excess drip off. This helps avoid a messy look. For extra sweetness, dust with powdered sugar after glazing. You can also mix in a bit of almond extract for a twist. This adds a nice flavor boost to the glaze.
Pro Tips
- Cool the Dough: Allow the dough to cool slightly before adding the eggs. This prevents them from cooking and ensures a smooth batter.
- Piping Technique: When piping the dough, try to keep the shapes even in size for uniform baking and presentation.
- Glaze Consistency: Adjust the glaze's thickness to your preference by adding more milk for a thinner glaze or more powdered sugar for a thicker one.
- Storage Tips: Store leftover crullers in an airtight container to maintain their freshness, but enjoy them best within the first couple of days.
Variations
Flavor Variations for Crullers
You can change the flavor of your crullers easily. Adding spices or flavor extracts can make a big difference. Try adding cinnamon or nutmeg for warmth. A splash of almond or orange extract gives a nice twist.
You can also add fruits or nuts into the dough. Chopped apples or berries add sweetness. Almonds or pecans can give a nice crunch. Just make sure to chop them small so they blend well in the dough.
Alternative Glaze Ideas
If you want to switch up the glaze, there are many fun options. A chocolate glaze is a tasty choice. Just melt some chocolate and mix it with a bit of butter. Dip the cooled crullers for a rich treat.
You might also enjoy a citrus glaze. Mix powdered sugar with lemon or orange juice. This adds a zesty flavor that pairs well with the sweet dough. Experiment with these ideas to find your favorite!
Storage Info
How to Store Baked Crullers
To keep your crullers fresh, store them in an airtight container. This helps prevent them from getting stale. Line the container with parchment paper to absorb any moisture. Crullers taste best within two days, but they can last up to a week. If you plan to enjoy them later, avoid glazing them until you’re ready to serve.
Freezing Instructions
Freezing crullers is a great way to save some for later. Allow the baked crullers to cool completely. Then, wrap each cruller in plastic wrap tightly. Place them in a freezer bag or container. They will keep well for up to three months in the freezer. When you're ready to eat, thaw them in the fridge overnight. Reheat them in the oven at 350°F (175°C) for about 10 minutes. This warms them up and keeps them soft.
FAQs
Common Questions About Baked French Crullers
Can I use different types of flour? Yes, you can use different flours. However, using only all-purpose flour gives the best texture. Almond flour adds a nice nutty taste but may change the dough's feel. If you want to try whole wheat flour, mix it with all-purpose flour to keep the crullers light.
How do I know when the crullers are done baking? Look for a golden-brown color on the tops. They should puff up nicely and feel firm to the touch. You can also check by inserting a toothpick. If it comes out clean, the crullers are ready!
Tips for First-Time Bakers
What to do if the dough is too thick? If your dough is too thick, add a little more milk. Start with one tablespoon at a time. Mix well until you reach the right consistency. The dough should be smooth and pipeable but not runny.
How can I make the crullers ahead of time? You can prepare the dough and pipe it onto the baking sheet. Cover it with plastic wrap and store it in the fridge. Bake within 24 hours for the best results. You can also freeze the baked crullers. Just thaw them before glazing.
Baked French crullers are a delightful treat. You learned about the key ingredients, like all-purpose flour and eggs. I gave you step-by-step instructions for baking and making the glaze. With tips for perfect texture, flavor variations, and storage, you can enjoy these crullers in many ways.
Try these recipes at home, and share your results. Baking should be fun, so don't worry if it's not perfect the first time. Just keep practicing and enjoy the process!