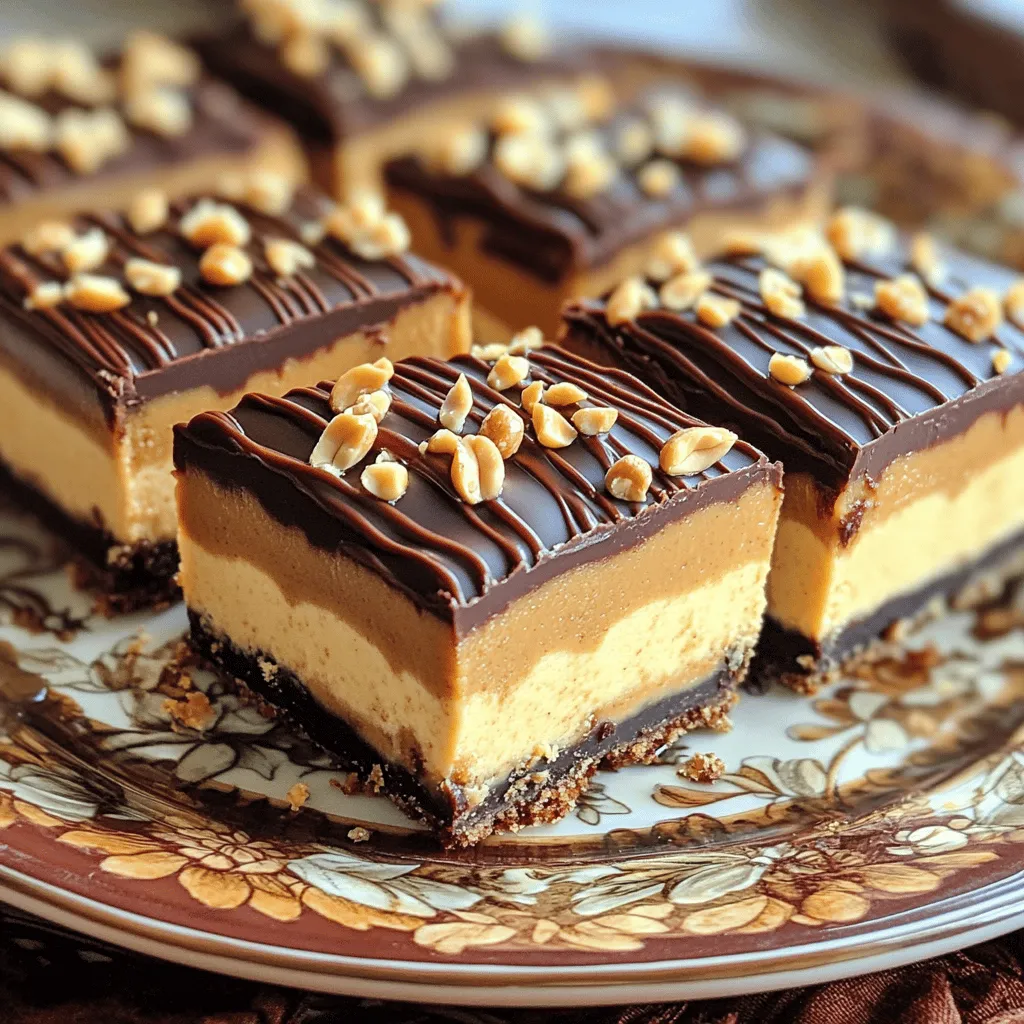
Get ready to delight your taste buds with my No-Bake Buckeye Cheesecake Bars! These easy treats blend creamy cheesecake with rich peanut butter and chocolate. Best of all, you won’t need to turn on the oven! I’ll walk you through each simple step, share clever tips, and offer tasty variations. Whether you’re a first-time baker or a pro, you’ll wow friends and family with this fun dessert. Let’s dive in!
Ingredients
Main Ingredients for No-Bake Buckeye Cheesecake Bars
To make these tasty No-Bake Buckeye Cheesecake Bars, gather these key ingredients:
– 1 ½ cups graham cracker crumbs
– ½ cup unsalted butter, melted
– 1 cup creamy peanut butter
– 8 oz cream cheese, softened
– 1 cup powdered sugar
– 1 tsp vanilla extract
– 1 cup whipped topping
– 1 cup semi-sweet chocolate chips
– 2 tbsp coconut oil
Each ingredient plays a role. The graham cracker crumbs give a crunchy base. The melted butter helps hold the crust together. Creamy peanut butter and cream cheese create a rich, smooth filling. The powdered sugar adds sweetness, while whipped topping lightens the texture. Finally, the chocolate topping gives that extra sweet touch.
Suggested Substitutions
You can swap some ingredients if you need to. For example:
– Use almond butter instead of peanut butter for a nut-free option.
– Substitute cream cheese with a dairy-free alternative for a vegan version.
– Try crushed Oreo cookies instead of graham cracker crumbs for a chocolatey crust.
– Use dark chocolate chips if you prefer a richer flavor.
These swaps let you customize the bars to fit your taste or dietary needs.
Equipment Needed
To make these bars, you will need a few simple tools:
– 9×9-inch square baking dish
– Medium mixing bowl
– Large mixing bowl
– Spatula for spreading
– Microwave-safe bowl for melting chocolate
– Measuring cups and spoons
– Flat-bottom glass for pressing the crust
Having these items ready will make the process smooth and easy.Happy baking!
Step-by-Step Instructions
Preparing the Crust
Start by mixing graham cracker crumbs and melted butter in a bowl. Use a fork to get it well combined. Next, press this mixture into the bottom of a 9×9-inch baking dish. A flat-bottom glass helps compact it nicely. Make sure it is even and firm. This crust is the base for our bars.
Making the Peanut Butter Layer
In a large bowl, mix creamy peanut butter, softened cream cheese, powdered sugar, and vanilla extract. Blend these until it becomes smooth and creamy. Gently fold in the whipped topping. This adds a light texture to the mixture. The peanut butter layer is rich and delicious, making it the star of the bars.
Assembling and Chilling the Bars
Spread the peanut butter mixture evenly on the crust. Use a spatula to smooth out the top. Once it looks good, place the dish in the fridge. Chill for at least 2 hours. This helps the cheesecake layer firm up, making it easier to cut later.
Melting the Chocolate Topping
For the chocolate topping, combine semi-sweet chocolate chips and coconut oil in a microwave-safe bowl. Heat in 30-second intervals, stirring in between. Keep doing this until the chocolate melts completely and is smooth. This chocolate adds a perfect finish to the bars.
Setting and Serving the Bars
After the chocolate melts, pour it over the peanut butter layer. Spread it evenly with a spatula. Return the dish to the fridge for another 30 minutes. This helps the chocolate set. Once set, cut the bars into squares. Serve them chilled for the best taste.
Tips & Tricks
How to Perfect the Cheesecake Texture
To get a smooth and creamy cheesecake, I suggest using softened cream cheese. Cold cream cheese makes lumps that ruin the texture. Mix the peanut butter and cream cheese well until there are no lumps. Folding in the whipped topping gently keeps it light and fluffy.
Best Practices for Melting Chocolate
When melting chocolate, use a microwave-safe bowl. Combine the chocolate chips and coconut oil for a shiny finish. Microwave in short bursts, stirring often. This step prevents burning. If you see some chunks, keep stirring. The heat from the melted chocolate will melt them completely.
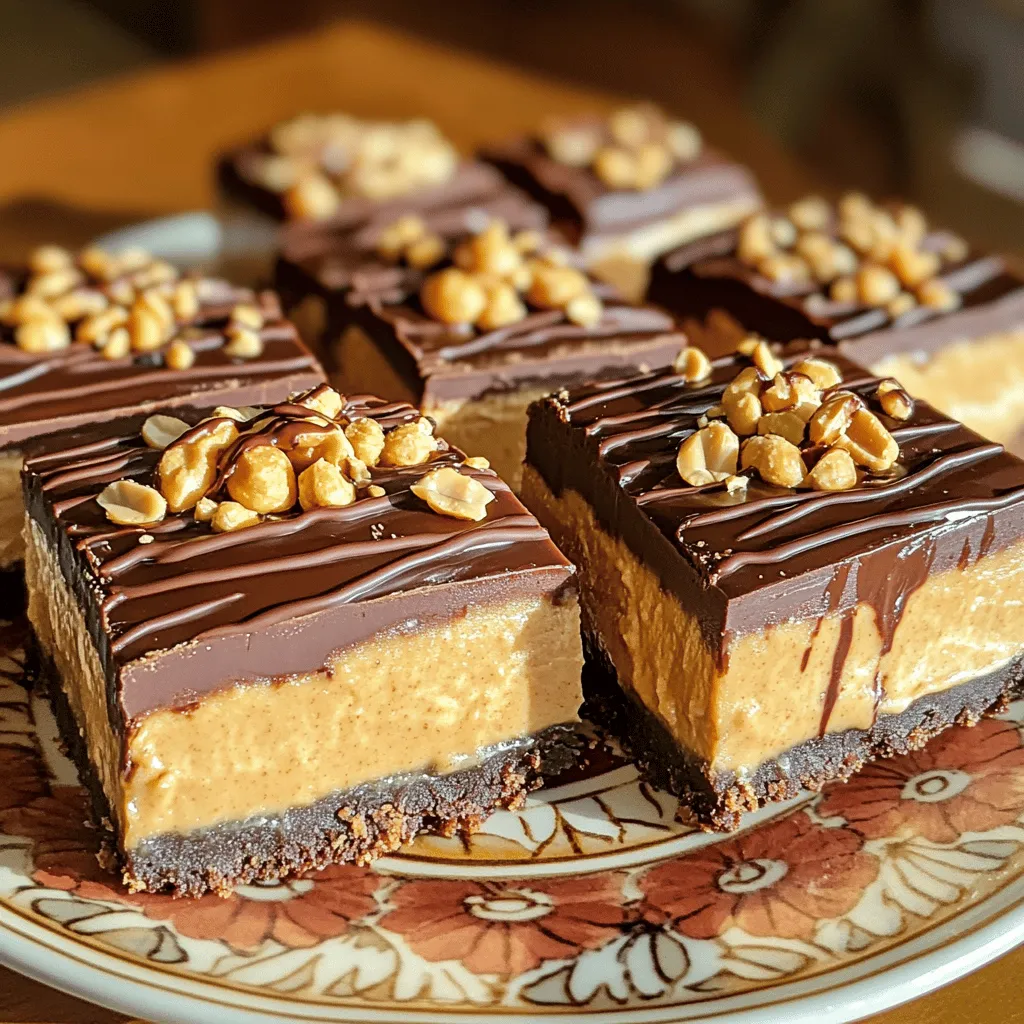
Presentation Techniques
For a stunning finish, cut the bars into even squares. Place each square on a pretty plate. Drizzle extra melted chocolate over the top for flair. You can also sprinkle crushed peanuts for a nice crunch and visual appeal. This makes your dessert look gourmet and inviting!
Variations
Adding Flavor Enhancements
You can make your No-Bake Buckeye Cheesecake Bars even better with a few tweaks. Try adding a pinch of sea salt to the peanut butter layer. This boosts the flavors and adds a nice contrast. You could also mix in some crushed Oreos or chocolate chips into the cheesecake layer. This gives a fun twist and extra texture to each bite. For a fruity touch, consider adding a layer of raspberry or strawberry jam before the chocolate topping. It adds color and a burst of flavor!
Alternative Toppings
While chocolate is the classic choice, you can get creative with toppings. Instead of melted chocolate, try using white chocolate for a different look and taste. Drizzling caramel sauce over the top can add sweetness and a nice visual appeal. If you love nuts, sprinkle chopped peanuts or pecans on top. They give a nice crunch and pair well with the creamy filling. For a festive touch, consider adding colorful sprinkles or crushed candy canes during the holidays.
Dietary Adjustments
You can modify this recipe to fit different diets. If you want a gluten-free option, use gluten-free graham crackers for the crust. For a vegan version, swap the cream cheese with a plant-based cream cheese. You can also use maple syrup instead of powdered sugar for sweetness. Choose dairy-free chocolate chips to keep it dairy-free. These small changes make this dessert more inclusive without losing its yum factor.
Storage Info
How to Store No-Bake Buckeye Cheesecake Bars
To keep your bars fresh, store them in the fridge. Use an airtight container for best results. This keeps the chocolate and cheesecake layers from drying out. Make sure to separate layers with parchment paper if stacking.
Freezing Instructions
You can freeze these bars for later. Cut them into squares first, then wrap each piece in plastic wrap. Place the wrapped bars in a freezer bag or container. They can last up to three months in the freezer. When ready to eat, thaw them in the fridge overnight.
Shelf Life and Freshness Tips
These bars stay fresh in the refrigerator for about five days. Keep an eye out for any signs of spoilage. If they change color or smell off, it’s best to toss them. To enjoy optimal flavor, eat them within the first few days.
FAQs
How long does it take to make No-Bake Buckeye Cheesecake Bars?
It takes about 2 hours and 30 minutes to make these bars. You spend 20 minutes preparing and mixing the ingredients. Then, you chill the bars for 2 hours to let them set. This waiting time is key for the best taste!
Can I use crunchy peanut butter instead?
Yes, you can use crunchy peanut butter! It gives the bars a fun texture. The bits of peanut add extra crunch and flavor. Just remember, this might change the smoothness a bit.
What’s the best way to slice these bars?
To slice the bars nicely, use a sharp knife. First, let them chill well. Then, dip the knife in hot water for a few seconds. Wipe it dry before cutting. This tip helps you get clean edges on each bar.
Can I make this recipe dairy-free?
You can make this recipe dairy-free with a few changes. Use dairy-free cream cheese and whipped topping instead of regular ones. Also, choose a dairy-free chocolate for the topping. This way, everyone can enjoy these tasty bars!
You now know how to make No-Bake Buckeye Cheesecake Bars. We talked about the key ingredients, step-by-step instructions, and some handy tips. You can even switch things up with flavors or toppings. Don’t forget the storage tips to keep your bars fresh. Enjoy making these treats with your own twists. They will surely impress everyone!