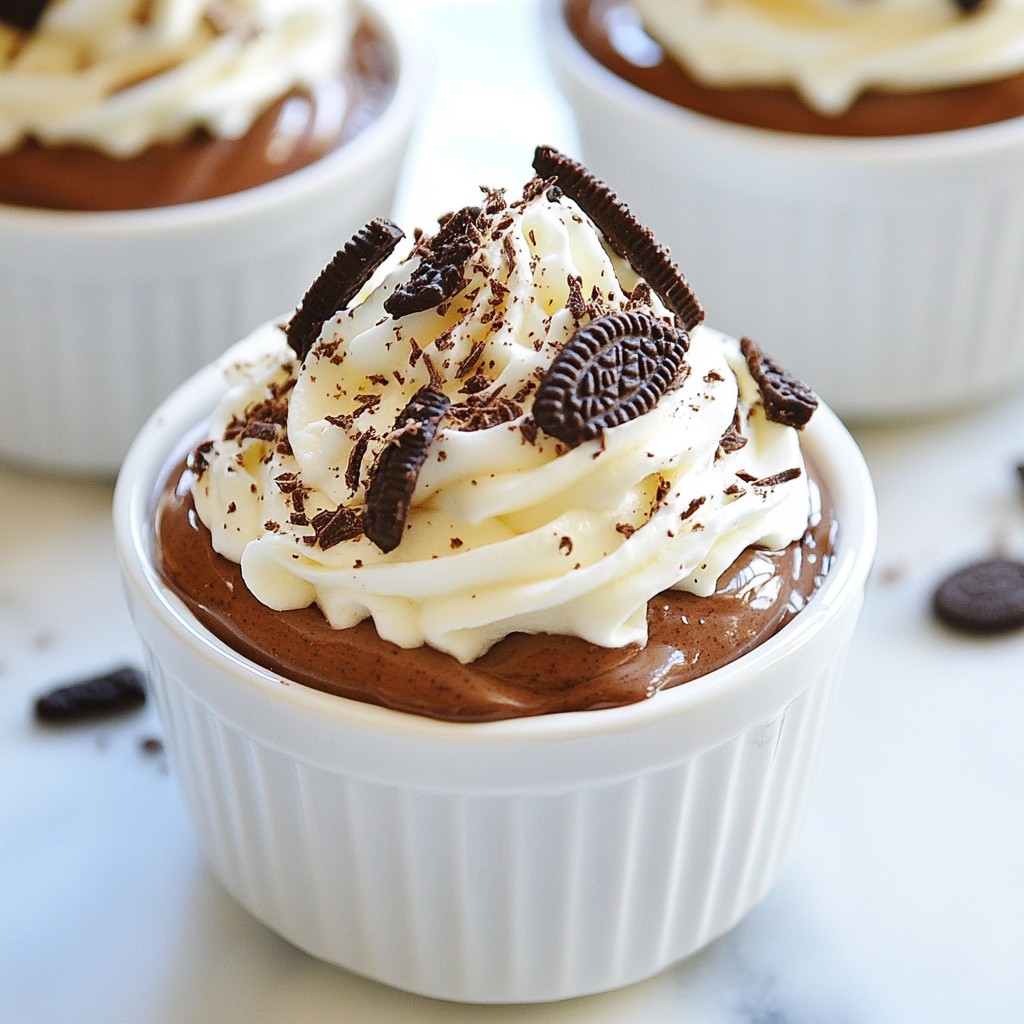
If you're craving a dessert that's both rich and fun, look no further! Oreo Chocolate Mousse Cups are the perfect blend of creamy and crunchy. With just a few simple ingredients, like heavy cream and delicious Oreos, you can whip up a treat that dazzles at any occasion. Join me as I guide you through the easy steps to make this irresistible dessert. Trust me, you'll want to dive right in!
Why I Love This Recipe
- Decadent Flavor: This chocolate mousse is rich and indulgent, perfectly balancing the sweetness of the Oreos with the deep flavor of chocolate.
- Easy Preparation: With simple ingredients and straightforward steps, this recipe is quick to whip up, making it perfect for any occasion.
- Impressive Presentation: Served in individual cups and garnished with Oreo pieces and chocolate shavings, it looks elegant and inviting.
Ingredients
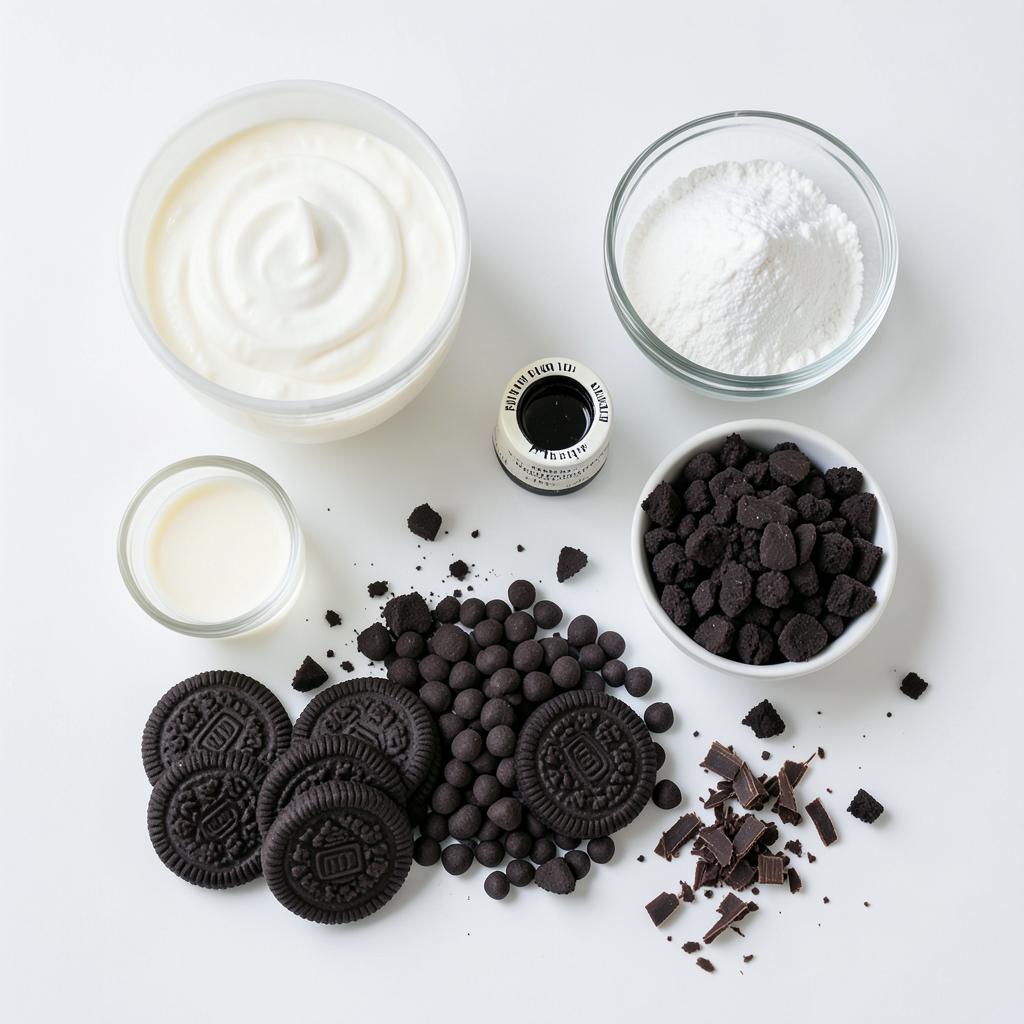
List of Required Ingredients
- 1 cup heavy whipping cream
- ½ cup powdered sugar
- 1 teaspoon vanilla extract
- 4 ounces cream cheese, softened
- 1 cup semi-sweet chocolate chips
- 12 Oreo cookies, crushed
- Extra Oreo pieces for garnish
- Chocolate shavings for garnish
To make Oreo Chocolate Mousse Cups, you need simple ingredients that pack a lot of flavor. The heavy whipping cream gives the mousse its rich and airy texture. Powdered sugar adds sweetness without any graininess. Vanilla extract enhances the flavor with a warm touch. Cream cheese adds a creamy base to the chocolate.
Semi-sweet chocolate chips are key for that deep chocolate taste. The crushed Oreo cookies add a fun crunch and flavor. Finally, garnishes like extra Oreo pieces and chocolate shavings make your dessert look stunning.
This recipe is easy to follow, and you likely have most of these ingredients at home. Let’s get cooking!
Step-by-Step Instructions
Whipping the Cream
First, grab a mixing bowl. Add 1 cup of heavy whipping cream. Then, sprinkle in ½ cup of powdered sugar and 1 teaspoon of vanilla extract. Use an electric mixer to whip this mixture. Beat it until soft peaks form. This means the cream holds its shape but is still smooth. Once done, set it aside.
Melting the Chocolate
Next, take 1 cup of semi-sweet chocolate chips. Place them in a microwave-safe bowl. Heat them in the microwave in 30-second intervals. Stir the chocolate after each interval. Keep going until the chocolate is smooth and melted. Allow it to cool slightly, or it might warm the cream cheese later.
Mixing the Mousse
Now, find another bowl. Use it to beat 4 ounces of softened cream cheese until creamy. Slowly add in the melted chocolate. Mix until combined, and there are no lumps. Next, gently fold in the whipped cream. Be careful not to deflate it. Finally, add 12 crushed Oreo cookies and fold them gently. This adds great flavor and texture to your chocolate mousse.
Tips & Tricks
Achieving the Perfect Mousse Texture
To get the best mousse, you need to fold carefully. Use a spatula to gently mix in the whipped cream. This keeps the mousse light and fluffy. If you stir too hard, it will lose its air. Serve your mousse after it chills for at least one hour. This waiting time helps the mousse set and improves the flavor.
Best Practices for Melting Chocolate
Melting chocolate can be tricky. To avoid burnt chocolate, use the microwave in short bursts. Heat it for only 30 seconds, then stir. Repeat this until it’s smooth. Once melted, let it cool a bit before mixing it with cream cheese. If you don’t cool it, the heat can change the cream cheese texture.
Customizing the Recipe
You can make this dessert your own by changing the cookies. Try using different types like chocolate wafers or peanut butter cookies. This can give new flavors to your mousse. You can also adjust the sweetness level. If you like it sweeter, add more powdered sugar. For less sweetness, reduce the sugar by half.
Pro Tips
- Chill Your Bowls: For an extra light and fluffy mousse, chill your mixing bowls and beaters in the refrigerator for 10-15 minutes before whipping the cream.
- Quality Chocolate Matters: Use high-quality semi-sweet chocolate chips for the best flavor and texture in your mousse.
- Don’t Overmix: When folding the whipped cream into the chocolate mixture, be gentle and careful not to deflate the whipped cream for a light and airy mousse.
- Garnish Ideas: Customize your mousse cups by adding different toppings like crushed nuts, fresh berries, or a drizzle of caramel sauce for added flavor.
Variations
Different Flavors to Try
You can make Oreo Chocolate Mousse Cups even more fun. Try adding peanut butter for a nutty twist. Simply mix in a couple of tablespoons of creamy peanut butter with the chocolate. It adds a rich flavor that pairs well with Oreos.
Coffee is another great addition. A teaspoon or two of espresso powder boosts the chocolate flavor. It creates a deeper, richer mousse.
You can also switch up the chocolate. Use dark chocolate for a bold taste. White chocolate adds sweetness and creaminess. Each option makes a unique dessert.
Serving Options
Serving cups can change the look of your mousse. Use small glass jars for a rustic feel. Clear cups show off the layers of mousse and Oreos.
To create an eye-catching layered dessert, add fresh fruit or whipped cream between layers. Strawberries or raspberries add color and a fresh taste. You can also sprinkle crushed Oreos between layers for extra crunch.
Dietary Modifications
If you need gluten-free options, use gluten-free Oreos. They taste just as good and keep the dessert delicious.
For dairy-free alternatives, try coconut cream instead of heavy cream. Use dairy-free cream cheese for a creamy texture. The mousse will still be rich and tasty, with a hint of coconut flavor.
Storage Info
How to Store Leftover Mousse Cups
To keep your Oreo Chocolate Mousse Cups fresh, use airtight containers. Glass jars or plastic containers work well. Make sure to seal them tight to prevent air from getting in. You can store them in the fridge for up to three days. After that, the mousse may lose its light texture.
Freezing Options
You can freeze these mousse cups if you want to save some for later. First, cover each cup tightly with plastic wrap or foil. You can also place them in freezer-safe containers. When ready to eat, move them to the fridge to thaw overnight. Freezing may change the texture a bit, making it less creamy once thawed. The taste will remain sweet and rich but may not be as fluffy.
Serving After Storage
Before serving, check the mousse's texture. If it seems a bit firm, gently stir it to loosen it up. You can add a splash of cream to help restore its smoothness. For a fresh look, garnish with extra crushed Oreo pieces and chocolate shavings right before serving. This adds a nice touch and makes your dessert pop!
FAQs
How long do Oreo Chocolate Mousse Cups last in the fridge?
Oreo Chocolate Mousse Cups last about 3 days in the fridge. Store them in an airtight container. This keeps them fresh and tasty. After a few days, the mousse may lose its fluffy texture.
Can I make the mousse ahead of time?
Yes, you can make the mousse ahead of time. Preparing it a day before serving works well. Just cover the cups and place them in the fridge. This gives the flavors time to blend nicely.
What can I use instead of cream cheese?
You can use mascarpone cheese as a substitute for cream cheese. It has a similar texture and taste. If you want a lighter option, try Greek yogurt. It will change the flavor slightly but still tastes great.
How do I fix a runny mousse?
If your mousse is runny, try adding more whipped cream. Whip additional cream until soft peaks form. Gently fold it into the runny mousse. This should help thicken the mixture. Another option is to chill the mousse longer to set it up.
Can I make this recipe without a mixer?
Yes, you can make this recipe without a mixer. Use a whisk instead. It will take more effort to whip the cream and mix the mousse. But it is possible to achieve the right texture with some elbow grease!
This blog post covered how to make delicious Oreo Chocolate Mousse Cups. You learned about the key ingredients like cream, chocolate, and Oreos. I shared simple steps, tips for texture, and ways to customize. You also found storage tips to keep your mousse fresh.
In closing, this recipe is fun and easy. Enjoy making tasty treats and feel free to explore variations!